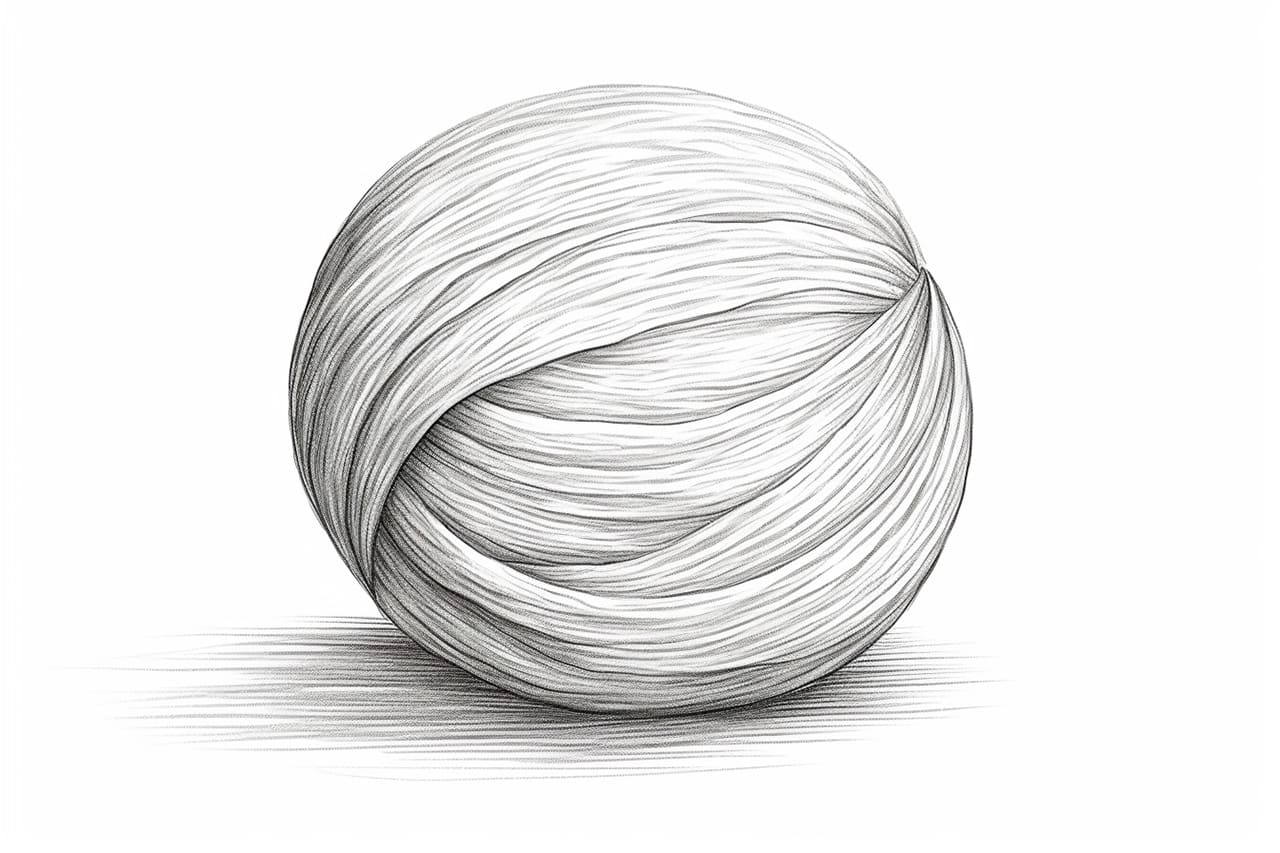
As an artist, drawing objects from everyday life can help you improve your skills and capture the beauty of simple things. One such object is a yarn ball. Whether you want to create a realistic piece or loosen up your hand, drawing a yarn ball can be a fun and rewarding project. In this tutorial, I will guide you through how to draw a yarn ball step by step. So grab your drawing materials, and let’s get started!
Materials Required
To draw a yarn ball, you will need the following materials:
- Pencil
- Eraser
- Drawing paper
- Fine-tipped pen or marker (optional)
Now that you have all your materials ready, let’s dive into the step-by-step instructions!
Step 1: Outline the Basic Shape
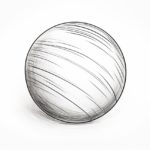
Start by lightly sketching a rough circle or oval shape on your drawing paper. This will serve as the base for your yarn ball. Remember, it doesn’t have to be perfect at this stage, so focus on getting the proportions right.
Step 2: Divide the Shape into Sections
Next, divide the base shape into several sections to create the illusion of yarn strands. These sections can be irregular and vary in size and shape. You can draw curved or straight lines to separate the areas, but make sure they intersect at different angles to add depth and dimension.
Step 3: Add Depth with Shadows
To give your yarn ball a three-dimensional appearance, add some shading to the sections. Start by identifying a light source in your drawing, which will determine the direction of the shadows. Use your pencil to lightly shade one side of each section, gradually darkening it as you move away from the light source. This will create the illusion of the yarn strands overlapping each other.
Step 4: Refine the Shape
Once you are satisfied with the overall shape and shading, it’s time to refine the details. Using your pencil, go over the outline of the yarn ball, making it smoother and more defined. Pay attention to the curves of the sections and make sure they flow naturally. Don’t press too hard on the pencil to avoid smudging the drawing.
Step 5: Add Texture and Detail
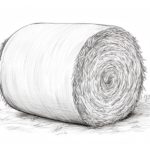
To make your yarn ball look more realistic, add some texture and detail to the individual strands. Start by drawing small, curved lines within each section to represent the fibers of the yarn. Vary the length, direction, and thickness of these lines to create a sense of randomness. Take your time with this step, as it can greatly enhance the overall look of your drawing.
Step 6: Darken the Shadows
To further enhance the three-dimensional effect, darken the shadows in your drawing. Using a soft pencil or shading tool, carefully darken the shaded areas in each section of the yarn ball. This will add depth and make the lighter areas appear more prominent.
Step 7: Clean Up Your Drawing
At this point, take a step back and assess your drawing. Use your eraser to remove any unwanted lines or smudges. Pay attention to the edges of the yarn ball and make sure they are clean and well-defined. If you prefer, you can also go over your drawing with a fine-tipped pen or marker to make the lines more bold and defined.
Step 8: Add Highlights
To make your yarn ball appear more realistic and shiny, add some highlights. Identify the areas that would catch the most light, such as the tops of the strands or the curves of the sections. Using a white pencil or a fine-tipped pen, carefully draw small dots or lines to represent these highlights. Be subtle with your highlights to avoid making them look too artificial.
Step 9: Final Touches
Lastly, take a moment to evaluate your drawing as a whole. Make any necessary adjustments or refinements to ensure that all the elements are cohesive and well-balanced. Pay attention to the overall composition and the relationship between the different sections of the yarn ball. Once you are satisfied, your yarn ball drawing is complete!
Conclusion
Drawing a yarn ball can be a delightful exercise that allows you to explore shape, texture, and shading. By following these step-by-step instructions, you can create a realistic representation of a yarn ball or use it as a starting point to develop your own unique style. So grab your materials and let your creativity unfold as you bring this simple yet beautiful object to life on paper.