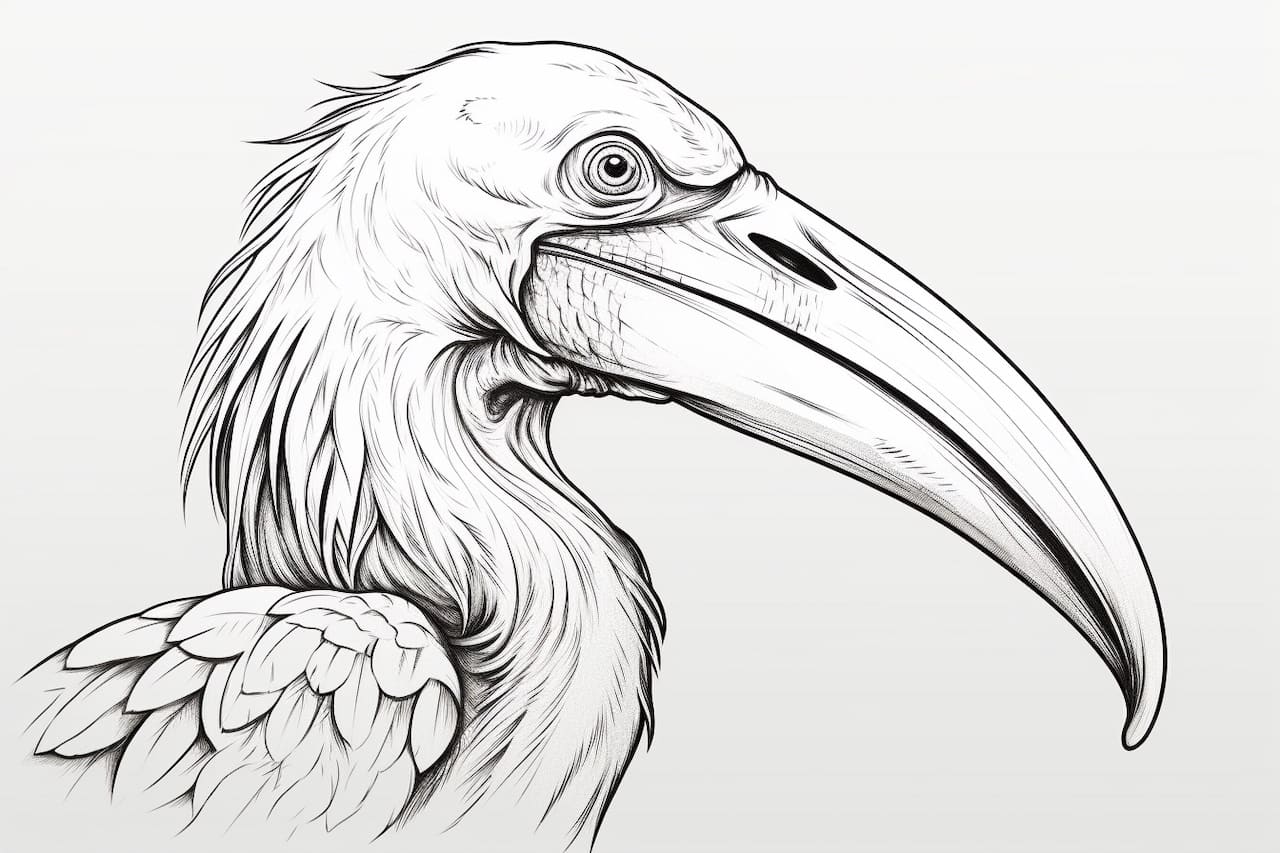
Have you ever wanted to learn how to draw a beak? Drawing a beak can be a fun and rewarding experience, allowing you to bring your artwork to life. Whether you are a beginner or an experienced artist, this step-by-step guide will walk you through the process of drawing a beak in a clear and concise manner. By following these instructions, you will be able to create a realistic and detailed beak that will add character and dimension to your drawings.
Materials Required
Before we begin, let’s gather the materials you will need to draw a beak:
- Pencil: A pencil will be used for the initial sketching and outlining.
- Eraser: An eraser will come in handy for correcting any mistakes or making adjustments.
- Paper: Choose a smooth and sturdy paper that is suitable for drawing.
- Colored pencils or markers (optional): If you want to add color to your beak, you can use colored pencils or markers.
Now that you have all the necessary materials, let’s get started!
Step 1: Start with Basic Shapes
Begin by sketching the basic shapes that make up the structure of the beak. Start with a small oval shape for the base of the beak. This will define the overall size and shape of the beak. Next, add a slightly curved triangle shape on top of the oval to represent the upper part of the beak.
Step 2: Add Details
Now that you have the basic shapes in place, it’s time to add more detail to your beak. Start by adding a line down the center of the triangle shape to represent the beak’s ridge. Then, add another curved line on each side of the beak’s ridge to give it a three-dimensional look. These lines will help define the shape and texture of the beak.
Step 3: Refine the Shape
Next, take a step back and evaluate the overall shape of your beak. Make any necessary adjustments to ensure that the proportions and angles look accurate. Use your eraser to remove any unwanted lines or shapes and clean up the sketch.
Step 4: Add Texture
To make your beak look more realistic, it’s important to add texture. Start by lightly shading the entire beak with your pencil, using short and light strokes to create a smooth base layer of shading. Then, use darker and more defined strokes to add texture and definition to the beak’s surface. Pay attention to the natural contours and lines of the beak when adding texture.
Step 5: Finalize the Details
In this step, focus on adding the final touches and details to your beak. Add small lines and shapes to represent the nostrils and any other unique features that your reference image may have. Use your eraser to lighten certain areas and create highlights, adding depth and dimension to your drawing. Take your time in this step to ensure that every detail is accounted for.
Conclusion
Drawing a beak can be a challenging yet rewarding task. By following these step-by-step instructions, you have learned how to create a realistic beak that will enhance your artwork. Remember to be patient and allow yourself room for experimentation and improvement. With practice, you will continue to refine your skills and create even more detailed and lifelike drawings.
So grab your pencil and paper, and let your creativity soar as you bring your drawings to life with beautifully drawn beaks!


