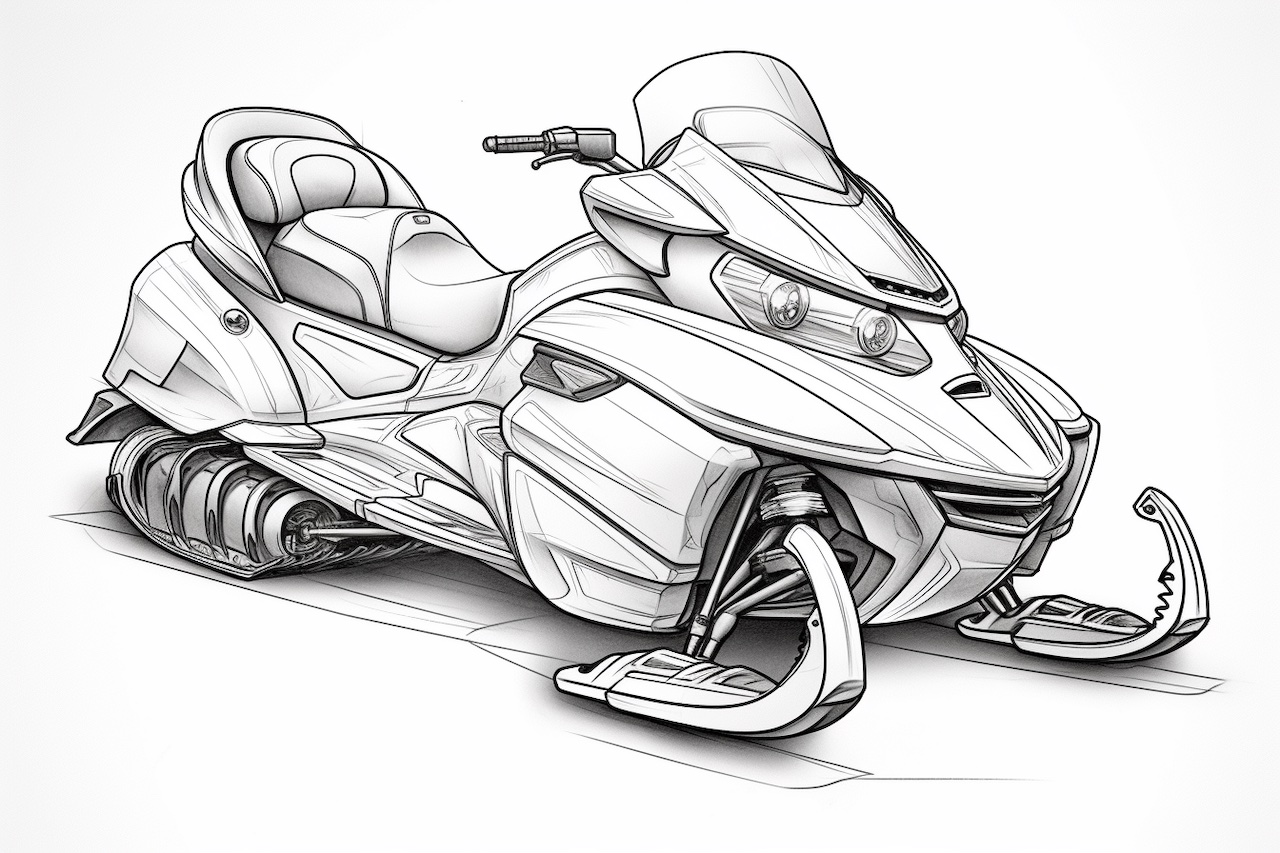
Snowmobiles are exciting vehicles used for traversing snowy terrains. Drawing a snowmobile can be a great way to express your love for winter sports and adventure. In this step-by-step guide, I will show you how to draw a snowmobile, from its sleek body to its powerful tracks. Grab your drawing materials and let’s get started!
Materials Required
Before we begin, make sure you have the following materials ready:
- A plain sheet of paper
- Pencil
- Eraser
- Ruler
- Fine-tipped markers or colored pencils (optional)
Now that you have all your materials ready, let’s dive into the drawing process.
Step 1: Outline the Body
Start by drawing a horizontal line near the bottom of your paper. This line will serve as the base for the snowmobile. Draw two vertical lines extending upward from each end of the horizontal line. These lines will form the front and back of the vehicle.
Step 2: Add the Windshield and Seat
At the front of the snowmobile, draw a curved line that connects the two vertical lines. This will be the windshield. Then, draw a rectangle shape above the windshield to represent the seat of the snowmobile.
Step 3: Outline the Handlebars
Extend two diagonal lines from the top corners of the windshield, curving them downward to form the handlebars. Make sure the handlebars are slightly wider apart at the top.
Step 4: Draw the Front Skis
Below the windshield, draw two parallel lines extending forward. These lines will serve as the base for the front skis. Connect the lines at the front with a curved line to form the pointed tips of the skis. Add a small circle at the front of each ski to represent the wheels.
Step 5: Sketch the Track
Draw a long, curved line extending from the back of the snowmobile. This line will represent the track that propels the vehicle. Add small rectangular shapes along the track to indicate the treads.
Step 6: Detail the Body
Add details to the body of the snowmobile. Draw a curved line along the sides of the vehicle to represent the outer edges. Sketch a small rectangular shape at the back of the seat to represent a storage compartment. Add a few lines to indicate the contours and features of the snowmobile.
Step 7: Refine the Shape
Using your initial outlines as a guide, carefully refine the shape of the snowmobile. Erase any unnecessary lines and smooth out the curves. Pay attention to the proportions and make adjustments as needed.
Step 8: Add Texture and Shading
To give your snowmobile drawing a more realistic look, add texture and shading. Use short, curved lines to create the impression of snowflakes on the body and track. Shade the underside of the vehicle to add depth and dimension. You can also use markers or colored pencils to add color to your drawing.
Conclusion
Drawing a snowmobile is a fun way to capture the spirit of winter adventure on paper. By following these step-by-step instructions, you can create a detailed and realistic representation of this exciting vehicle. Remember to take your time, make adjustments as needed, and have fun with the process. Now go ahead and let your creativity soar as you bring your snowmobile drawing to life!