Drawing a four-wheeler can be a fun and rewarding activity for artists of all skill levels. Whether you are an experienced artist or just starting out, this step-by-step guide will help you create an accurate and detailed drawing of a four-wheeler. By following these instructions and using the right materials, you will be able to capture the essence of this exciting vehicle on paper.
Materials Required
Before you begin drawing, gather the following materials:
- Drawing paper: Choose a smooth, heavyweight paper that is suitable for the medium you want to use. A paper size of at least 11×14 inches is recommended to give you enough space for the details.
- Pencil: Use a regular graphite pencil with a range of hardness. A set of pencils ranging from HB to 6B should be sufficient for most drawing purposes.
- Eraser: Have a good quality eraser on hand to correct mistakes and make adjustments to your drawing.
- Ruler: A straight edge ruler will help you create straight lines and ensure accuracy in your drawing.
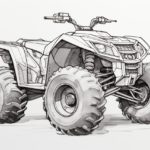
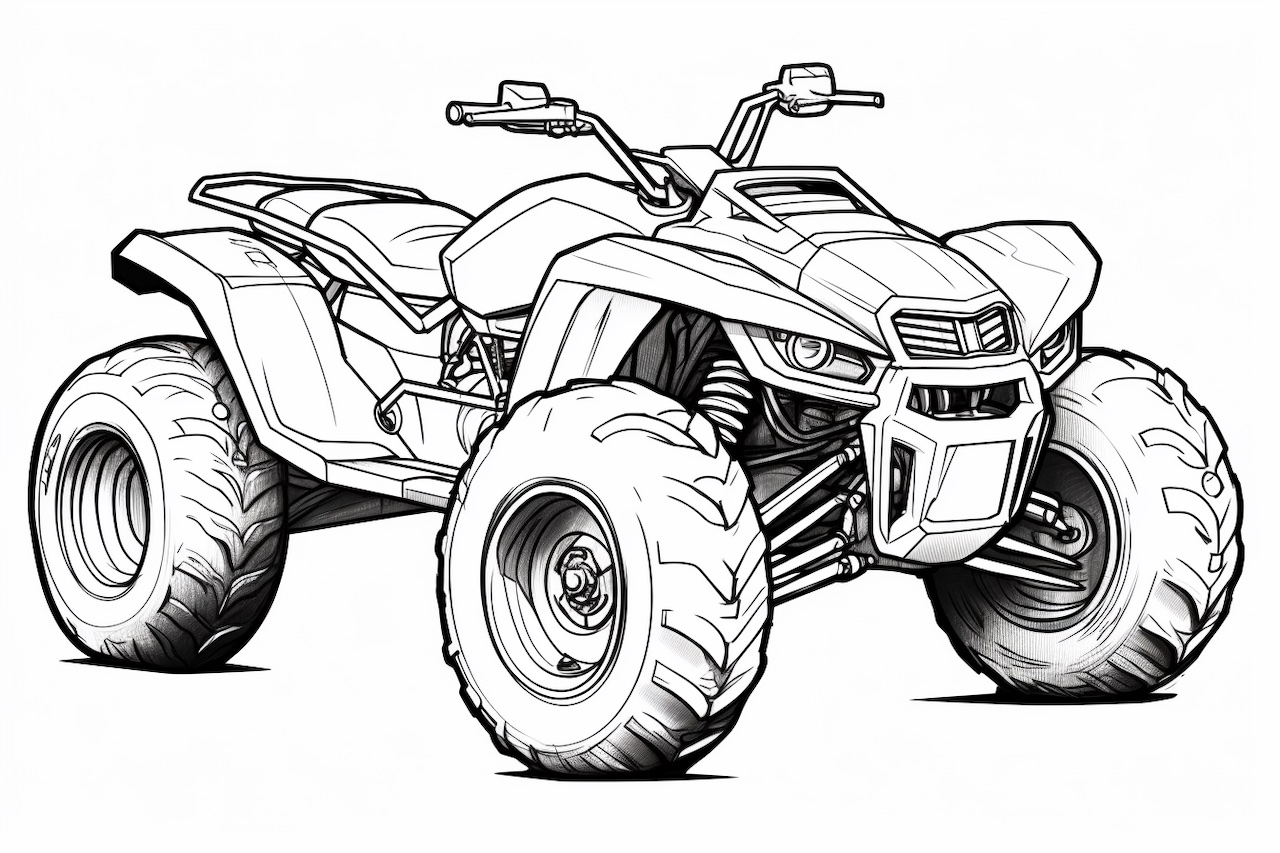
- Reference image: Find a clear and detailed photo or image of a four-wheeler to use as a reference. This will help you understand the proportions and details of the vehicle.
Now that you have gathered your materials, let’s begin drawing a four-wheeler!
Step 1: Basic Shape
Start by lightly sketching the basic shape of the four-wheeler using a pencil. Begin with a rectangular shape for the main body of the vehicle. Then, add two smaller rectangles on each side to represent the front and rear tires. Make sure the proportions are accurate by referring to your reference image.
Step 2: Wheels and Tires
Next, focus on drawing the wheels and tires in more detail. Use your ruler to create perfect circles for the tires. Then, add the wheel rims within the tires. Take note of any spokes, patterns, or logos on the rims and draw them accordingly. To create depth, shade the inside of the tires slightly darker.
Step 3: Body Details
Now, let’s add some details to the main body of the four-wheeler. Start by drawing the front and back bumpers, paying attention to any unique shapes or features they may have. Then, add the headlights, taillights, and any other distinctive elements such as air intakes or grilles. Use your reference image to ensure accuracy.
Step 4: Windows and Windshield
Draw the windows and windshield of the four-wheeler. Begin by sketching the outline of the windows using light, straight lines. Then, add the windshield by extending the lines upward and connecting them at the top. Make sure to depict the curves and angles of the glass surface accurately.
Step 5: Cabin and Seats
Move on to drawing the cabin and seats of the four-wheeler. Start by sketching the general shape of the cabin, then add the doors and any other unique features. Depict the seats inside the cabin by drawing their basic shapes and adding details such as stitching or upholstery patterns.
Step 6: Exterior Details
Now it’s time to focus on the exterior details of the four-wheeler. Add any logos, decals, or labels to the body of the vehicle. Pay attention to any unique patterns, textures, or designs on the surface and draw them accurately. Use your reference image as a guide to capture the authentic look of the four-wheeler.
Step 7: Shading and Texture
To give your drawing depth and realism, add shading and texture to the different parts of the four-wheeler. Use a combination of light and dark shading to create highlights and shadows. Pay attention to the way light falls on the vehicle and use your shading techniques to mimic the reflections and textures on different surfaces.
Step 8: Refine and Adjust
Take a step back and evaluate your drawing. Make any necessary adjustments to ensure accuracy and proportion. Use your eraser to correct any mistakes or lighten any lines that need to be softer. Take your time with this step to ensure that your drawing looks polished and refined.
Step 9: Finalizing the Drawing
Once you are satisfied with the overall look of your drawing, finalize it by darkening the lines and adding any finishing touches. Enhance the contrast and details by adding darker shadows and sharpening the highlights. Take a final look at your reference image to make sure you haven’t missed any important elements.
Conclusion
Drawing a four-wheeler requires attention to detail and precise observation. By following the step-by-step instructions outlined in this guide and using the right materials, you can create a realistic and accurate drawing of this exciting vehicle. Remember to be patient and take your time with each step, and soon you will have a completed masterpiece! So grab your materials and get ready to draw a stunning four-wheeler.