Welcome to the world of drawing! In this tutorial, we will guide you through the process of drawing a 4 wheeler. Whether you are a beginner or an experienced artist, this step-by-step guide will help you create a stunning representation of a 4 wheeler. So grab your pencils and let’s get started!
Materials Required
Before we begin, let’s gather the materials you will need for this drawing:
- Drawing paper
- Pencils (HB, 2B, 4B)
- Eraser
- Ruler
- Reference image of a 4 wheeler (you can find one online or use a toy car as reference)
Once you have all the materials ready, we can start drawing!
Step 1: Basic Outline
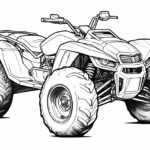
Begin by lightly sketching the basic outline of the 4 wheeler using an HB pencil. Start with a rectangle for the body of the vehicle. Then, draw two circles for the front and rear wheels. Take your time to get the proportions and placement right. Remember, it’s always easier to make corrections at this stage.
Step 2: Front and Rear Wheels
Using the circle as a guide, sketch the front and rear wheels of the 4 wheeler. Pay attention to the size and position of the wheels in relation to the body. Once you are satisfied with the placement, darken the lines.
Step 3: Body and Chassis
Now it’s time to add more details to the body of the 4 wheeler. Start by drawing the front bumper and the windshield. Then, sketch the main body of the vehicle, keeping in mind its shape and proportions. Add the side mirrors and any other distinctive features that you want to include. Next, draw the chassis beneath the body, ensuring that it aligns with the wheels. Take your time to refine the details as you go along.
Step 4: Details and Accessories
In this step, we will add more details and accessories to make our drawing of the 4 wheeler more realistic. Start by drawing the headlights, grille, and any other front-end details. Then, sketch the doors, windows, and other features on the side of the vehicle. Don’t forget to include the handles and side mirrors. Next, draw the back end of the 4 wheeler, including the taillights and exhaust. Take your time to add as much detail as you like, but remember to keep the overall proportions in check.
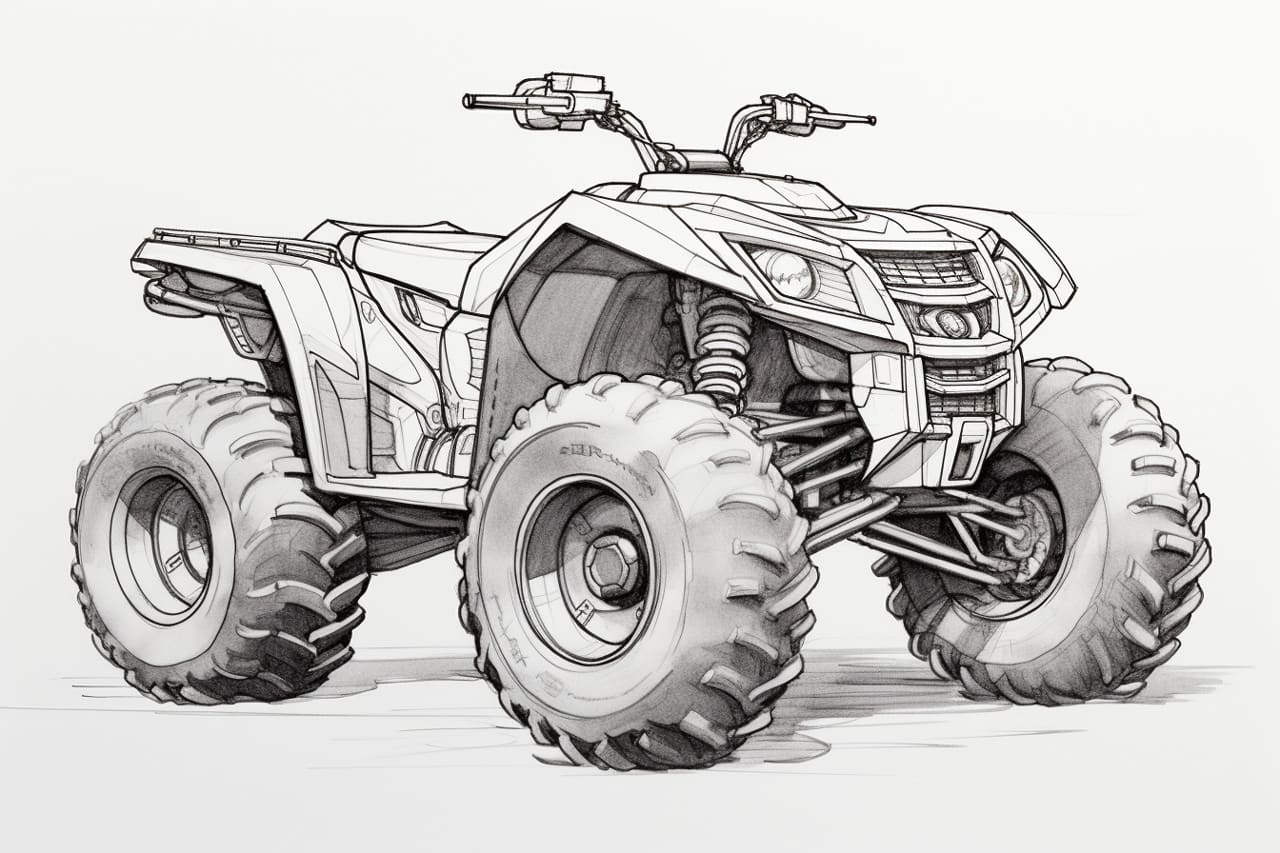
Step 5: Tires, Rims, and Fenders
Now let’s focus on the details of the wheels. Begin by drawing the tire treads, paying attention to their shape and pattern. Then, add the rims and spokes, making sure they align with the wheels. Don’t forget to include the fenders, which protect the wheels and add to the overall look of the 4 wheeler.
Step 6: Shading and Textures
To give our drawing depth and realism, we need to add shading and textures. Start by identifying the light source in your reference image or imagine one for consistency. Shade the areas that are further away from the light source, creating a sense of depth. Use a 2B or 4B pencil for darker shadows and an HB pencil for lighter shading. Pay attention to the curves and contours of the 4 wheeler as you add shading and textures.
Step 7: Final Touches
In this final step, we will refine our drawing and add any additional details. Check your proportions and make any necessary adjustments. Erase any unnecessary lines and clean up the drawing. You can also add more texture and detail to the body, wheels, and accessories. Don’t be afraid to experiment and make the drawing your own!
Conclusion
Congratulations! You have successfully drawn a 4 wheeler. By following these step-by-step instructions, you have created a realistic representation of a 4 wheeler. Remember, practice makes perfect, so don’t hesitate to try drawing different angles or styles of vehicles. Keep exploring your creativity and have fun with your art!