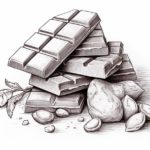
Welcome to this step-by-step guide on how to draw a chocolate bar. Whether you’re a beginner or an experienced artist, this tutorial will help you create a mouthwatering representation of everyone’s favorite treat in a realistic fashion. So grab your drawing tools and let’s get started!
Materials Required
Before we begin, make sure you have the following materials handy:
Now that you have everything you need, let’s dive into the process of drawing a delightful chocolate bar!
Step 1: Outline the Shape
Start by drawing a horizontal line in the center of your paper. This line will act as a guide for the overall proportions of the chocolate bar. Using the ruler, draw two vertical lines on each side of the horizontal line, making sure they are parallel and equidistant from the center line. These lines will define the width of the chocolate bar.
Step 2: Add the Edges
At the top and bottom of the vertical lines, add two parallel horizontal lines to create the edges of the chocolate bar. Make sure these lines are parallel to each other and equidistant from the center line as well. You should now have a rectangular shape that represents the basic outline of the chocolate bar.
Step 3: Define the Sections
To make the chocolate bar look more realistic, divide it into smaller sections. Draw horizontal lines across the width of the chocolate bar, evenly spaced apart. These lines will create the distinct sections found in a chocolate bar. Make sure the lines are straight and parallel to each other.
Step 4: Add Texture to the Surface
To give the chocolate bar a realistic texture, add some lines and shapes to represent the uneven surface. Draw a series of diagonal lines across each section, varying the length and angle to create a random pattern. Then, add small irregular shapes and curves within the sections to represent the chocolate’s texture. This will make your drawing look more like a real chocolate bar.
Step 5: Enhance the Details
Now it’s time to add some finer details to your drawing. Start by adding a thin border around the edges of the chocolate bar to make it more defined. Then, carefully darken the sections by shading them with your pencil. Gradually build up the darkness, paying attention to the areas where the light would hit and create shadows. This will add depth and dimension to your chocolate bar.
Step 6: Add the Wrapper
To complete the drawing, add a wrapper to your chocolate bar. Draw two curved lines on each side of the chocolate bar, following the shape of the sections and extending beyond the edges. Then, connect the ends of these lines with two straight lines at the top and bottom. This will create the illusion of a wrapped chocolate bar. Add some folds and creases to the wrapper to make it look more realistic.
Step 7: Color (optional)
If you wish to add some color to your drawing, use colored pencils or markers to enhance the chocolate bar’s appearance. Choose shades of brown for the chocolate and add a touch of silver or gold for the wrapper. Remember to blend the colors smoothly to create a realistic look.
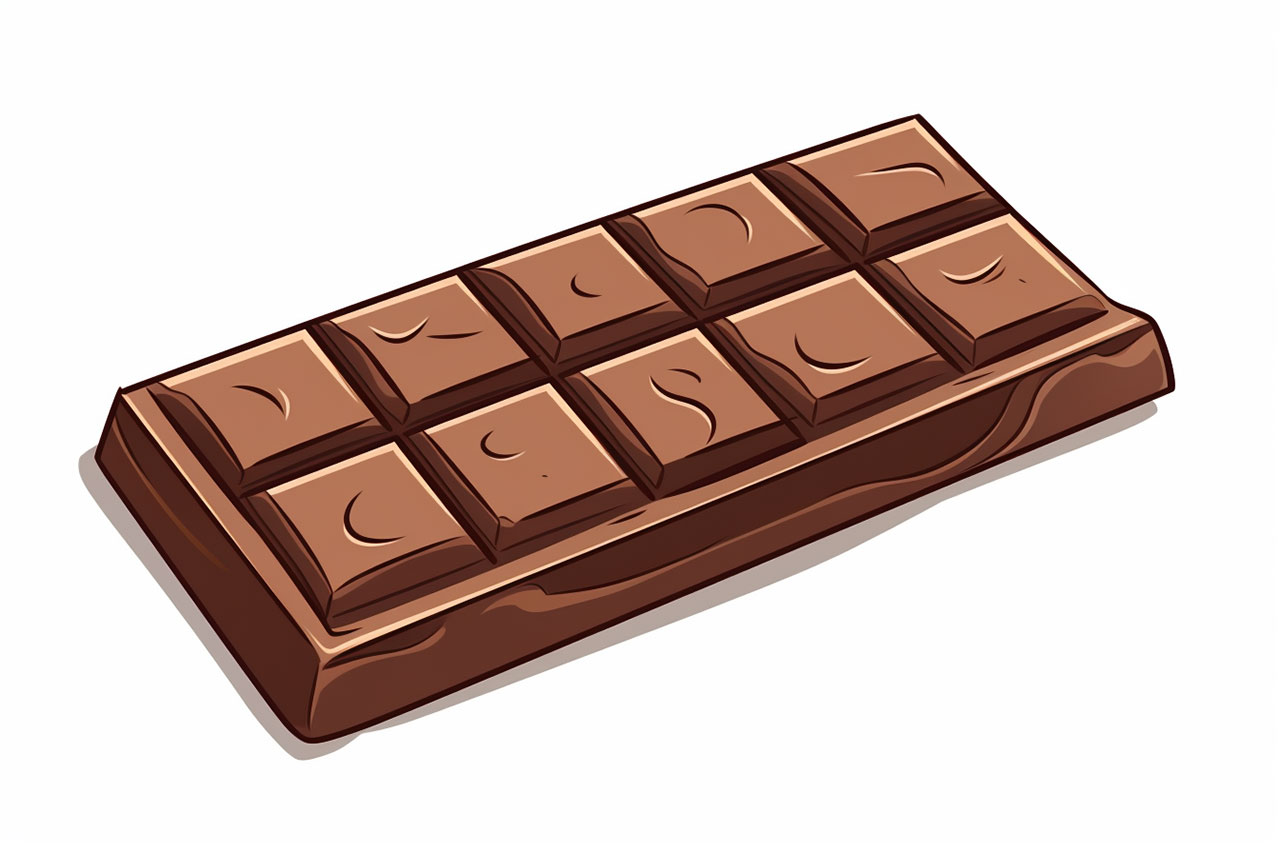
Conclusion
Congratulations! You have successfully drawn a delicious chocolate bar. By following these step-by-step instructions, you have learned how to create the basic outline, add texture and details, and even color your drawing. With practice, you can refine your skills and create even more realistic and mouthwatering chocolate bar illustrations. So keep drawing, and have fun satisfying your artistic cravings!