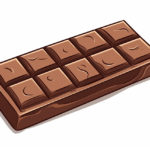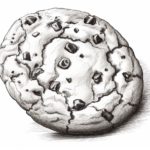
Welcome to this step-by-step guide on how to draw a chocolate. Whether you are an aspiring artist or simply looking to add some mouth-watering art to your collection, this tutorial will help you create a lifelike chocolate drawing. So grab your favorite art supplies and let’s get started!
Materials Required
Before we begin, let’s gather the necessary materials for this drawing tutorial. Make sure you have the following:
- A piece of drawing paper or a sketchbook
- Pencils of various hardness (HB, 2B, 4B, and 6B are recommended)
- An eraser
- A blending stump or a tortillon (optional, but useful for smooth shading)
- Colored pencils or watercolor pencils (optional, if you want to add color to your drawing)
Now that we have everything we need, let’s dive into the step-by-step process of drawing a chocolate.
Step 1: Sketch the Basic Shape
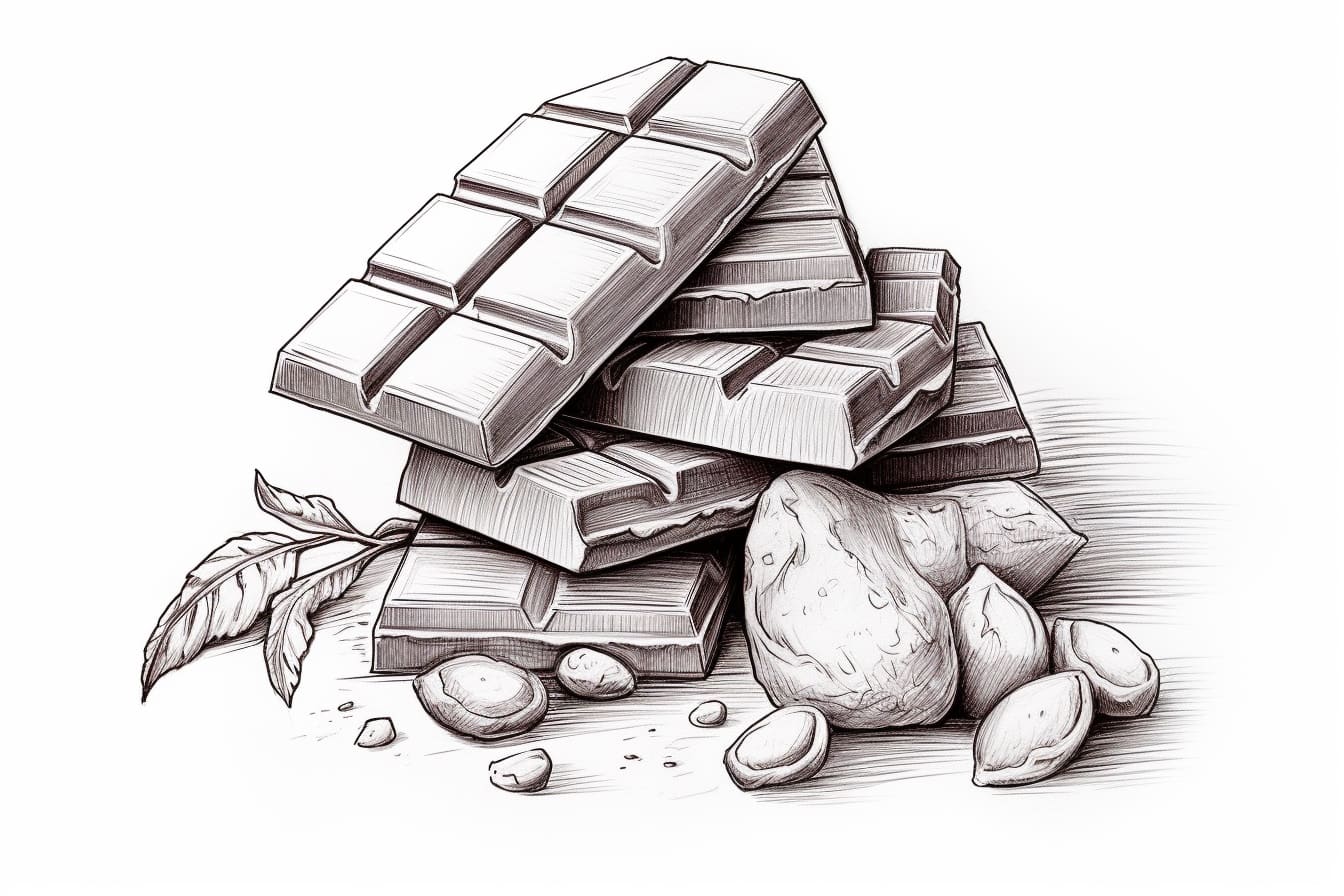
Start by lightly sketching the basic shape of your chocolate using a pencil. The shape can be rectangular, square, or even circular, depending on the type of chocolate you want to draw. Remember to keep the proportions and angles in mind, as they contribute to the realism of your drawing.
Step 2: Add the Details
Once you have the basic shape, start adding the details that give your chocolate its unique texture. Use short and light strokes to create a sense of depth and dimension. Pay attention to any ridges, cracks, or uneven surfaces that you see on a real chocolate bar. These details will make your drawing more realistic and interesting.
Step 3: Shade the Chocolate
Now it’s time to bring your chocolate to life by shading it. Start by identifying the areas where the light hits the chocolate and the areas that are in shadow. Use your pencil to create gradual tonal transitions, making the highlights lighter and the shadows darker.
To achieve a smooth shading effect, you can use a blending stump or a tortillon. Simply rub it lightly over the shaded areas to blend the graphite and create a more realistic texture.
Step 4: Add Highlights
To make your chocolate drawing look even more tempting, add highlights to create a glossy and reflective surface. Identify the areas where the light hits the chocolate directly and use an eraser or a kneaded eraser to gently lift off some graphite. This will create the illusion of light reflecting off the surface of the chocolate.
Remember to be subtle with these highlights and avoid overdoing it. A delicate touch will make the highlights look more natural.
Step 5: Optional Color or Watercolor Pencil
If you want to add some color to your drawing, now is the time to do so. You can use colored pencils or watercolor pencils to add a touch of realism to your chocolate. Start by applying a light layer of color and gradually build up the intensity by layering more color on top.
Blend the colors using a blending stump or a tortillon to create a smooth and realistic effect. Keep in mind that chocolate comes in various shades, so experiment with different tones to achieve the desired result.
Conclusion
Congratulations! You have successfully learned how to draw a mouth-watering chocolate. By following these step-by-step instructions, you created a realistic and delicious-looking piece of art. Remember to practice and experiment with different techniques to enhance your drawing skills further.
So, grab your art supplies and start drawing some tempting chocolates today! With a little practice, you’ll be able to draw chocolates that look good enough to eat.