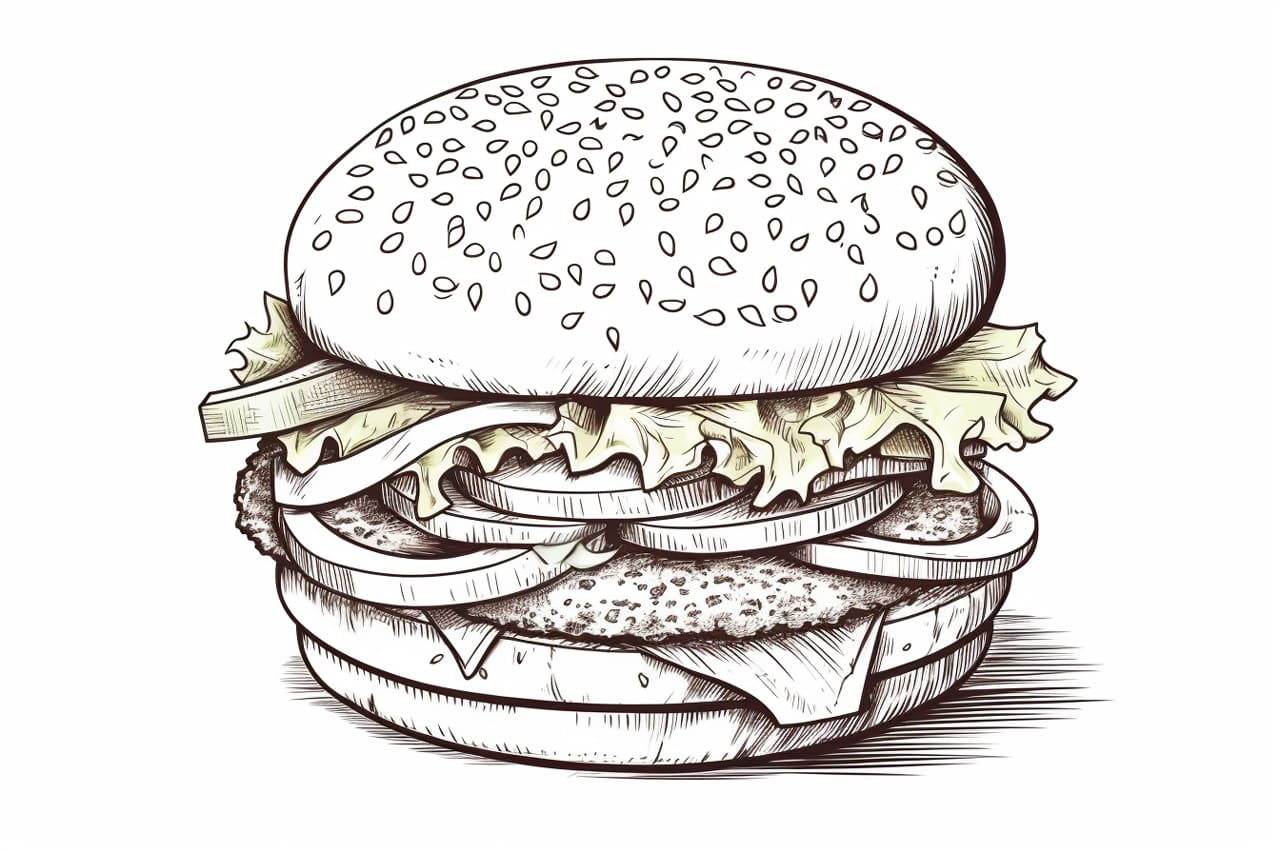
Drawing a cheeseburger may seem like a daunting task, but with a little guidance and practice, anyone can create a delicious-looking masterpiece. In this article, we will explore step-by-step instructions on how to draw a cheeseburger, from the bun to the toppings. So grab your sketchbook and let’s get started!
Materials Required
Before we dive into the drawing process, let’s gather all the materials you’ll need:
- Pencil: Choose a medium softness pencil (HB or 2B) for sketching and outlining.
- Eraser: Have both a kneaded eraser for gentle corrections and a regular eraser for more precise erasing.
- Paper: A blank sheet of paper, preferably of good quality, to showcase your artwork.
- Colored pencils or markers (optional): If you want to add some vibrant colors to your cheeseburger drawing, have some colored pencils or markers ready.
Now that you have all the required materials, let’s move on to the step-by-step instructions.
Step 1: Sketch the Outline of the Bun
Begin by lightly sketching an oval shape towards the center of your paper. This will serve as the outline for the top part of the bun. Make sure the oval is slightly elongated horizontally to represent the burger’s shape accurately.
Step 2: Add Details to the Bun
Next, draw another oval shape underneath the first one, connecting the two. This will form the bottom part of the bun. Adjust the shape and size as necessary to achieve the desired burger bun appearance. Remember, the bottom bun should be slightly wider than the top bun.
Step 3: Draw the Patty
Below the bottom bun, draw a slightly smaller oval shape to represent the burger patty. Position it so that it sits nicely between the buns. You can add some texture lines to depict the grilled texture of the patty if you wish.
Step 4: Create Cheese Slices
On top of the patty, draw two rectangles or squares, slightly smaller than the bun size, to represent the cheese slices. Place them side by side, slightly overlapping each other.
Step 5: Outline the Lettuce
Above the cheese, draw a wavy line to represent the lettuce. Start from one side of the bun and extend it to the other side. Add some smaller wavy lines within the larger one to give the lettuce a more detailed and realistic appearance.
Step 6: Add Tomato Slices
Now, draw two circles or semi-circles above the lettuce to represent the tomato slices. Position them in a way that they overlap slightly with the lettuce and the cheese.
Step 7: Draw Pickles
On the sides of the burger, draw small ovals or curved rectangles to represent the pickles. Place them between the lettuce and the cheese.
Step 8: Sketch Sesame Seeds on the Bun
To give the bun some texture, add tiny dots or U-shaped lines across the top part of the bun. These represent the sesame seeds commonly found on burger buns.
Step 9: Refine the Details
Take a moment to review your drawing and refine any areas that need adjustment. Use your eraser to remove any unnecessary sketch lines and make your drawing look cleaner and more defined.
Step 10: Add Colors (optional)
If you want to add some colors to your drawing, now is the time! Use colored pencils or markers to bring your cheeseburger to life. Experiment with various shades to make the ingredients look more realistic. Don’t be afraid to get creative with your color choices!
And there you have it – your very own cheeseburger drawing! With practice, you can refine your skills and create even more detailed and mouthwatering burger illustrations.
Conclusion
Drawing a cheeseburger can be a fun and rewarding artistic endeavor. By following the step-by-step instructions in this article, you can create a realistic and appetizing cheeseburger drawing of your own. Remember to embrace your creativity and experiment with colors to make your artwork truly stand out. So grab your pencil and paper, and enjoy the process of bringing this tasty treat to life on the page!

