Welcome to this step-by-step tutorial on how to draw a holly leaf. Holly leaves are iconic symbols of the holiday season, and learning to draw them can add a festive touch to your artwork. Whether you are a beginner or an experienced artist, this guide will take you through the process of creating a realistic and beautiful holly leaf. So grab your pencils and paper, and let’s get started!
Materials Required
Before we begin, let’s gather all the materials you will need:
- Paper: Choose a smooth, sturdy paper that is suitable for drawing, such as bristol board or drawing paper.
- Pencils: Have a range of graphite pencils available, from HB to 4B. These will allow you to create different tones and textures.
- Eraser: A kneaded eraser is recommended as it won’t damage the paper and can be shaped to erase small details.
- Blending tools: You can use a blending stump or a tortillon to blend and smooth out your shading.
- Reference image: Find a picture of a holly leaf to use as a reference or use a real holly leaf as a model.
Now that you have gathered your materials, let’s dive into the step-by-step process of drawing a holly leaf.
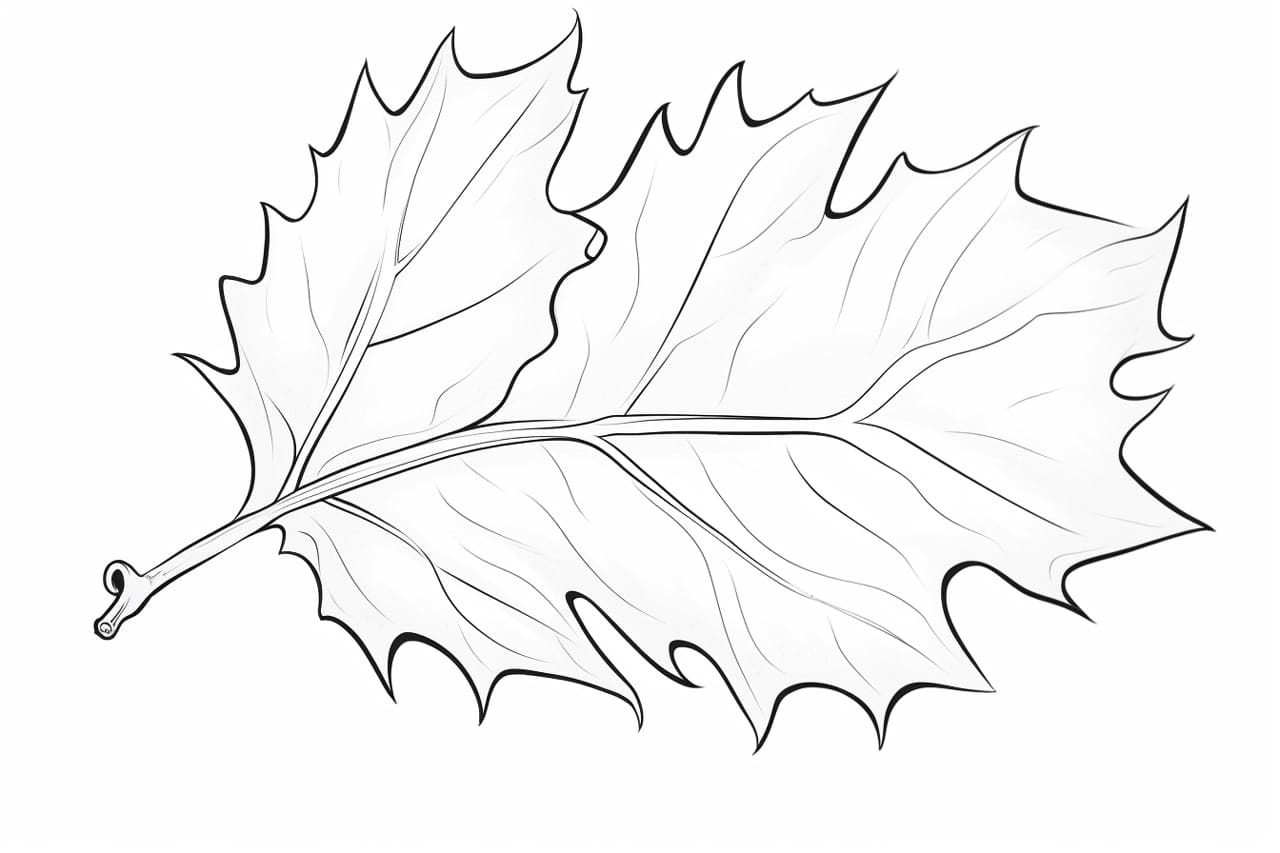
Step 1: Outline the Basic Shape
Start by lightly sketching the basic shape of the holly leaf. Holly leaves are typically elongated and have a pointed tip. You can draw a long oval shape with a slightly curved center line to represent the main vein of the leaf. Keep your lines light and loose at this stage, as we will refine them later.
Step 2: Add the Serrated Edges
Next, draw the serrated edges of the holly leaf. These jagged edges give the leaf its characteristic texture. Make small, triangular shapes along both sides of the leaf, with the pointed tips facing outward. The serrations can vary in size and shape, so feel free to add your own creative touch.
Step 3: Define the Veins
Holly leaves have prominent veins that run along the length of the leaf. Use your reference image or observation skills to draw these veins. Start from the center line and draw smaller curved lines branching out towards the serrated edges. These veins add detail and depth to the leaf, so take your time to make them look natural.
Step 4: Refine the Outline
With the basic structure in place, it’s time to refine the outline of the holly leaf. Use your pencil to darken the lines, adding more definition and shape to the leaf. Pay attention to the curves and angles of the leaf as you refine the outline. Make sure to erase any unnecessary guidelines or stray lines.
Step 5: Shade the Leaf
Now, we will add shading to give the holly leaf volume and depth. Start by identifying the light source in your reference image or choose one for your drawing. Imagine that the light is coming from a particular direction and create shadows accordingly. Using a softer pencil (e.g., 2B or 4B), shade the areas that are away from the light source. Apply light pressure with your pencil and build up the shading gradually to create a smooth transition between light and shadow.
Step 6: Add Texture to the Leaf
To make the holly leaf appear more realistic, we will add some texture. Use your pencil to lightly hatch or cross-hatch the surface of the leaf. This technique will create the illusion of small veins and tiny bumps on the leaf’s surface. Be careful not to overdo it; the texture should be subtle.
Step 7: Blend and Smoothen
After adding texture, use a blending stump or tortillon to carefully blend and smoothen the shading. This will soften any harsh lines and create a more realistic appearance. Blend in the direction of the veins, following the natural flow of the leaf.
Step 8: Highlight and Enhance
To make the holly leaf shine, add some highlights. Identify the areas where the light hits the leaf the most and use an eraser to gently lift off some graphite. This will create bright spots that add sparkle and dimension to your drawing. Be mindful not to erase too much; the highlights should be subtle and realistic.
Step 9: Final Touches
Take a step back and assess your drawing. Make any necessary adjustments or additions to enhance the overall look. Is there any part of the leaf that needs more shading? Is the texture balanced? Take your time and refine the details until you are satisfied with the result.
Conclusion
Congratulations on completing your holly leaf drawing! By following these step-by-step instructions, you have learned how to capture the beauty of this iconic holiday symbol. Remember to practice regularly to improve your drawing skills and explore different techniques. Have fun adding holly leaves to your holiday artwork and spread the festive cheer!