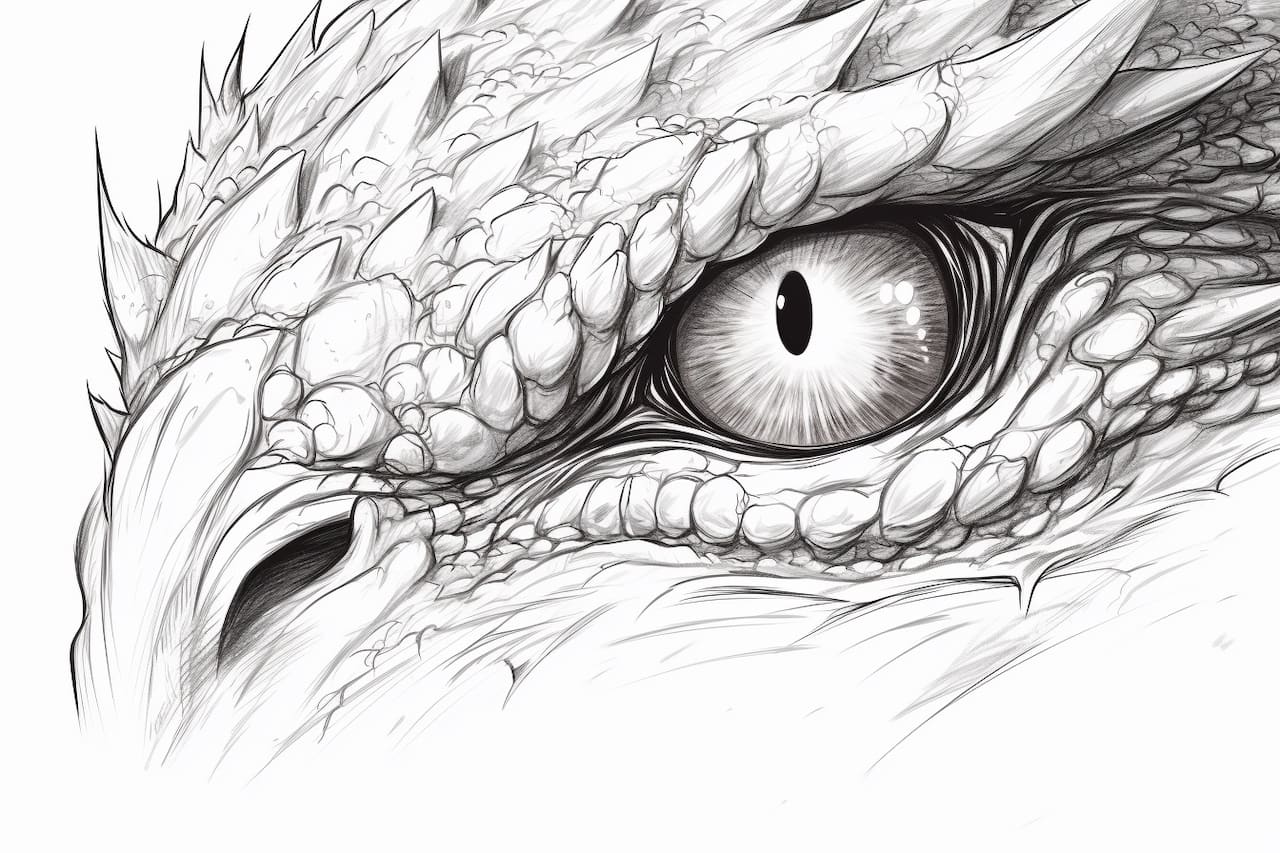
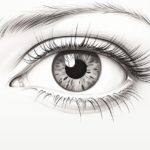
Whether you’re a seasoned artist or a beginner, drawing a dragon’s eye can be a fun and rewarding experience. The intricate details and captivating look of a dragon’s eye can add depth and personality to your artwork. In this step-by-step tutorial, I will guide you through the process of drawing a dragon’s eye, using simple shapes and shading techniques. So grab your pencils, paper, and let’s get started!
Materials Required:
- Pencil: It’s best to use a medium-soft graphite pencil, such as an HB or 2B, to sketch the initial outline and shading.
- Paper: Choose a smooth, heavyweight paper or a sketchbook that can handle pencil shading.
- Eraser: Have a kneaded eraser or a soft vinyl eraser on hand for any necessary corrections.
- Blending tool: You can use a blending stump or a tortillon to smooth out the shading and create a realistic texture.
- Reference image: It’s helpful to have a reference image of a dragon’s eye to guide you through the process. You can find images online or use a book or magazine as a reference.
Step 1: Outline the Basic Shape of the Eye
Start by lightly sketching an oval shape on your paper. This will be the basic outline of the dragon’s eye. You can use light, loose lines to ensure that you can easily make corrections later on. Take your time to get the shape and proportion just right. Remember, practice makes perfect!
Step 2: Add the Sclera and Pupil
Next, draw a smaller oval shape within the previously sketched oval. This smaller oval will represent the sclera, which is the white part of the eye. Leave a small space at the top of the sclera for the eyelid.
Inside the sclera, draw a smaller circle or oval for the pupil. The size of the pupil will depend on the look you want to achieve for your dragon’s eye. A larger pupil can give the eye a more menacing appearance, while a smaller pupil can create a sense of intensity.
Step 3: Define the Eyelids
Now, it’s time to add some depth to the eye by defining the upper and lower eyelids. Start by drawing a curved line above the eye, following the shape of the eye outline. This will be the upper eyelid. Make sure the line is smooth and slightly thicker towards the outer corner of the eye.
Next, draw a similar curved line below the eye to create the lower eyelid. The lower eyelid should be softer and thinner than the upper eyelid. These lines will help give the eye a more realistic and three-dimensional look.
Step 4: Add Texture to the Sclera
To give the dragon’s eye a textured and scaly appearance, we’ll add some details to the sclera. Start by drawing small, curved lines radiating from the pupil towards the outer edge of the eye. These lines should vary in length and thickness to create a natural and organic look.
Continue adding these curved lines all around the pupil, overlapping them slightly. Be careful not to make the lines too symmetrical, as it can make the eye look unnatural. Take your time and experiment with different line lengths and thicknesses until you achieve the desired texture.
Step 5: Shade the Eyelids
To make the eye look more realistic, we’ll add shading to the eyelids. Start by lightly shading the area above the upper eyelid, using a pencil with a light touch. Gradually darken the shading towards the outer corner of the eye to create a sense of depth and dimension.
Next, shade the area below the lower eyelid in a similar manner. Remember to keep the shading lighter towards the inner corner of the eye and gradually darken it towards the outer corner. Use smooth, even strokes to create a seamless transition between the different shades.
Step 6: Add Highlights and Reflections
Now, it’s time to make the dragon’s eye come alive by adding highlights and reflections. Start by lightly erasing the areas within the pupil and sclera where you want the highlights to appear. These areas will be lighter in color and will create the illusion of light reflecting off the eye.
Using a white colored pencil or a white gel pen, carefully add small dots or lines within the highlighted areas. These dots and lines should follow the shape of the eye and mimic the appearance of light hitting the surface. Be mindful of the direction and intensity of the light source to create a realistic effect.
Step 7: Finalize the Details and Shading
To complete your dragon’s eye drawing, take a step back and assess the overall composition. Make any necessary adjustments or corrections to the shape, shading, or details. Use your blending tool to gently smudge and blend the shading, particularly around the eyelids, to create a soft and realistic appearance.
If you want to add additional details, such as wrinkles, scales, or color variations, feel free to do so. Experiment with different techniques and textures to make the eye truly unique and captivating.
Conclusion
Drawing a dragon’s eye can be a challenging yet incredibly satisfying experience. With the right techniques and a bit of practice, you can create a stunning piece of artwork that captures the mystique and allure of the mythical dragon. Remember to take your time, pay attention to the details, and most importantly, have fun!
So grab your pencils and start sketching your own dragon’s eye masterpiece today!

