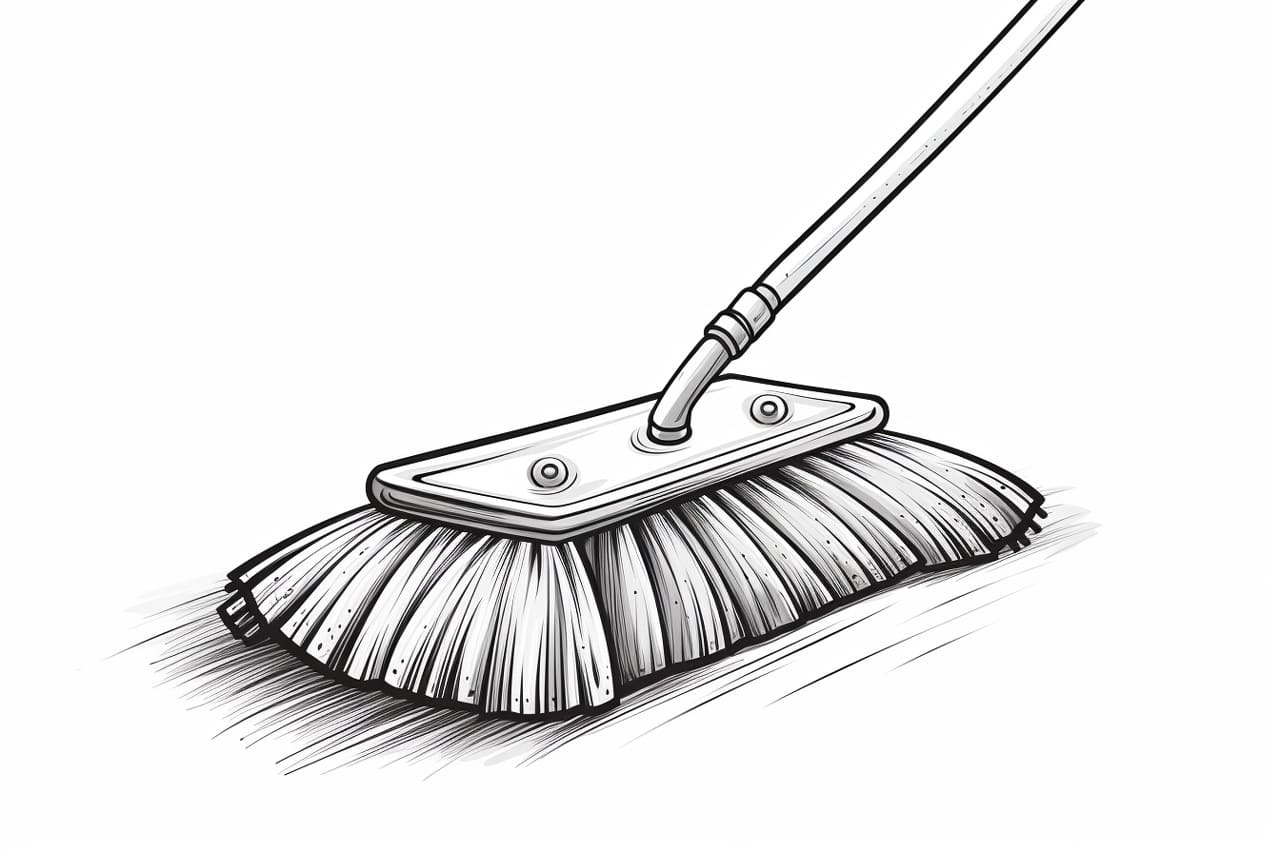
Welcome to this step-by-step guide on how to draw a mop. Drawing everyday objects can be a great exercise to improve your observational skills and enhance your drawing abilities. In this tutorial, we will break down the process of drawing a mop into simple, easy-to-follow steps. So grab your pencil and paper, and let’s get started!
Materials Required
To begin this drawing tutorial, you will need the following materials:
Make sure you have a sharp pencil and a clean sheet of paper ready before we dive into the steps of drawing a mop.
Step 1: Outline the Shape
Start by lightly sketching the basic outline of the mop using your pencil. Remember, this is just a rough guideline, so don’t worry about making it perfect at this stage.
Step 2: Draw the Mop Head
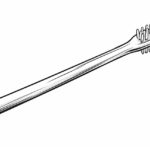
Next, focus on drawing the mop head. Begin by drawing a large circular shape at the top of the outline you drew in the previous step. The mop head should be slightly wider than the handle.
Step 3: Add the Strands
Now it’s time to add the strands of the mop. Draw several curved lines protruding from the bottom of the circular mop head. These lines should be uneven in length and thickness, as this will give the mop a more realistic appearance.
Step 4: Sketch the Handle
Move on to drawing the handle of the mop. Extend a straight line downwards from the mop head, increasing its width as you go down. This will form the main body of the handle.
Step 5: Add Texture to the Handle
To make the handle look more realistic, add some texture to it. Draw a series of lines running vertically down the length of the handle. Then, add some diagonal lines crossing these vertical lines to create a woodgrain-like pattern.
Step 6: Refine the Shape
Take a moment to evaluate the proportions and overall shape of your mop drawing. Make any necessary adjustments or corrections before moving on to the next step.
Step 7: Darken the Lines
Now that you are satisfied with the basic shape of your mop, go ahead and darken the lines using your pencil or a pen. Be sure to trace over the clean lines while leaving the unnecessary pencil marks behind.
Step 8: Erase Unwanted Lines
Using an eraser, carefully remove any unwanted pencil marks that are still visible. This will give your drawing a cleaner and more finished look.
Step 9: Add Shading and Details
To add depth and dimension to your mop drawing, you can add shading and small details. Shade the mop head slightly, leaving the areas where light would hit it a bit lighter. You can also draw some dark lines along the strands of the mop to create texture.
Step 10: Finalize Your Drawing
Take a step back and evaluate your drawing. Make any final adjustments or additions to enhance the overall look of your mop. Once you are happy with the result, your drawing is complete!
Conclusion
Drawing everyday objects can be a fun and rewarding exercise for both beginners and experienced artists alike. In this tutorial, we have learned how to draw a mop step by step. By following these simple instructions and practicing regularly, you can improve your drawing skills and create realistic representations of various objects.
Remember to start with a basic outline, break down the object into simple shapes, add details, and refine your drawing as you go. Don’t forget to have fun and experiment with different shading techniques to add depth to your artwork.
So grab your pencils and give it a try! With some practice and patience, you’ll be able to draw a mop with confidence in no time.