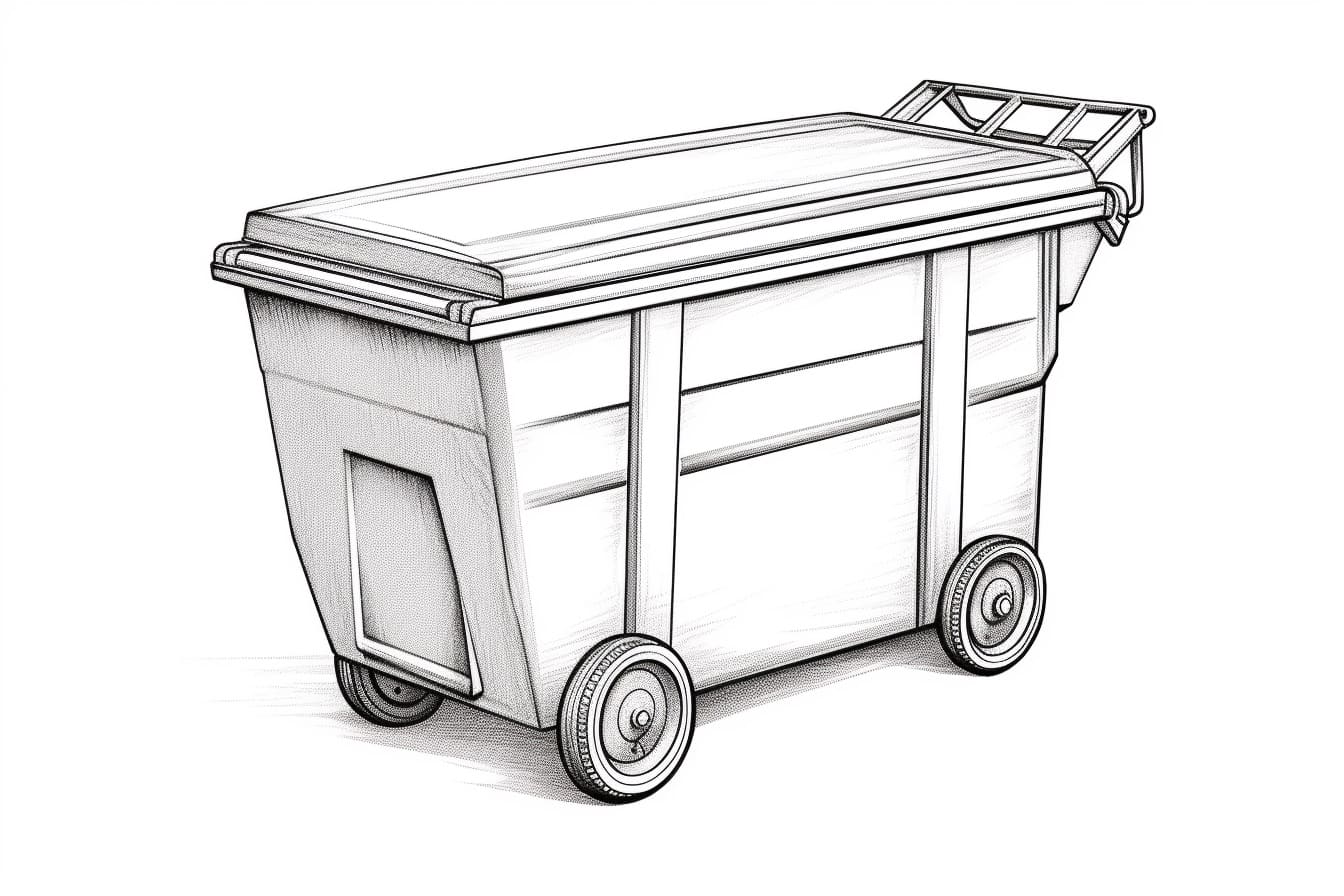
Have you ever wanted to draw a dumpster but didn’t know where to start? Well, look no further! In this step-by-step guide, I will walk you through the process of how to draw a dumpster. Whether you’re an experienced artist or a beginner, these instructions will help you create an impressive drawing. So grab your pencils, and let’s get started!
Materials Required
Before we dive into the drawing process, let’s gather the materials you’ll need:
- Drawing paper: Choose a quality paper that’s suitable for your chosen medium. A heavier-weight paper works well for graphite pencils, while a smoother paper is ideal for colored pencils.
- Pencils: Invest in a range of graphite pencils, including H, HB, and B grades. These different grades will help you achieve various tones and textures in your drawing.
- Eraser: A good quality eraser is a must-have tool for any artist. Choose a kneaded eraser for precision erasing and a softer eraser for larger areas.
- Ruler: A straight edge or ruler will help you create clean and precise lines in your drawing.
- Reference image: Find a clear image of a dumpster to use as a reference. This will help you accurately capture the shape and details of the dumpster.
Now that you have all the necessary materials, let’s move on to the step-by-step process of drawing a dumpster.
Step 1: Sketch the Basic Shape
Start by lightly sketching an outline of the basic shape of the dumpster using a lighter pencil grade, such as an H pencil. Pay close attention to the proportions and angles of the dumpster. Use a ruler to ensure your lines are straight and accurate.
Step 2: Add Details
Next, add the details that make the dumpster recognizable. Look closely at your reference image to observe the different elements, such as the lid, wheels, and handles. Use a darker pencil grade, like an HB, to emphasize these details.
Step 3: Define the Shading
Now it’s time to add shading to your drawing to give it depth and dimension. Study the lighting in your reference image to determine where the shadows fall and where the highlights appear. Start by lightly shading the entire dumpster with a lighter pencil grade, then gradually build up the shadows with darker pencils.
Step 4: Refine the Details
Once you’re satisfied with the shading, take a closer look at the smaller details of the dumpster. Add any additional lines, textures, or markings that are present in your reference image. Use a sharp pencil to ensure precise lines and details.
Step 5: Finalize the Shading
In this step, refine the shading further by adding more contrast and depth. Darken the shadows and add highlights with an eraser to create a three-dimensional effect. Take your time to achieve the desired level of realism in your drawing.
Step 6: Clean Up Your Drawing
Now that your drawing is complete, it’s time to clean it up. Use an eraser to remove any stray marks or smudges, and make sure all the lines and details are clean and crisp.
Conclusion
Congratulations on completing your dumpster drawing! By following these step-by-step instructions, you have learned how to draw a realistic dumpster from start to finish. Whether you’re an artist looking to expand your skills or a beginner wanting to try something new, this guide has provided you with the necessary techniques to create an impressive drawing. Remember, practice makes perfect, so keep honing your skills and experimenting with different subjects. Happy drawing!