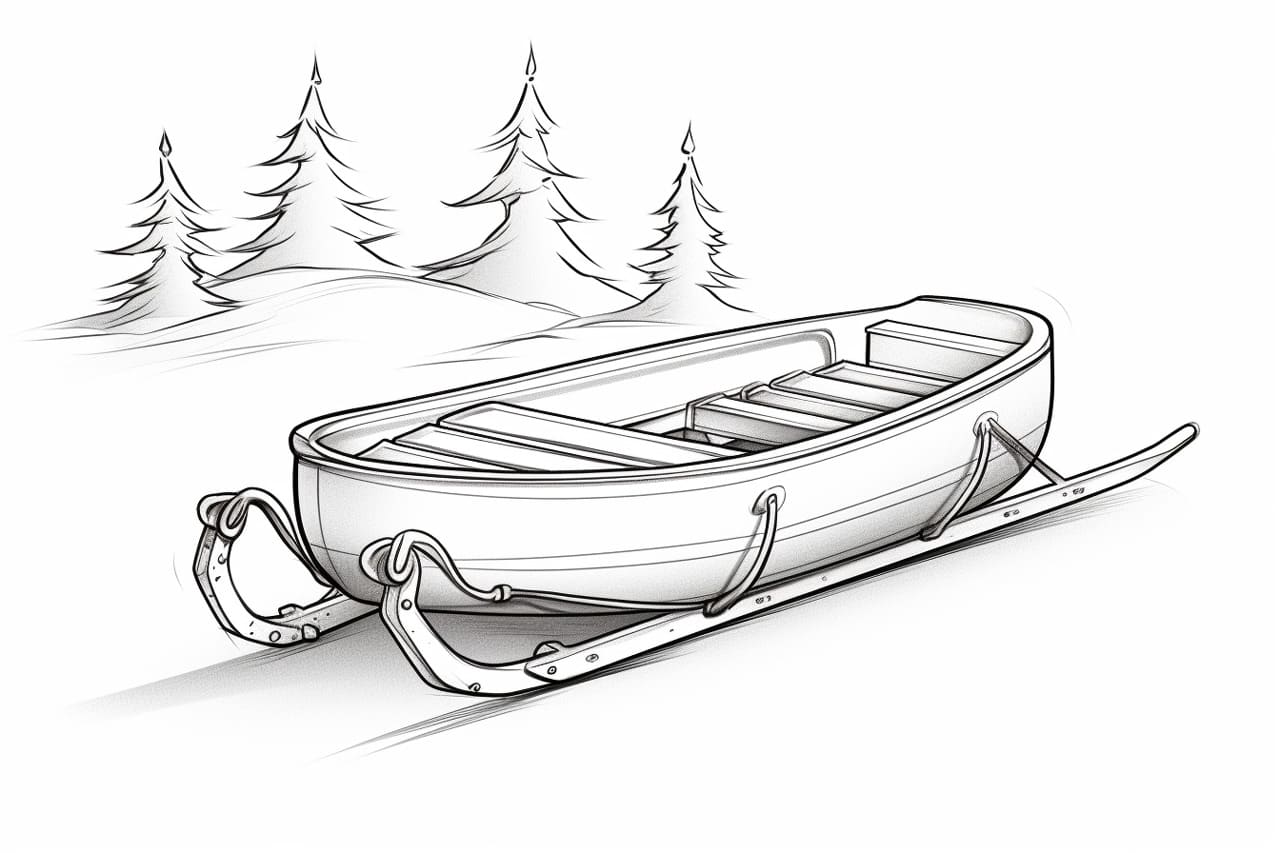
Welcome to this step-by-step guide on how to draw a sled! Whether you’re an experienced artist or just starting out, this tutorial will help you create a beautiful drawing of a sled that you can be proud of. With clear and concise instructions, you’ll be able to follow along easily and create your own masterpiece. So grab your drawing supplies and let’s get started!
Materials Required:
To complete this drawing, you will need the following materials:
- A pencil
- Eraser
- Paper
- Ruler
- Colored pencils or markers (optional)
Now that you have all the necessary materials, let’s jump into the steps of drawing a sled.
Step 1: Sketch the Base of the Sled
Start by drawing a long, straight horizontal line near the bottom of the paper. This will be the base of the sled. Use your ruler to help you create a precise and straight line.
Step 2: Add the Runners
From the ends of the base, draw two slightly curved lines that extend downward. These lines will represent the runners of the sled. Make sure they are symmetrical and parallel to each other.
Step 3: Connect the Runners
At the bottom ends of the runners, draw another parallel line to connect them. This will form the front part of the sled.
Step 4: Draw the Sled’s Body
Now, it’s time to draw the body of the sled. From the front part, draw a curved line that follows the shape of the base and then curves upward. This will create a smooth and flowing shape for the sled.
Step 5: Add the Backrest
At the end of the curved line, draw a vertical line that extends upward. This will serve as the backrest of the sled. Make sure it is centered and proportional to the rest of the drawing.
Step 6: Enhance the Runners
To give the runners more depth and dimension, draw a series of short diagonal lines along their length. This will create the impression of wood slats.
Step 7: Sketch the Handle
On the right side of the backrest, draw a curved shape that resembles a lowercase letter “r.” This will be the handle of the sled. Make sure it is proportionate to the rest of the drawing.
Step 8: Add Detail to the Sled
Now, it’s time to add some detail to the sled. You can draw patterns or decorative elements on the backrest and the sides of the sled. Get creative with your design and make it unique!
Step 9: Refine Your Drawing
Take a step back and look at your drawing as a whole. Make any necessary adjustments or corrections to ensure that everything is proportional and symmetrical.
Step 10: Finalize Your Drawing
Once you are satisfied with the overall look of your sled, trace over your pencil lines with a pen or marker. This will make your drawing more defined and give it a finished appearance.
Conclusion
Congratulations on completing your drawing of a sled! We hope you enjoyed following along with this step-by-step guide. Remember, practice makes perfect, so keep honing your drawing skills. With time and dedication, you’ll be able to create more intricate and realistic drawings. Happy sketching!