Drawing a skull may seem intimidating at first, but with the right guidance and practice, anyone can master this iconic symbol. Whether you’re an aspiring artist or simply want to explore your creativity, this step-by-step guide will teach you how to draw a skull with ease. So grab your pencils, erasers, and paper, and let’s get started!
Materials Required
Before we begin, make sure you have the following materials:
- Pencils: You’ll need a range of pencils with different lead hardness, such as an HB, 2B, and 4B.
- Erasers: A kneaded eraser and a regular pencil eraser will come in handy.
- Paper: Use a sketchpad or drawing paper that is thick enough to withstand erasing and smudging.
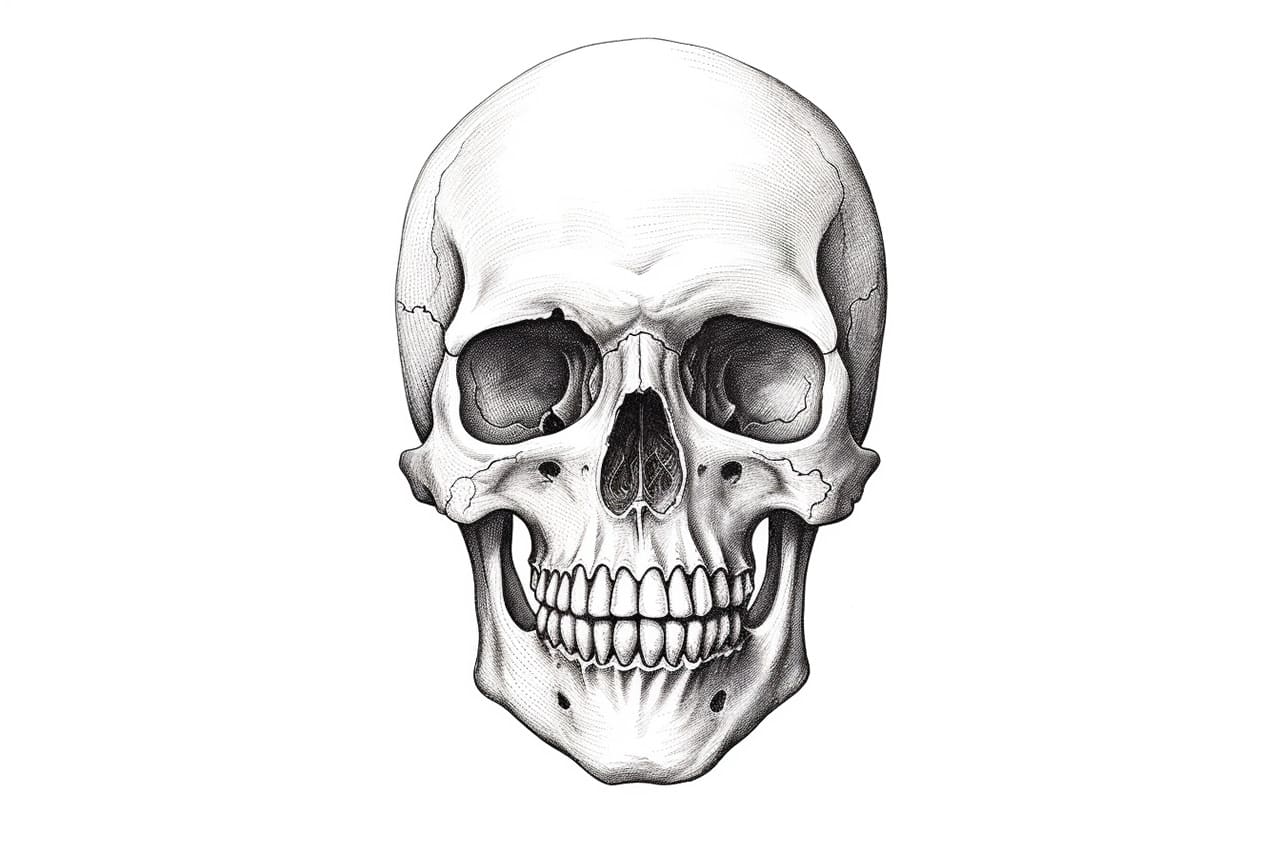
- Reference Images: It’s helpful to have skull reference images for guidance. You can find them online or use a printed reference.
Now that you have your materials ready, let’s dive into the step-by-step process of drawing a skull.
Step 1: Basic Shape
Start by lightly sketching a simple oval shape in the center of your paper. This will serve as the basic structure of the skull. Don’t worry about making it perfect since we’ll be refining the shape in later steps.
Step 2: Eye Sockets
Add two small, almond-shaped circles in the upper portion of the oval. These will represent the eye sockets. Place them symmetrically on both sides of the vertical center line of the oval.
Step 3: Nose Socket
Below the eye sockets, draw a curved line that connects the two sides of the oval. This will form the nose socket. Keep in mind that the nose socket should be slightly wider than the eye sockets.
Step 4: Jawline
Extend two curved lines from the bottom of the oval to create the jawline of the skull. The jawline should gradually taper towards the chin, forming a triangular shape. Make sure both sides of the jawline are symmetrical.
Step 5: Teeth
Divide the jawline into three equal sections. Starting from the center of each section, draw a series of small rectangular shapes to represent the teeth. Make the teeth slightly curved and pointed to give them a more realistic look.
Step 6: Eye and Nose Details
Add more definition to the eye and nose sockets. Refine the shape of the eye sockets by softly curving the top and bottom lines. For the nose socket, draw a small triangular shape with rounded corners in the center.
Step 7: Eye and Nose Shadows
Darken the areas around the eye and nose sockets to create shadows. This will give the skull a more three-dimensional appearance. Use a softer pencil, such as a 4B, and shade lightly at first, gradually building up the darkness.
Step 8: Teeth and Jaw Shadows
Add shadows to the teeth and jawline to enhance depth. Shade the areas between the teeth and along the sides of the jawline using hatching or cross-hatching techniques. Remember to keep the shading consistent with the light source you envision.
Step 9: Fine Details
Take a closer look at your skull drawing and refine any areas that need improvement. Pay attention to the shape and proportions of the eye and nose sockets, as well as the teeth and jawline. Erase any unnecessary lines and adjust the shading if needed.
Step 10: Final Shading
To give your skull drawing a more finished look, add overall shading to create contrast and depth. Use various pencil pressures and shading techniques to achieve a realistic effect. Pay attention to the areas of the skull that would naturally cast shadows, such as the eye sockets and under the jawline.
Conclusion
Congratulations! You have successfully learned how to draw a skull. Remember, the key to improving your drawing skills is practice. Don’t be discouraged if your first attempt isn’t perfect. Keep practicing and experimenting with different techniques, and you’ll soon be able to create stunning skull illustrations. Now go grab your pencils and unleash your creativity!