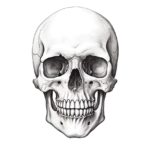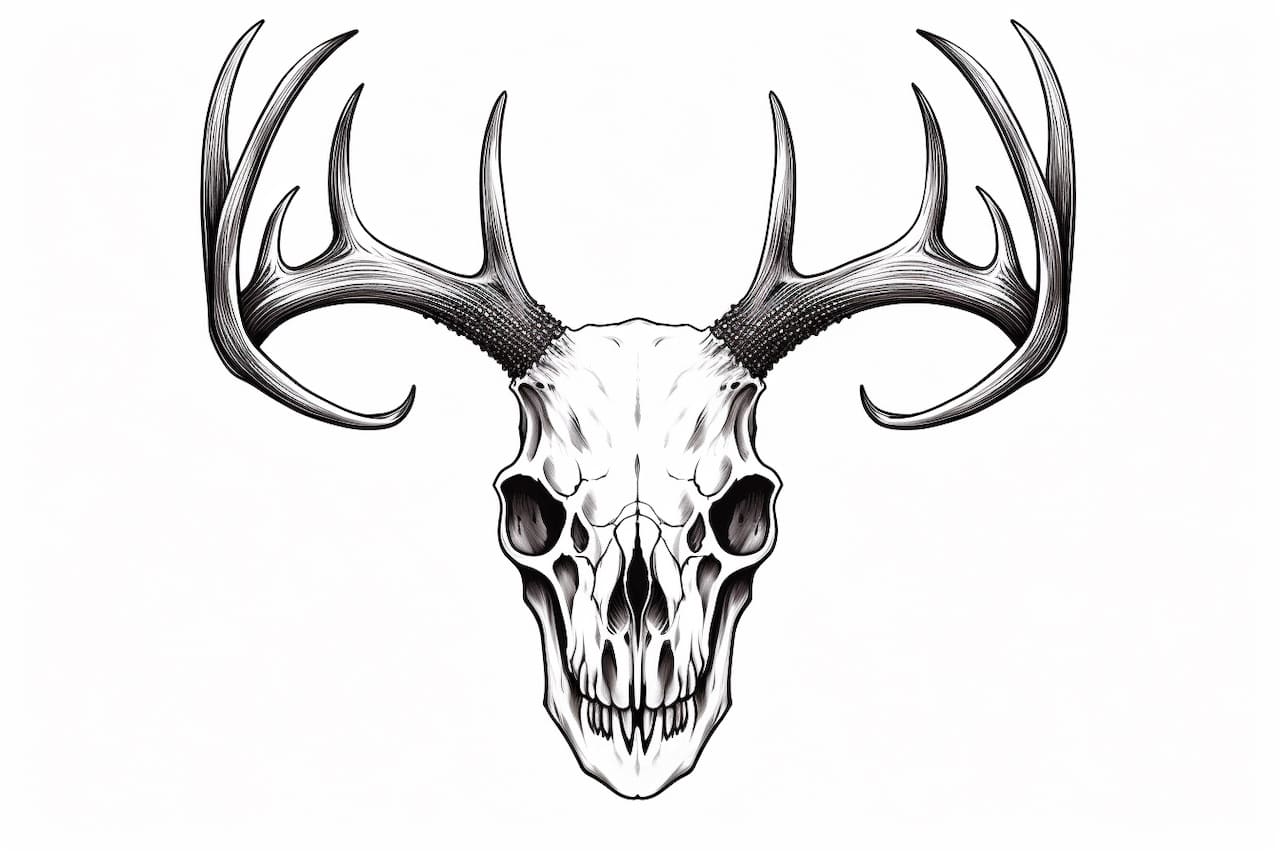
Welcome to this step-by-step tutorial on how to draw a deer skull. Whether you’re an experienced artist or just starting out, this guide will help you create a realistic and detailed representation of a deer skull. By following these instructions, you’ll be able to capture the intricate structure and unique characteristics of this magnificent creature.
Materials Required
Before we dive into the drawing process, let’s gather the necessary materials:
- Drawing paper: Choose a high-quality paper that can withstand multiple layers of pencil and erasing.
- Pencils: Get a range of graphite pencils, such as 2H, HB, 2B, 4B, and 6B, to create varying degrees of darkness and texture.
- Erasers: Have both a kneaded eraser for lifting graphite and a regular eraser for larger areas.
- Pencil sharpener: Keep your pencils sharp for precise lines and details.
- Blending tools: Use blending stumps or tortillons to create smooth transitions and textures.
- Reference image: Find a clear and well-lit photograph or illustration of a deer skull to guide your drawing.
With these materials in hand, let’s get started!
Step 1: Basic Shapes
Begin by lightly sketching the basic shapes of the deer skull. Use geometric shapes to outline the skull’s main structure. Start with a circle for the cranium, then add a rectangle for the snout. Position these shapes proportionally on your drawing paper, considering the size and angle of the skull you want to portray.
Step 2: Add Details
Now, using the basic shapes as a guide, start adding more refined details to the deer skull. Study your reference image to accurately capture the unique features of a deer skull, such as the eye sockets, antler bases, nasal cavity, and teeth. Sketch these details lightly at first, ensuring correct placement and proportions.
Step 3: Define the Contours
Next, refine the outlines and contours of the deer skull. Use a darker pencil, such as a 2B or 4B, to trace over the initial sketch, making the lines more defined and prominent. Pay attention to the subtle curves and angles of the skull, creating smooth transitions between different parts.
Step 4: Shading
Now it’s time to add depth and dimension to your drawing by applying shading. Observe the light source in your reference image to determine where the lightest and darkest areas should be. Start by shading the areas that are in shadow, such as the eye sockets and nasal cavity, using a softer pencil like a 4B or 6B. Gradually build up the darkness by layering the graphite and blending with a blending stump.
Step 5: Texture and Details
To create texture and bring your deer skull to life, focus on adding intricate details. Use a combination of short, light strokes and cross-hatching techniques to mimic the texture of bone and antlers. Pay close attention to the variation in tones and the direction of the bone fibers. Add small cracks, notches, and imperfections to make your drawing more realistic and authentic.
Step 6: Refine and Adjust
Take a step back and assess your drawing as a whole. Look for any areas that need refinement or adjustment. Are the proportions correct? Do the details match your reference image? Make any necessary modifications, erasing and redefining lines as needed. Remember, drawing is a constant process of observation and adjustment.
Conclusion
Congratulations on completing your deer skull drawing! By following these step-by-step instructions, you have learned how to capture the intricate details and unique characteristics of a deer skull. Remember to practice regularly and experiment with different techniques to further enhance your drawing skills. With time and dedication, you’ll be able to create stunning and realistic representations of various subjects. Happy drawing!