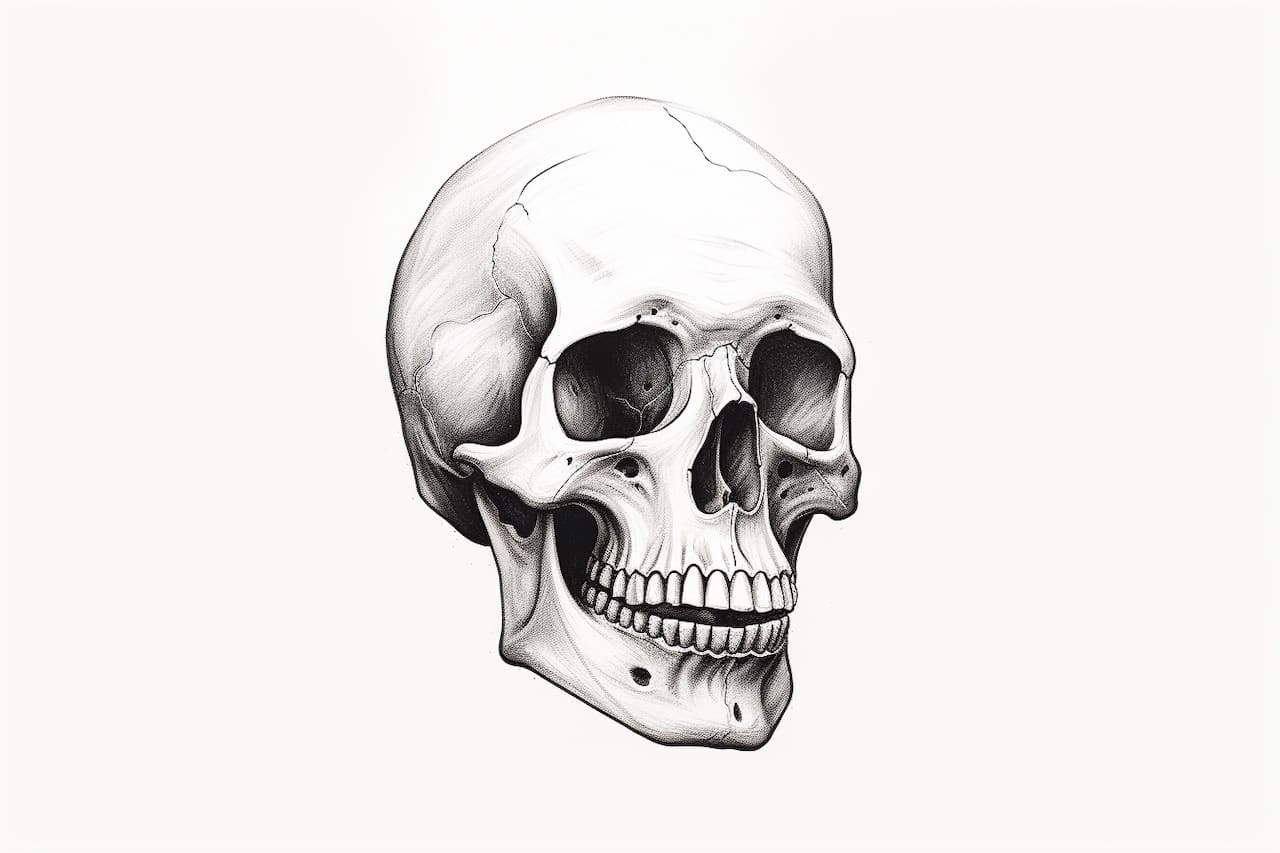
Welcome to this step-by-step guide on how to draw a skeleton face! Whether you’re a beginner just starting out or an experienced artist looking to add some spookiness to your artwork, this tutorial will help you bring a skeleton face to life on paper.
Drawing a skeleton face may seem complex, but with some basic shapes and careful attention to detail, you can create a creepy and realistic piece of art. So, let’s get started and bring your skeleton face drawing to life!
Materials Required
Before we begin, make sure you have the following materials ready:
- Pencil: Choose a pencil with a medium hardness (HB or 2B) for sketching and outlining.
- Eraser: Opt for a soft eraser to easily remove any mistakes or guidelines.
- Paper: Select a clean sheet of paper that is suitable for your chosen drawing medium.
- Fine-tip Pen or Marker (optional): You can use a pen or marker for outlining and adding details to your final drawing.
Now that you have your materials ready, let’s dive into the steps of drawing a skeleton face!
Step 1: Basic Outline
Start by lightly sketching a circle for the skull shape. Then, draw two intersecting lines across the circle to help position the facial features. The horizontal line should be slightly lower than the center of the circle.
Step 2: Eye Sockets
Using the guidelines you drew in the previous step, sketch the eye sockets of the skeleton face. Since a skeleton face lacks flesh, the eye sockets will be deep and hollow. Draw two ovals within the eye socket area, leaving a small space in between for the nasal cavity.
Step 3: Nasal Cavity
Below the space between the eye sockets, draw a curved shape to represent the nasal cavity. It should be similar in shape to an upside-down heart.
Step 4: Jawline
Extend two lines down from the sides of the circle to create the jawline of the skeleton face. The jawline should start just below the eye sockets and curve slightly outward to give the appearance of the skull.
Step 5: Teeth
Draw the teeth of the skeleton face by sketching small rectangles along the upper and lower jawlines. Make sure they are evenly spaced and vary in size to add realism.
Step 6: Cheekbones
To give the skeleton face more structure, add cheekbones by drawing two curved lines on each side of the face. These lines should start near the eye sockets and curve down towards the jawline.
Step 7: Fine-Tuning the Outline
Refine the outline of the skeleton face by erasing any unnecessary guidelines and adjusting the jawline, teeth, and other facial features as needed. Take your time with this step to achieve the desired shape and proportion.
Step 8: Adding Shadows
To create a more realistic skeleton face, add shadows to certain areas. Darken the eye sockets, nasal cavity, and areas below the cheekbones to create depth and dimension.
Step 9: Details and Final Touches
Now it’s time to add details to your skeleton face. Use a fine-tip pen or marker to outline the main features such as the eye sockets, nasal cavity, and teeth. You can also add cracks or lines to give the skull a weathered or aged appearance. Erase any remaining pencil marks to clean up the drawing.
Congratulations! You have successfully drawn a skeleton face. With practice, you can experiment with different styles and add your own creative touches to make your skeleton face unique.
Conclusion
Drawing a skeleton face may seem daunting at first, but by breaking it down into simple steps, anyone can create a spooky and realistic artwork. Remember to take your time, practice, and enjoy the process. So grab your pencils, paper, and let your imagination bring this eerie character to life!
We hope this step-by-step guide on how to draw a skeleton face has been helpful. Happy drawing!

