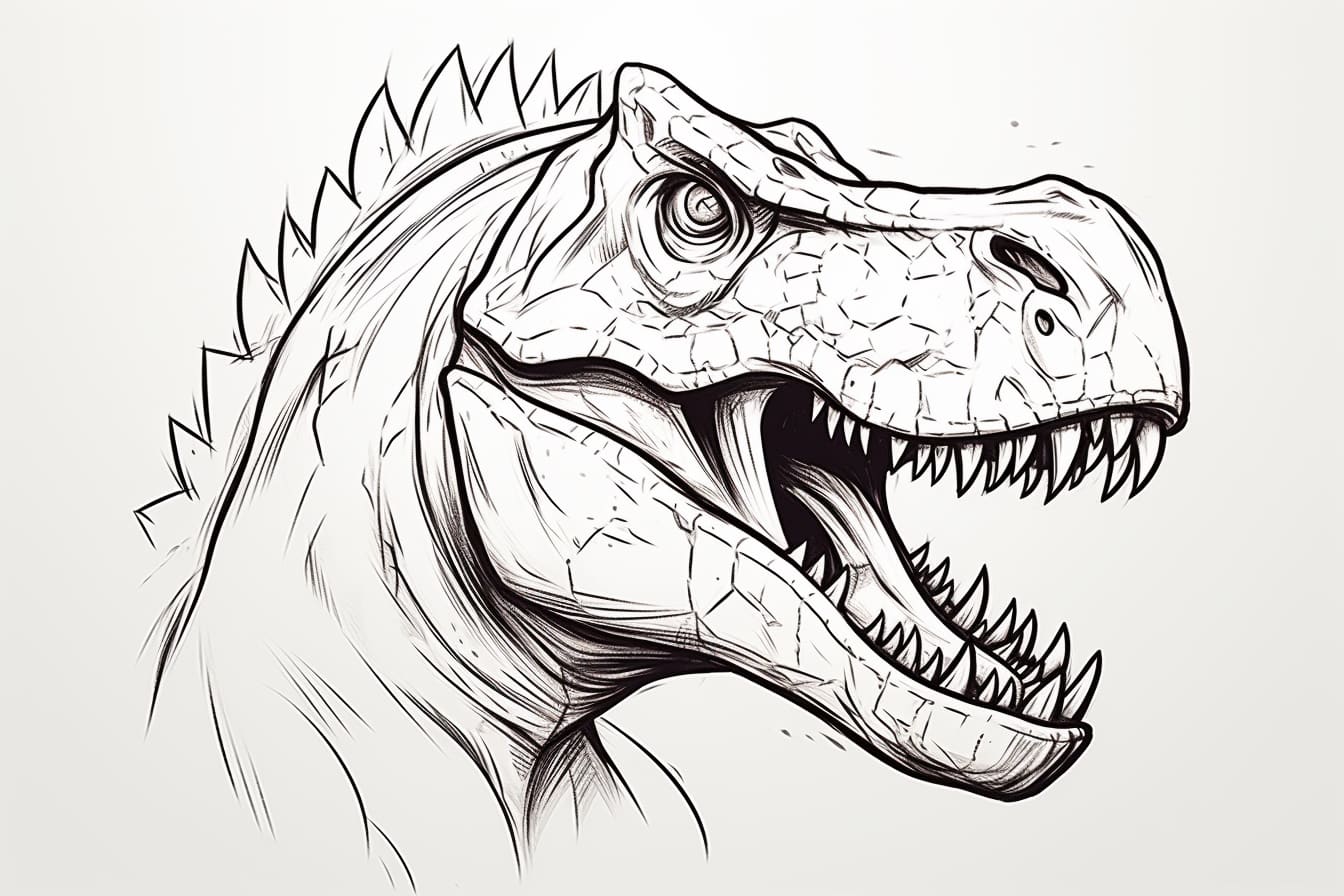
Welcome to this step-by-step guide on how to draw a dinosaur head! Drawing a dinosaur can be a fun and exciting project, allowing you to unleash your creativity and imagination. This tutorial will break down the process into easy-to-follow steps, helping you create a stunning and lifelike representation of a dinosaur head. So let’s get started!
Materials Required
Before we begin, let’s gather all the materials you will need for this drawing:
- Drawing paper or sketchbook
- Pencil (preferably HB or 2B)
- Eraser
- Fine-tipped markers or colored pencils (optional, for adding details)
Now that we have our materials ready, let’s move on to the drawing process.
Step 1: Basic Shapes
Every drawing starts with basic shapes that serve as a foundation. Begin by sketching a large oval shape in the center of your paper. This oval will act as the dinosaur’s head.
Step 2: Eye and Snout Placement
To make your dinosaur head more dynamic and realistic, determine the placement of the eyes and snout. Draw two small circles within the oval shape for the eyes, ensuring they are evenly spaced. Then, sketch a triangle shape at the bottom for the snout, with its base connecting to the oval.
Step 3: Adding Detail
Now, let’s add some detail to our dinosaur head. Start by drawing the dinosaur’s eye sockets within the circles we previously sketched. Remember to leave a small highlight in each eye to give it depth and realism.
Step 4: Shaping the Snout
Refine the shape of the snout by adding more detail. Sketch the nostrils at the tip of the triangle, making them small and narrow. Then, draw a curved line from the snout to the oval shape to create the dinosaur’s mouth.
Step 5: Teeth and Tongue
To make the dinosaur head more menacing, let’s add some teeth! Sketch a row of sharp triangular teeth within the mouth, making sure they are evenly spaced. You can also add a forked tongue by drawing two curved lines that extend from the back of the mouth.
Step 6: Adding Texture
Texture plays a significant role in bringing your dinosaur head to life. Start by adding small scales around the eye sockets and snout, using tiny, overlapping curved lines. Continue adding scales along the mouth and the lower jaw, following the natural shape of the dinosaur’s skin.
Step 7: Shadows and Shading
To give your drawing depth and dimension, let’s add shadows and shading. Observe the direction of the light source and sketch light pencil lines to indicate where the shadows will fall. Gradually darken these areas, using your pencil or fine-tipped marker, and blend them smoothly with a blending tool or tissue paper.
Step 8: Final Touches
Now that you’ve completed the main structure of the dinosaur head, it’s time to add the finishing touches. Use your eraser to remove any unwanted pencil lines, and then enhance the details with fine-tipped markers or colored pencils. Add more texture and depth by layering different shades and tones, focusing on areas such as the scales, teeth, and eyes.
Conclusion
Congratulations! You have successfully learned how to draw a realistic dinosaur head. By following these step-by-step instructions and using your creativity, you can create a stunning artwork that showcases the power and majesty of these prehistoric creatures. Remember to take your time, practice, and have fun with your drawing. So grab your pencils and let your imagination run wild!

