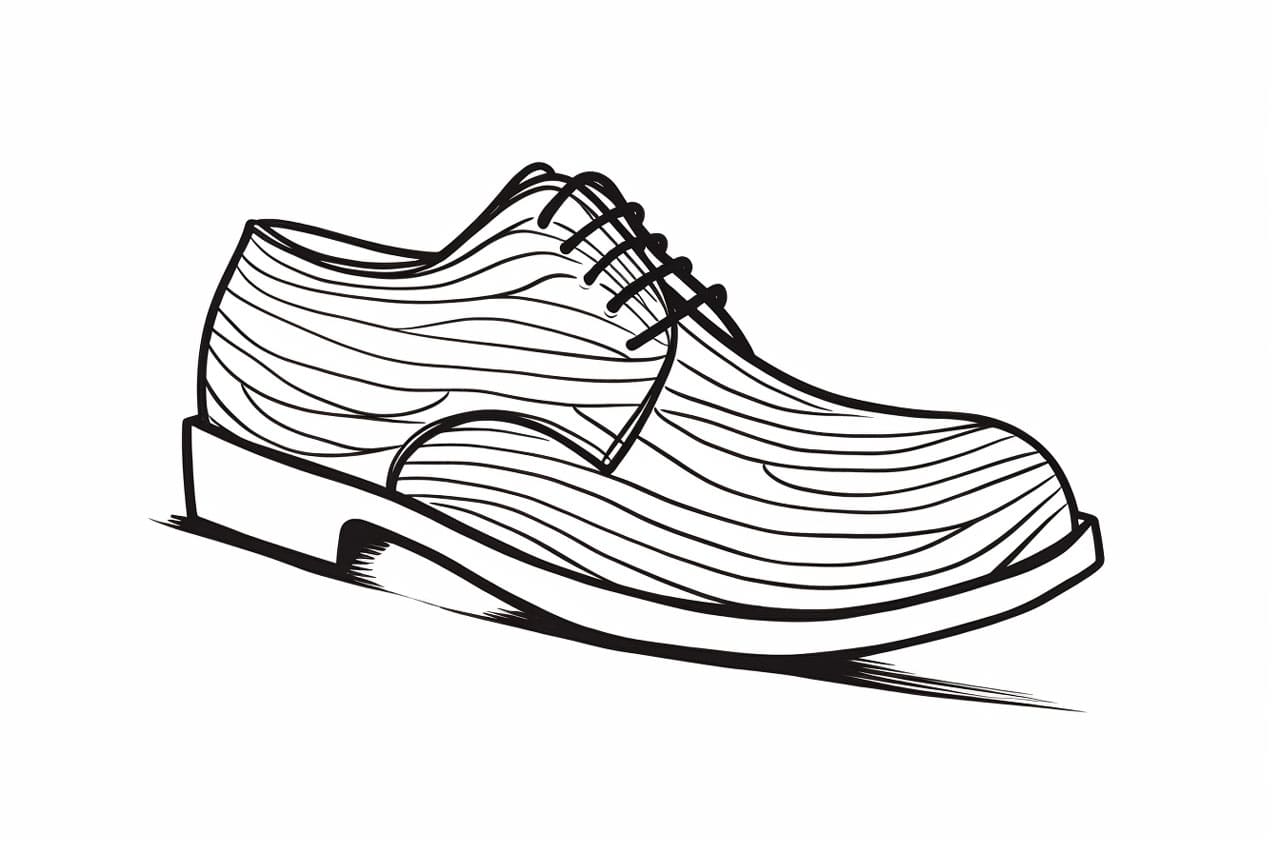
Drawing a shoe can be a fun and rewarding experience, whether you are an aspiring artist or just looking to explore your creative side. In this step-by-step guide, we will walk you through the process of how to draw a shoe in an easy and understandable manner. So grab your drawing materials and let’s get started!
Materials Required
Before we begin, make sure you have the following materials handy:
- Pencil
- Eraser
- Paper
- Ruler
- Colored pencils or markers (optional)
Now that you have all your materials ready, let’s dive into the steps of drawing a shoe!
Step 1: Basic Outline
Start by lightly sketching a basic outline of the shoe using your pencil. Begin with a curved line that represents the top of the shoe. Then, draw two parallel lines that will serve as the sides of the shoe. Remember to keep your lines light and loose for easy modifications later on.
Step 2: Bottom and Back
Next, draw the bottom of the shoe by adding a curved line connecting the sides. This will create the sole of the shoe. Then, extend the back of the shoe by drawing a slanted line from the top towards the bottom. This will form the heel.
Step 3: Adding Details
Now it’s time to add some details to our shoe drawing. Start by sketching the tongue of the shoe by drawing a curved line that extends from the top of the shoe towards the middle. Then, add the laces by drawing two sets of parallel lines across the top of the shoe.
Step 4: Refining the Shape
To make the shoe look more realistic, refine the shape by adding curves and angles. Use your eraser to adjust any lines that need corrections. Pay attention to the curves of the shoe’s sides and make sure they flow smoothly.
Step 5: Drawing the Sole
In this step, focus on drawing the sole of the shoe. Start by adding texture to the sole by sketching lines across it. You can also add small details like the brand logo or any patterns you desire.
Step 6: Adding Shadows and Highlights
To give your shoe drawing more depth and dimension, add shadows and highlights. Imagine a light source coming from a specific direction and use hatching or cross-hatching techniques to shade the areas that would be in shadow. Leave areas untouched or lightly color them to create highlights.
Step 7: Coloring (Optional)
If you prefer to add color to your shoe drawing, now is the time! Use colored pencils or markers to bring your shoe to life. Pay attention to the different materials and textures of the shoe and adjust your coloring accordingly. Don’t be afraid to experiment and have fun with the colors!
Conclusion
Drawing a shoe may seem challenging at first, but by following these step-by-step instructions, you can easily create a realistic and detailed shoe drawing. Remember to take your time, practice, and make adjustments as necessary. With patience and perseverance, you’ll be amazed at what you can achieve in your artistic journey!
So grab your pencil and paper, and start drawing your own amazing shoes. Happy drawing!


