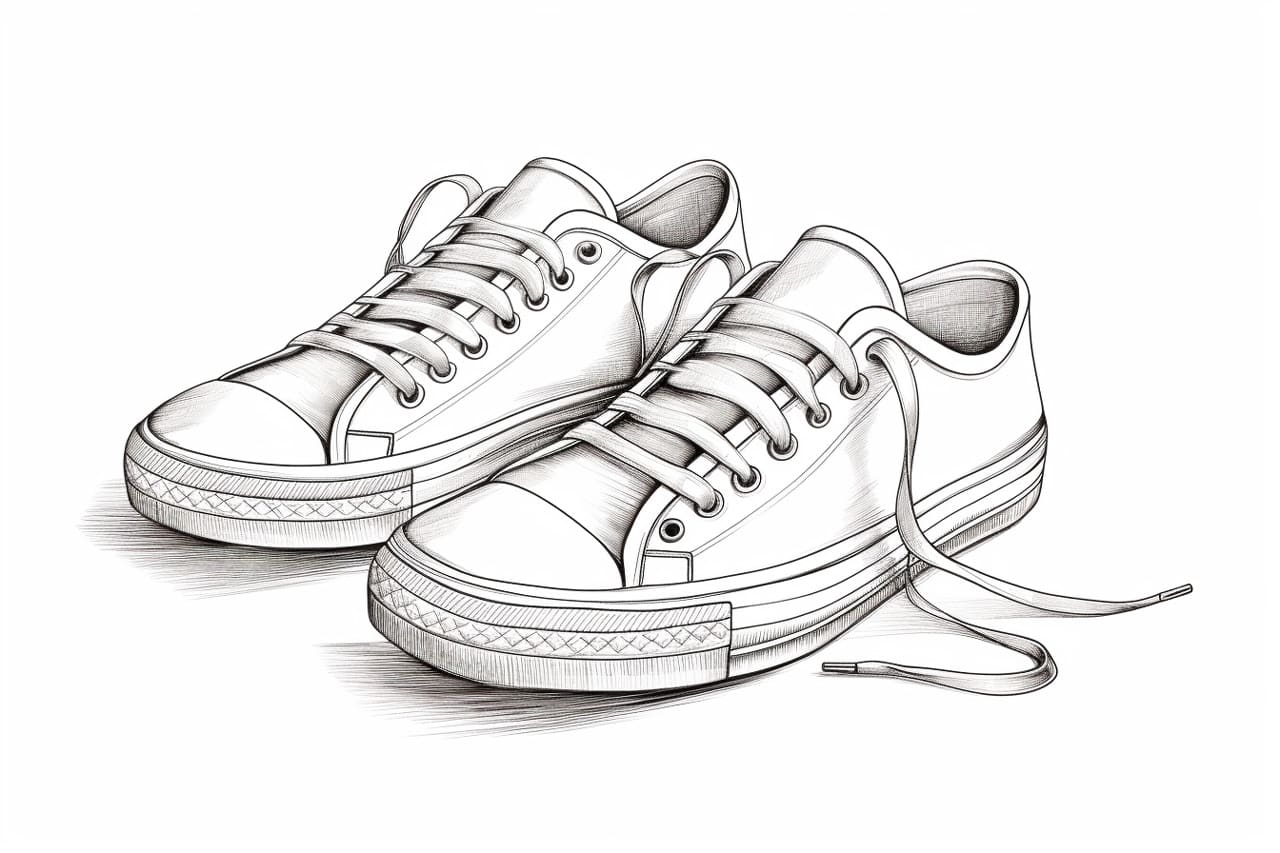
Drawing shoes can be a fun and creative way to express yourself artistically. Whether you are interested in fashion design or simply want to learn how to draw a realistic pair of shoes, this step-by-step guide will help you achieve your goal. In this article, we will walk you through the process of drawing shoes, starting from basic shapes and building up to detailed and realistic designs. So grab your pencils and let’s get started!
Materials Required:
Before we dive into the step-by-step instructions, let’s gather the materials you will need for this drawing tutorial:
- Drawing paper
- Pencil set (H, HB, and B pencils)
- Eraser
- Ruler
- Reference images of shoes (optional)
Now that you have all your materials ready, let’s begin drawing shoes!
Step 1: Outline the Basic Shape
Start by lightly sketching a rough outline of the shoe using an H pencil. Focus on the overall shape and proportion. Remember, the shape of the shoe will depend on the style you want to draw, such as sneakers, heels, or boots. Take your time to get the basic shape right before moving on to the next step.
Step 2: Refine the Outline
Once you are satisfied with the basic shape, use an HB pencil to refine the outline of the shoe. Pay attention to the curves and angles of the shoe, and make any necessary adjustments to ensure symmetry. Take your time with this step, as getting the outline right is crucial for a realistic-looking shoe.
Step 3: Add Details
Now it’s time to add some details to your shoe drawing. Look closely at your reference image, or if you don’t have one, observe the features of the shoe you are drawing. Start by sketching the basic features like the tongue, laces, and sole. Then, gradually add more details like stitching, patterns, or any decorative elements that may be present. Use an HB or B pencil for this step, depending on the level of detail you want to achieve.
Step 4: Shade and Add Texture
To make your shoe drawing look more realistic, it’s essential to add shading and texture. First, determine the light source in your drawing and imagine where the shadows would fall. Use a B pencil to shade the areas that are in shadow, gradually building up the darkness. Pay attention to the different textures of the shoe, such as leather or fabric, and apply shading accordingly. Add depth and dimension by blending the shading with a blending tool or a cotton swab.
Step 5: Refine the Details
Take a step back and evaluate your shoe drawing so far. Look for any areas that need refinement or adjustment. Use an eraser to carefully lighten or correct any mistakes. Pay attention to the smallest details, such as stitching lines or the texture of the shoe’s material. Take your time with this step to achieve the level of realism you desire.
Step 6: Finalize the Drawing
Now that you have refined the details, it’s time to finalize your shoe drawing. Use a B pencil to darken any necessary lines and enhance the overall contrast. Make sure the shading is smooth and blended, giving the shoe a three-dimensional appearance. Take a moment to stand back and admire your completed drawing.
Conclusion
Drawing shoes can be a challenging yet rewarding artistic endeavor. By following these step-by-step instructions, you have learned how to draw shoes from start to finish. Remember to start with the basic shape, refine the outline, add details and texture, and finalize your drawing with shading and refinement. With practice, you will continue to improve your shoe drawing skills and develop your unique style. So grab your drawing supplies, get inspired by different shoe designs, and start creating your own stunning shoe illustrations!


