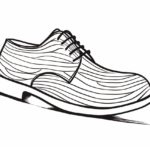
Drawing a Converse shoe may seem challenging at first, but with the right techniques and a little practice, you can create a realistic and detailed representation of this iconic footwear. In this step-by-step guide, I will walk you through the process of drawing a Converse shoe, from the initial sketch to the final touches. So grab your drawing materials and let’s get started!
Materials Required:
To draw a Converse shoe, you will need the following materials:
- Pencil: Use a mechanical pencil or a regular pencil with a sharp tip for sketching and initial outlines.
- Paper: Choose a smooth and sturdy paper that can withstand erasing and shading.
- Eraser: Have a good quality eraser handy to correct mistakes and clean up your drawing.
- Fine-tipped Pens: Use pens with different thicknesses to add details and refine your drawing.
- Markers or Colored Pencils (Optional): If you want to add color to your drawing, have markers or colored pencils in the desired shades ready.
Step 1: Start with Basic Shapes
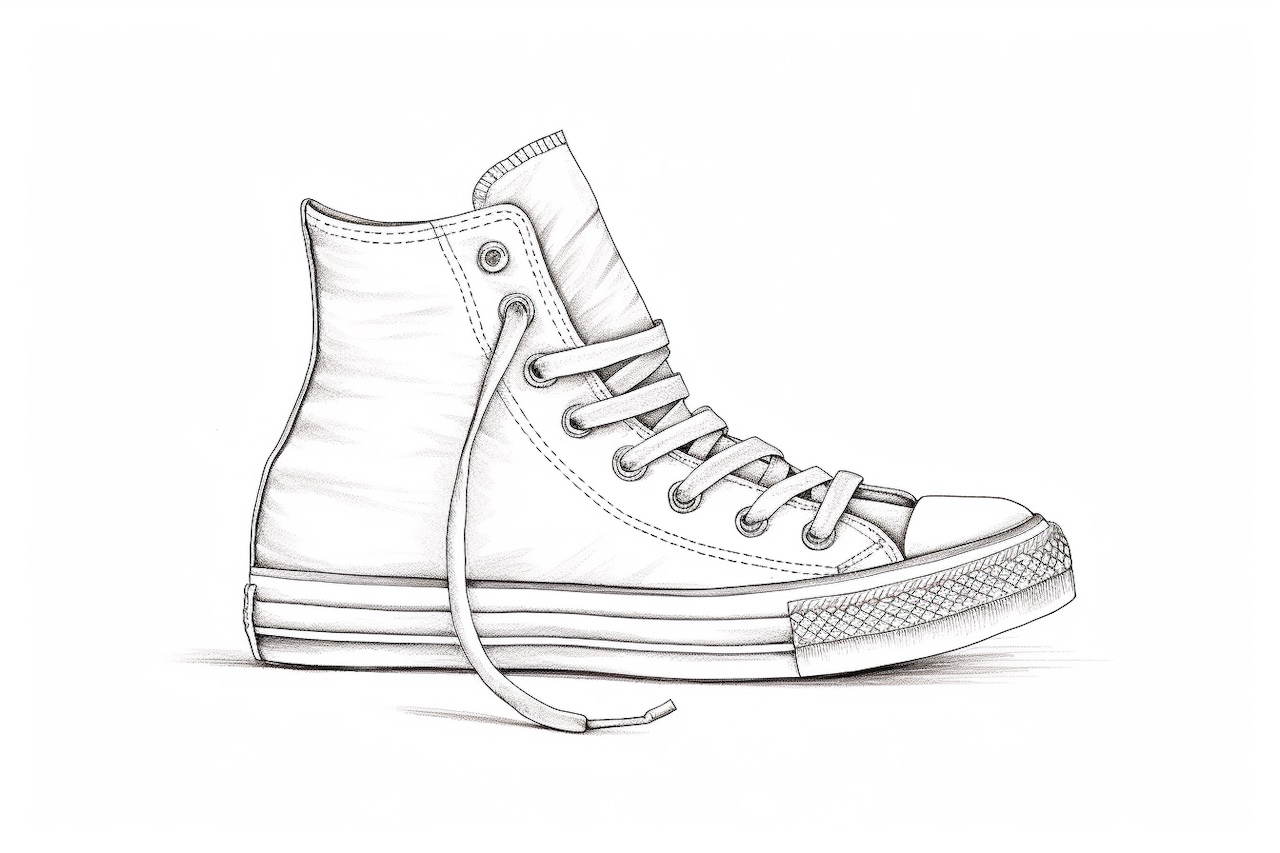
Begin by sketching the basic shapes of the shoe. Converse shoes have a distinctive high-top shape, so draw an oval for the shoe’s sole and a slightly elongated rectangle for the body of the shoe. These shapes will act as your guidelines and help maintain the proportions of the shoe.
Step 2: Add Details to the Shoe Body
Within the rectangular shape, sketch two curved lines on each side to represent the toe and the heel of the shoe. Connect these lines with a slightly curved line on the top to form the shoe’s opening. Next, draw two vertical lines near the heel to represent the eyelets where the laces will pass through.
Step 3: Outline the Sole
Using the oval shape you drew earlier as a guide, outline the sole of the shoe. Make the sides of the sole slightly thicker compared to the front and back. Converse shoes usually have a rubber sole with a textured pattern, so you can add some lines or small circles to represent this texture.
Step 4: Add Laces
Converse shoes are known for their laces, so it’s important to pay attention to this detail. Draw parallel lines across the shoe’s opening to represent the laces. The number of laces and eyelets may vary depending on the style of the Converse shoe you are drawing.
Step 5: Refine the Details
Once you have the basic structure of the shoe, start adding more details to make it look more realistic. Take your time and observe the reference image or an actual Converse shoe for guidance. Pay attention to features like stitching, logos, and any additional patterns or designs on the shoe.
Step 6: Erase Unnecessary Lines
Now that you have sketched the main details, use your eraser to remove any unnecessary guidelines and construction lines. Be careful not to erase any important elements of your drawing. This step will help clean up your artwork and make it easier to add shading and finer details.
Step 7: Add Shading and Texture
Shading is crucial to give your drawing depth and dimension. Observe the reference image or a real Converse shoe to identify areas of light and shadow. Use your pencil or fine-tipped pen to gradually build up the shading, paying attention to the textures and patterns on the shoe.
Step 8: Finalize the Drawing
Once you are satisfied with the shading and overall appearance of your drawing, go over the outlines with a pen to make them bold and defined. This will give your drawing a finished and polished look. Feel free to add additional details or make any necessary adjustments to enhance the realism of the shoe.
Conclusion
Drawing a Converse shoe may take some time and practice, but with these step-by-step instructions, you can create an impressive artwork that captures the essence of this iconic footwear. Remember to start with basic shapes, add details, refine the drawing, and finish with shading and texture. Don’t be afraid to experiment and let your creativity shine through. So grab your drawing materials, follow these steps, and have fun drawing your own Converse shoe masterpiece!