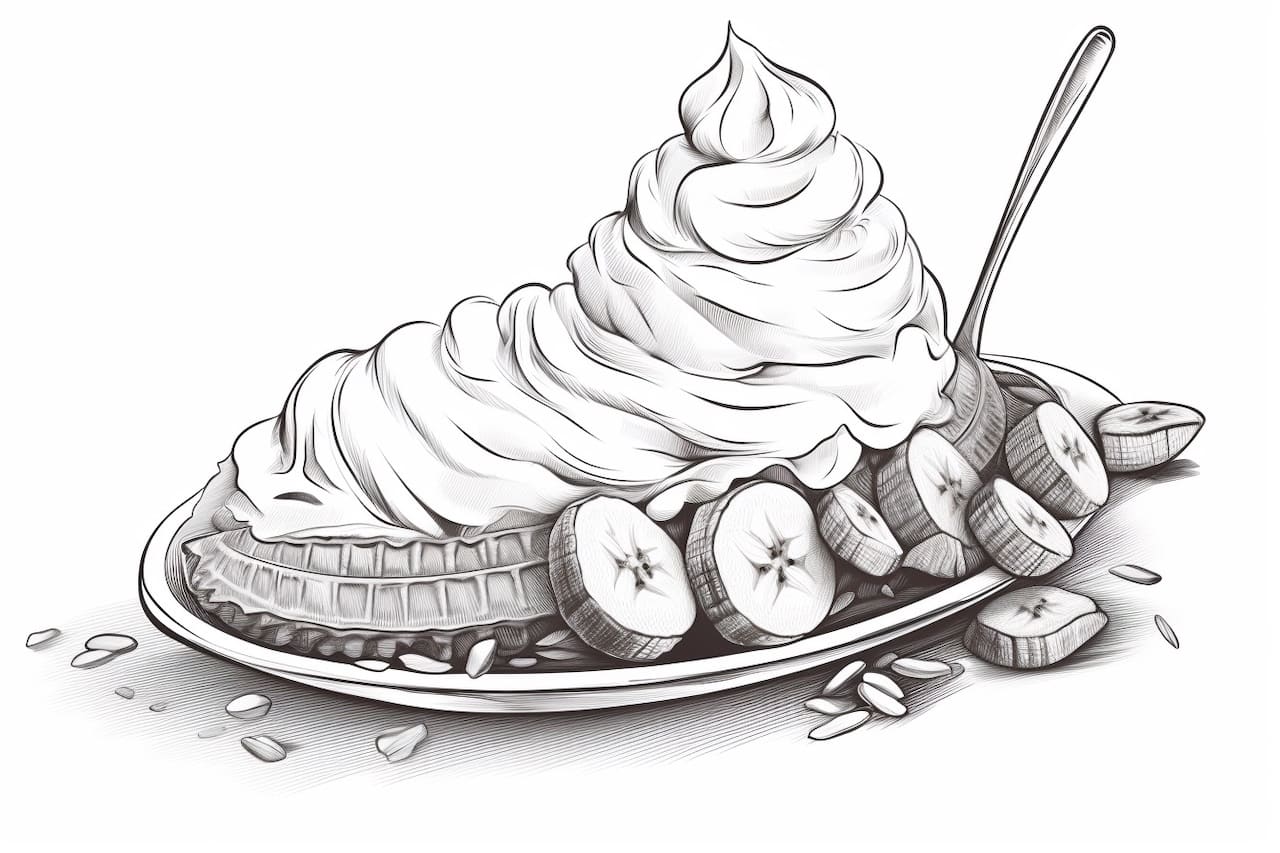
Welcome to this step-by-step guide on how to draw a banana split! In this tutorial, we will break down the process into simple and easy-to-follow steps, so don’t worry if you’re a beginner. By the end of this guide, you’ll have a vibrant and mouthwatering drawing of a classic summer treat. So let’s grab our pencils and get started!
Materials Required
To begin, gather the following materials:
- Sketching paper
- Pencils (HB, 2B, and 4B)
- Eraser
- Colored pencils or markers (optional)
Now that we have our materials ready, let’s dive into the drawing process!
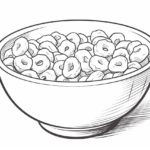
Step 1: Drawing the Bowl
Start by lightly sketching an oval shape near the center of your paper. This will be the bowl that holds our banana split. Make sure the oval is slightly elongated to give it a realistic look. Don’t worry about getting it perfect in this initial stage.
Step 2: Adding the Ice Cream Scoops
Inside the bowl, draw three small overlapping circles. These will represent the three scoops of ice cream in the banana split. The scoops should be slightly larger than the size of a regular scoop of ice cream. Feel free to vary their sizes and positions within the bowl to make your drawing more interesting.
Step 3: Creating the Banana
Positioned on top of the ice cream scoops, draw a curved shape that resembles a banana. This will be the main element of the banana split. Keep in mind that the banana should be slightly bent to give it a natural appearance. You can also add a few curved lines to suggest its texture.
Step 4: Adding Toppings
Now it’s time to make the banana split more delectable by adding toppings. Draw lines of varying lengths and thicknesses emanating from the top of each ice cream scoop. These lines represent drizzles of chocolate, caramel, or any other topping of your choice. Be creative and experiment with different patterns and directions for the drizzles.
Step 5: Whipped Cream and Nuts
To give your banana split a finishing touch, draw dollops of whipped cream on top of each ice cream scoop. You can draw small mounds with curvy lines to represent the creamy texture. Next, add a sprinkle of nuts on top of the whipped cream. You can use small, irregular shapes to represent the nuts.
Step 6: The Cherry on Top
No banana split is complete without a cherry on top! Draw a small, circular shape above the whipped cream and nuts. This will be the cherry. Within the circular shape, draw a small curved line that represents the cherry’s indentation. You can also add a tiny stem to give it a more realistic look.
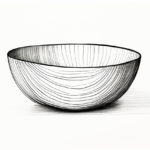
Step 7: Detailing the Bowl
Now that the main elements of the banana split are complete, let’s focus on the bowl itself. Begin by adding some thickness to the bowl’s rim. Draw two parallel lines around the top edge of the oval shape. Next, draw a curved line along the bottom part of the oval shape to create the bowl’s base. Add some small curve lines on the sides of the bowl to suggest its dimension and thickness.
Step 8: Shadows and Highlights
To make your drawing more realistic, it’s essential to add shadows and highlights. Study your reference or imagine where the light source is coming from. Use a darker pencil, such as a 4B, to shade the areas that would be in shadow. This includes the bottom part of the bowl, the depths between the ice cream scoops, and the sides of the toppings. Use an eraser to gently lighten areas that would catch more light, such as the top of the whipped cream and the highlights on the cherries.
Step 9: Coloring (Optional)
If you want to add some vibrant colors to your artwork, now is the time to grab your colored pencils or markers. Select colors that best represent the flavors of the ice cream and the toppings. Remember to blend the colors smoothly by layering and using gentle strokes. This step is completely optional and your drawing will still look great in black and white.
Conclusion
Congratulations! You’ve successfully drawn a mouthwatering banana split. Now you can enjoy the satisfaction of creating art that looks good enough to eat. Remember to have fun and practice regularly to further improve your drawing skills. We hope you enjoyed this step-by-step guide on how to draw a banana split. Happy drawing!