Are you looking to learn how to draw a realistic and detailed rocker? Whether you’re an aspiring artist or simply want to explore your creativity, drawing a rocker can be a fun and rewarding project. In this step-by-step guide, I will walk you through the process of how to draw a rocker, from the initial sketch to the final details. So grab your pencils and let’s get started!
Materials Required
Before we begin, make sure you have the following materials:
- Paper: It’s best to use a medium-weight drawing paper that can handle graphite and other shading techniques.
- Pencils: You will need a range of pencils, from H to 6B, to achieve different shades and textures.
- Eraser: A kneaded eraser is ideal for gently removing mistakes or lightening areas.
- Blending tools: You can use tissue paper or blending stumps to blend and smooth out your shading.
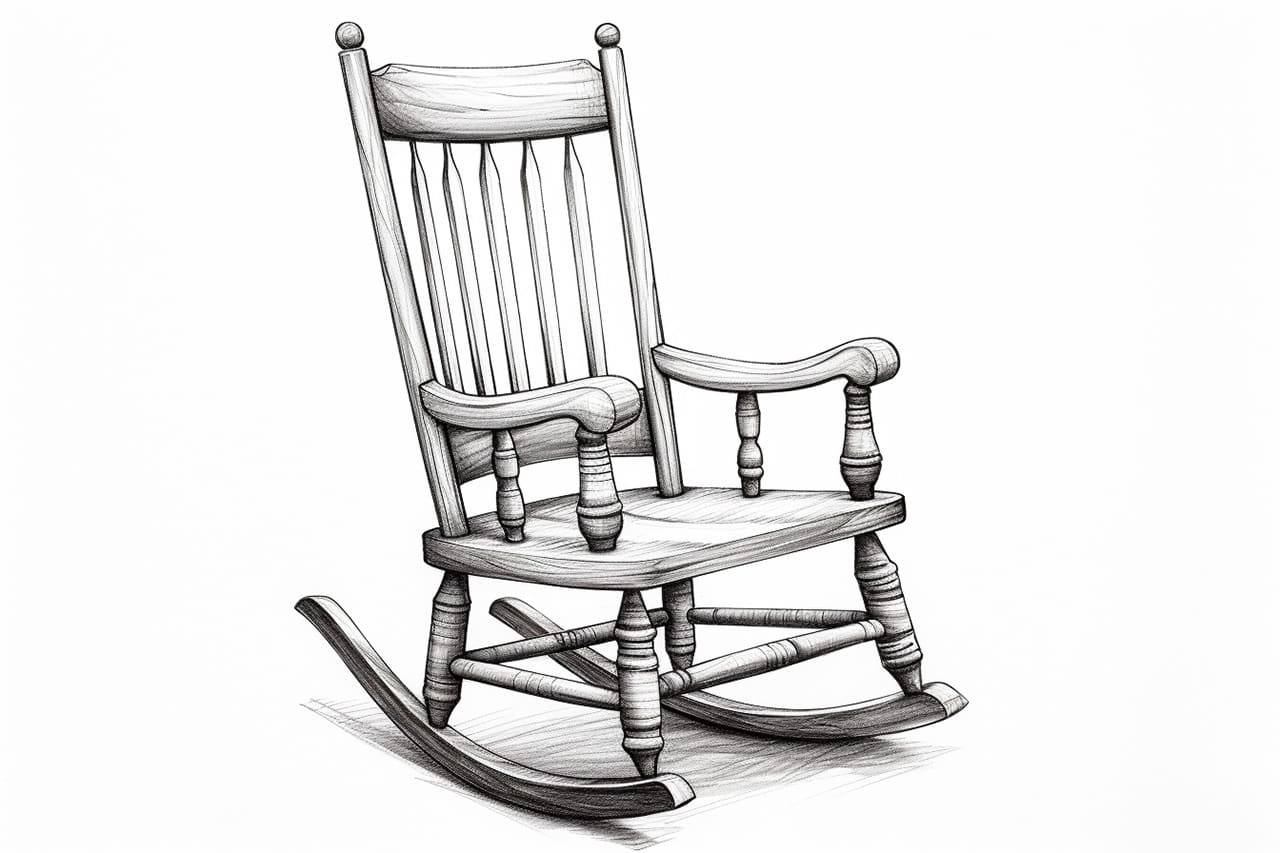
- Reference image: Find a clear and well-lit picture of a rocker to use as a reference. This will help you capture the details accurately.
Now that you have your materials ready, let’s dive into the process of drawing a rocker.
Step 1: Sketching the Outline
Start by lightly sketching the basic outline of the rocker using an H or HB pencil. Pay attention to the proportions and angles of the rocker. Keep your lines light and loose, as you will be refining them later. Don’t worry about adding too much detail at this stage; focus on capturing the overall shape and structure.
Step 2: Adding the Details
Once you are satisfied with the initial outline, use a lighter pencil (2H or 3H) to add more details to the rocker. Start by sketching the seat and backrest, carefully observing the curves and edges. Then, add the legs and any armrests or decorative elements. Take your time with this step, as getting the details right will make your drawing more realistic.
Step 3: Shading the Rocker
Now it’s time to add some depth and shading to your drawing. Begin by identifying the light source in your reference image. This will help you determine where the highlights and shadows should be. Use a softer pencil (like 2B or 4B) to start shading the rocker. Start with light strokes and gradually build up the darkness. Remember to blend the shading using a tissue or blending stump for a smooth and realistic look.
Step 4: Adding Texture and Depth
To make your rocker drawing more realistic, focus on adding texture and depth. Pay attention to the wood grain and any patterns or details on the rocker. Use a variety of pencils, from HB to 6B, to create different shades and textures. Experiment with cross-hatching and stippling techniques to mimic the texture of the wood. Take your time with this step, as the details will bring your drawing to life.
Step 5: Refining and Finalizing
Now that you have added the necessary shading, texture, and depth, take a moment to step back and evaluate your drawing. Look for any areas that need refining or adjustments. Use an eraser to lighten or correct any mistakes, and add any final details that will enhance the overall look of the rocker. When you are satisfied with your drawing, carefully go over the lines with a darker pencil to make them more defined.
Conclusion
Congratulations! You have successfully learned how to draw a rocker. By following these step-by-step instructions and using your creativity, you have created a realistic and detailed representation of a rocker. Practice and experiment with different techniques to further refine your drawing skills. Have fun exploring your artistic abilities and enjoy the process of creating beautiful artwork.