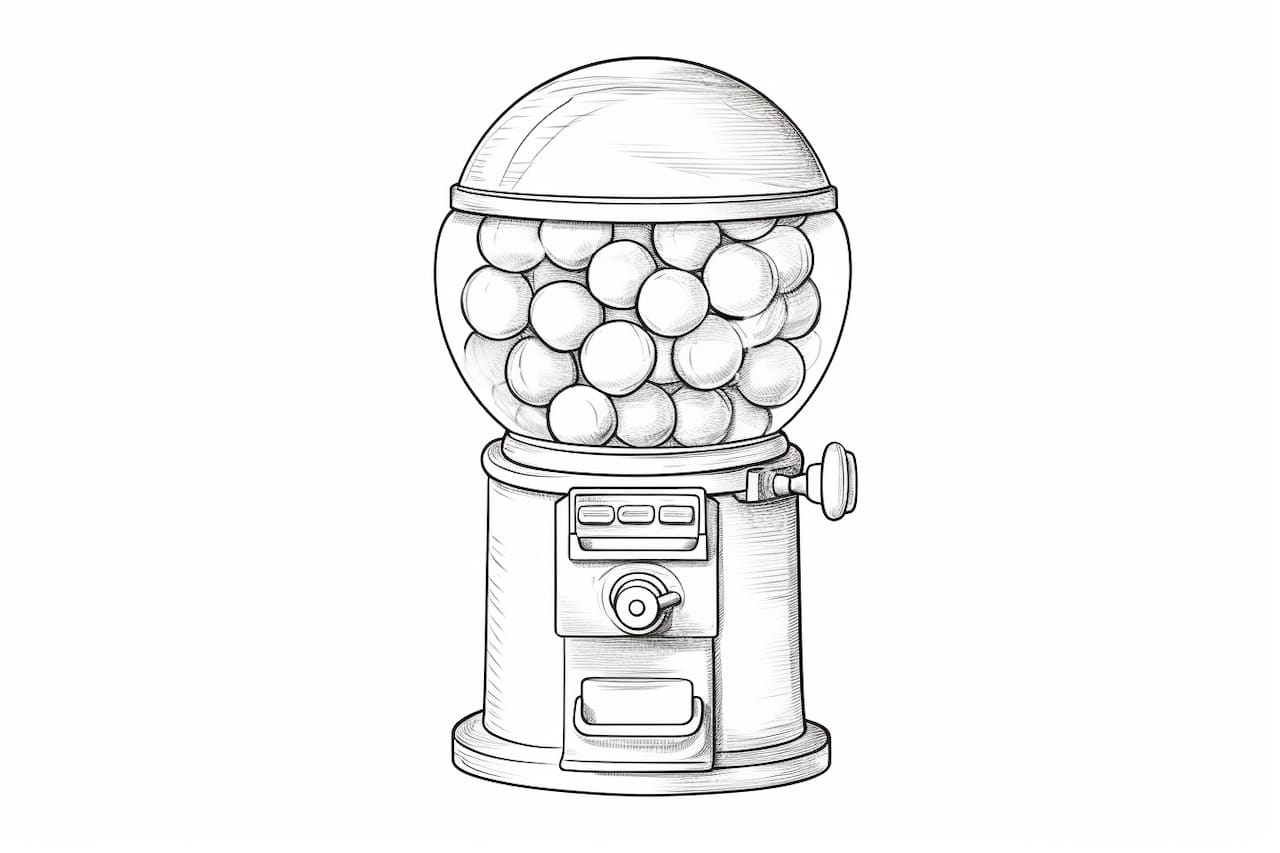
Welcome to this step-by-step guide on how to draw a gumball machine. Whether you’re a beginner or an experienced artist, this tutorial will walk you through the process of creating a realistic and detailed gumball machine drawing. By following these simple steps, you’ll be able to create a stunning artwork that captures the essence of this iconic piece of childhood nostalgia.
Materials Required
Before we begin, make sure you have the following materials ready:
- A pencil
- A sheet of paper
- An eraser
- Colored pencils or markers (optional)
Now that you have everything you need, let’s get started!
Step 1: Draw the Base of the Gumball Machine
Begin by drawing the base of the gumball machine. Start at the bottom of the paper and draw a rectangular shape with rounded corners. This will serve as the foundation of the gumball machine.
Step 2: Add the Top of the Machine
Next, draw the top part of the gumball machine. At the top of the rectangular shape you drew in the previous step, add another rectangle with rounded corners. Make sure the top rectangle is slightly smaller than the base.
Step 3: Draw the Coin Slot
Towards the right side of the top rectangle, draw a small rectangle for the coin slot. Position it slightly to the right of the center. This slot is where users insert coins to get their gumballs.
Step 4: Sketch the Gumball Dispenser
Just below the top rectangle, draw a cylindrical shape for the gumball dispenser. Start at the left side of the machine and draw a curved line that connects to the right side. Make sure the curve is even and symmetrical.
Step 5: Add Details to the Dispenser
To add more realism to the gumball dispenser, draw a series of small circles along the curved line you drew in the previous step. These circles represent the gumballs inside the machine.
Step 6: Draw the Gumball Exit
On the bottom part of the gumball dispenser, draw a small rectangular shape for the gumball exit. This is where the gumballs come out after the user inserts a coin.
Step 7: Add the Stand
To give the gumball machine some stability, draw a stand below the base. Start at the bottom corners of the base and draw two diagonal lines that meet at a point just below the center of the machine.
Step 8: Sketch the Glass Dome
Now it’s time to draw the most eye-catching part of the gumball machine – the glass dome. Starting from the top of the base, draw a large oval shape that extends above the top rectangle. This oval represents the transparent glass dome that holds the gumballs.
Step 9: Draw the Lid of the Dome
At the top of the glass dome, draw a smaller oval shape for the lid. This is where the gumballs are loaded into the machine. To add more realism, you can draw a handle on the lid.
Step 10: Refine and Erase
Take a moment to refine your drawing by adding any necessary details or adjusting the proportions. Once you’re satisfied with the overall look of the gumball machine, carefully erase any unnecessary guidelines or overlapping lines.
Conclusion
Congratulations! You have successfully drawn a gumball machine using simple step-by-step instructions. By following these guidelines and using your creativity, you can customize your artwork with colors, patterns, or even a background. Now that you’ve completed this tutorial, you can create your own collection of gumball machine drawings to showcase your artistic skills.
Remember, practice makes perfect, so keep honing your drawing abilities by exploring different techniques and subject matters. Happy drawing!