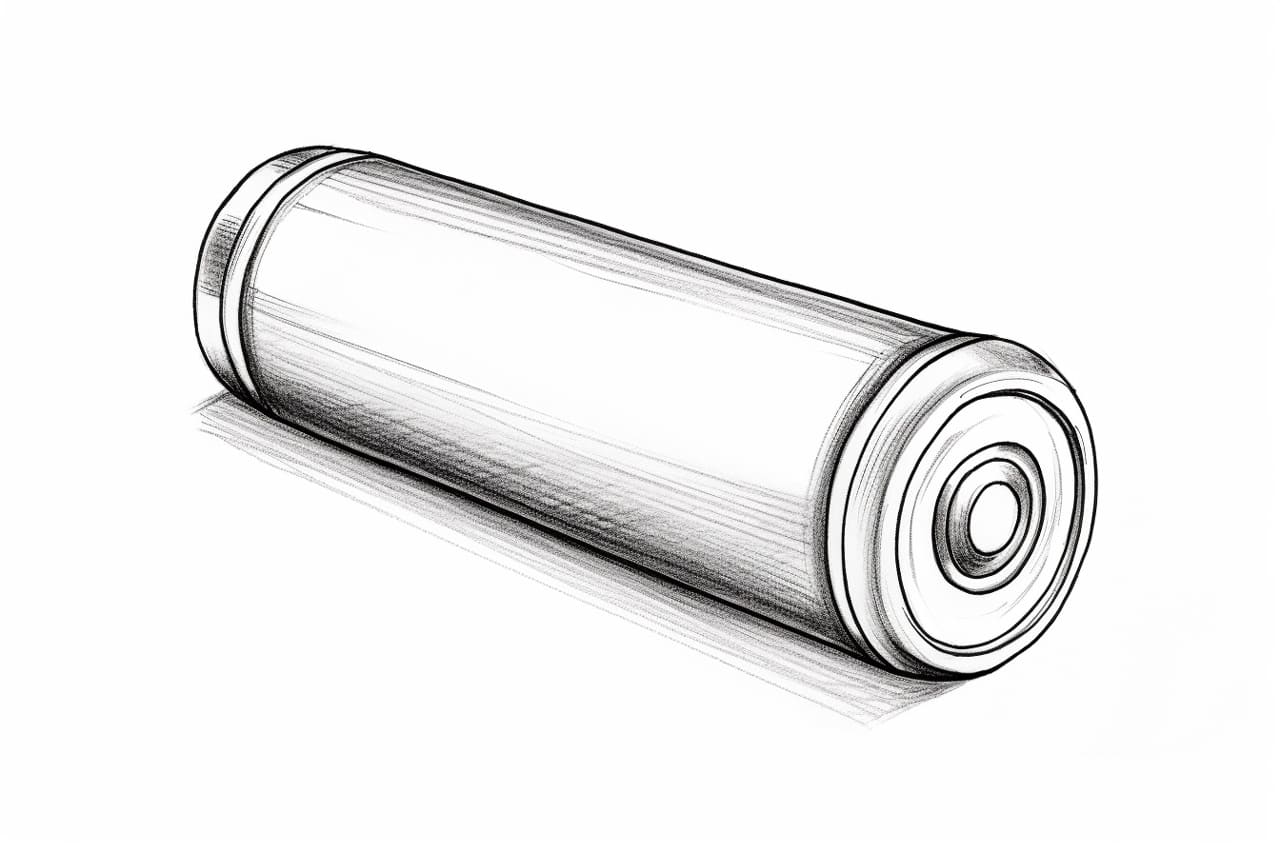
Welcome to this step-by-step guide on how to draw a battery. In this tutorial, I will walk you through the process of creating a realistic representation of a battery on paper. Whether you are an aspiring artist or simply looking for a fun and creative activity, this tutorial is for you. So, grab your pencil, paper, and let’s get started!
Materials Required
Before we begin, gather the following materials:
- Pencil
- Eraser
- Paper
That’s it! With just these basic materials, you can create a fantastic drawing of a battery.
Step 1: Draw the Body
To start, let’s draw the main body of the battery. Begin by drawing a rectangle in the center of your paper. This rectangle should be slightly longer horizontally to represent the shape of the battery.
Step 2: Add the Metal Contacts
Next, let’s add the metal contacts on the top and bottom of the battery. These contacts are the points where the battery connects to a device. Draw two smaller rectangles, one at the top and one at the bottom of the battery body.
Step 3: Draw the Positive and Negative Symbols
Now, let’s draw the positive and negative symbols on the battery. The positive symbol is a plus sign (+), and the negative symbol is a minus sign (-). Draw a plus sign on the top metal contact and a minus sign on the bottom metal contact.
Step 4: Add Details to the Body
Let’s add some details to the body to make your battery drawing look more realistic. Draw two parallel lines running vertically along the battery’s body, about one-third from each side. These lines represent the sides of the battery casing. Then, draw another set of parallel lines, slightly curved, connecting the ends of the first lines. This creates a rounded edge for the battery.
Step 5: Sketch the Label
Many batteries have labels on them to indicate their brand or other information. Let’s add a label to our battery drawing. Draw a rectangle on the front of the battery body, slightly above the center. Inside the rectangle, write the text or logo of your choice.
Step 6: Shade the Battery
Let’s shade the battery to add depth and dimension to your drawing. Start by lightly shading the sides of the battery body, leaving the center portion blank. Then, using your pencil or shading tool, gradually darken the shading on the sides, creating a gradient effect. Remember to blend the shading smoothly for a realistic look.
Step 7: Add Highlights
Now it’s time to add some highlights to make your battery drawing pop. Identify the light source in your drawing, and imagine where the light would hit the battery. Use an eraser to gently remove some of the shading in those areas to create highlights. This technique helps give your drawing an added level of realism.
Step 8: Final Touches
Review your artwork and make any necessary adjustments to complete your battery drawing. Check for any uneven lines or areas that may need more shading or blending. Take your time and ensure that every detail is just the way you want it.
And there you have it! You have successfully drawn a battery. I hope you enjoyed this step-by-step tutorial and found it helpful in honing your artistic skills. Drawing is a wonderful way to express your creativity; this battery drawing is a great addition to your portfolio.
Remember, practice makes perfect, so don’t be afraid to try drawing different types of batteries or experiment with different styles. With each drawing, you’ll continue to improve and develop your own unique artistic voice.
Thank you for joining me on this drawing journey. Happy creating!