As an artist, being able to draw objects realistically is an essential skill. In this guide, I will teach you how to draw a needle with step-by-step instructions. By following these simple techniques, you will be able to create a detailed and accurate representation of this everyday object. So grab your pencils and let’s get started!
Materials Required
Before we dive into the drawing process, let’s gather the materials you will need:
- Drawing paper: Choose a smooth and sturdy paper that can withstand pencil shading.
- Pencils: A set of graphite pencils ranging from 2H to 6B will give you a good range of values.
- Eraser: An eraser will come in handy for making corrections and lightening pencil marks.
- Ruler: A ruler will help you create straight lines and ensure accuracy in your drawing.
- Reference Image: Find a clear and well-lit image of a needle to use as a reference throughout the process.
Now that you have everything you need, let’s begin drawing a needle!
Step 1: Sketch the Basic Shape
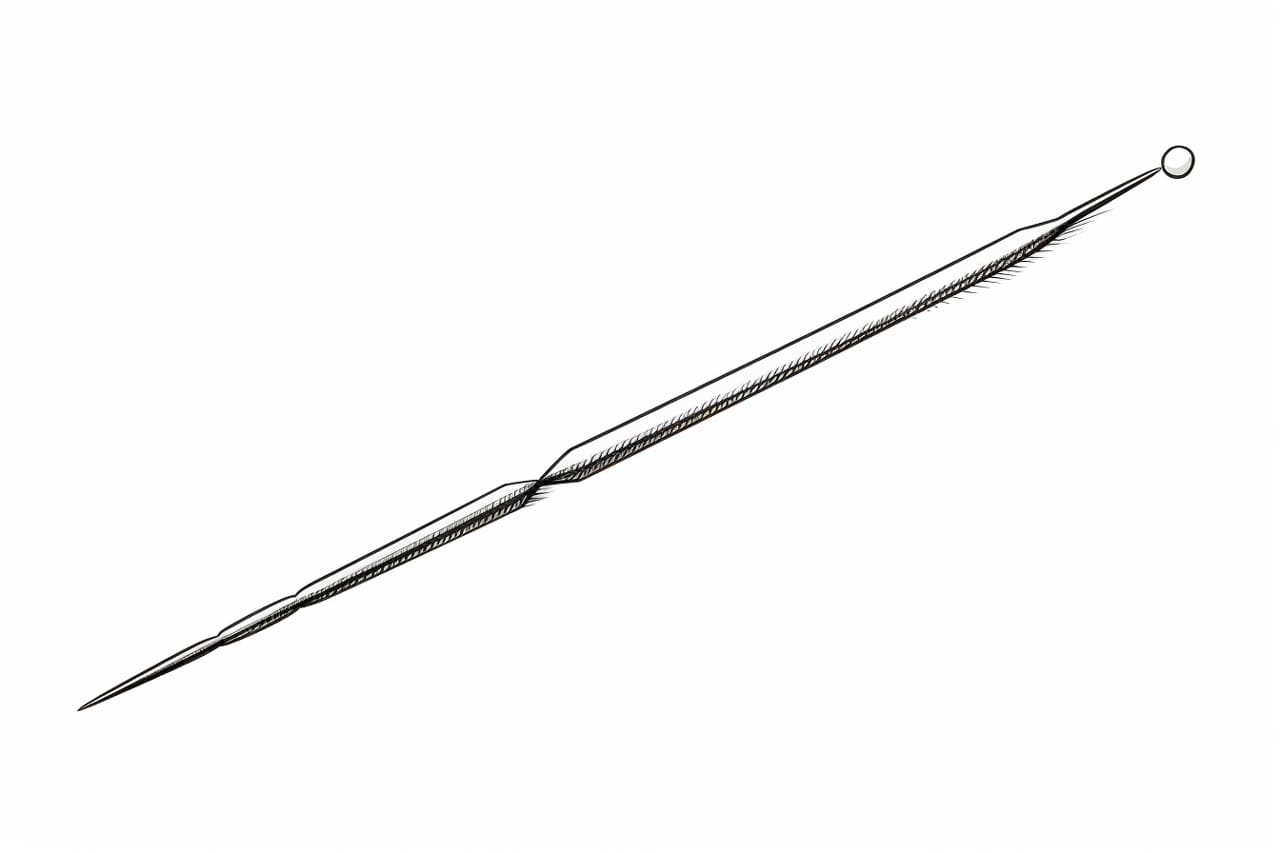
Start by lightly sketching the basic shape of the needle. Use a light pencil like 2H for this initial sketch so that you can easily make adjustments later. Observe the reference image carefully and pay attention to the proportions and angles of the needle.
Step 2: Define the Needle’s Length and Point
Using a darker pencil such as 2B, define the length of the needle by drawing the top and bottom ends. Pay attention to the angle at which the needle tapers towards its point. Remember to keep your pencil strokes light and avoid pressing too hard.
Step 3: Add the Eye of the Needle
Next, draw the eye of the needle. The eye is the opening through which the thread passes. It is usually a small oval-shaped opening near the top of the needle. Use a light pencil to sketch the shape and position it accurately.
Step 4: Refine the Needle’s Shape
Now it’s time to refine the overall shape of the needle. Use a darker pencil like 4B to add more details and define the contours of the needle. Pay close attention to any curves or angles present in the reference image.
Step 5: Create the Needle’s Thread Channel
Draw a thin, straight line along the length of the needle to represent the thread channel. This is the groove that runs along the center of the needle. Make sure the line is straight and centered.
Step 6: Shade the Needle
To add depth and realism to your drawing, it’s important to shade the needle properly. Begin by lightly shading the shadowed areas of the needle. Use a blending tool or your finger to blend the shading smoothly.
Step 7: Add Highlights and Details
Next, use an eraser to lift off some graphite and create highlights on the needle. Pay attention to where the light source is coming from in the reference image and add highlights accordingly. Add any other small details such as reflections or scratches to enhance the realism of your drawing.
Step 8: Finalize Your Drawing
Take a step back and evaluate your drawing. Make any necessary adjustments to ensure accuracy and proportion. Darken some areas if needed and add any final touches to bring the drawing to life.
Conclusion
Congratulations! You have successfully learned how to draw a needle. By following these step-by-step instructions, you have developed your skills in observation, proportion, and shading. Practicing drawing everyday objects like this will help you improve your overall drawing abilities. Remember to be patient and keep practicing, and soon you will be able to draw even more complex objects with ease.