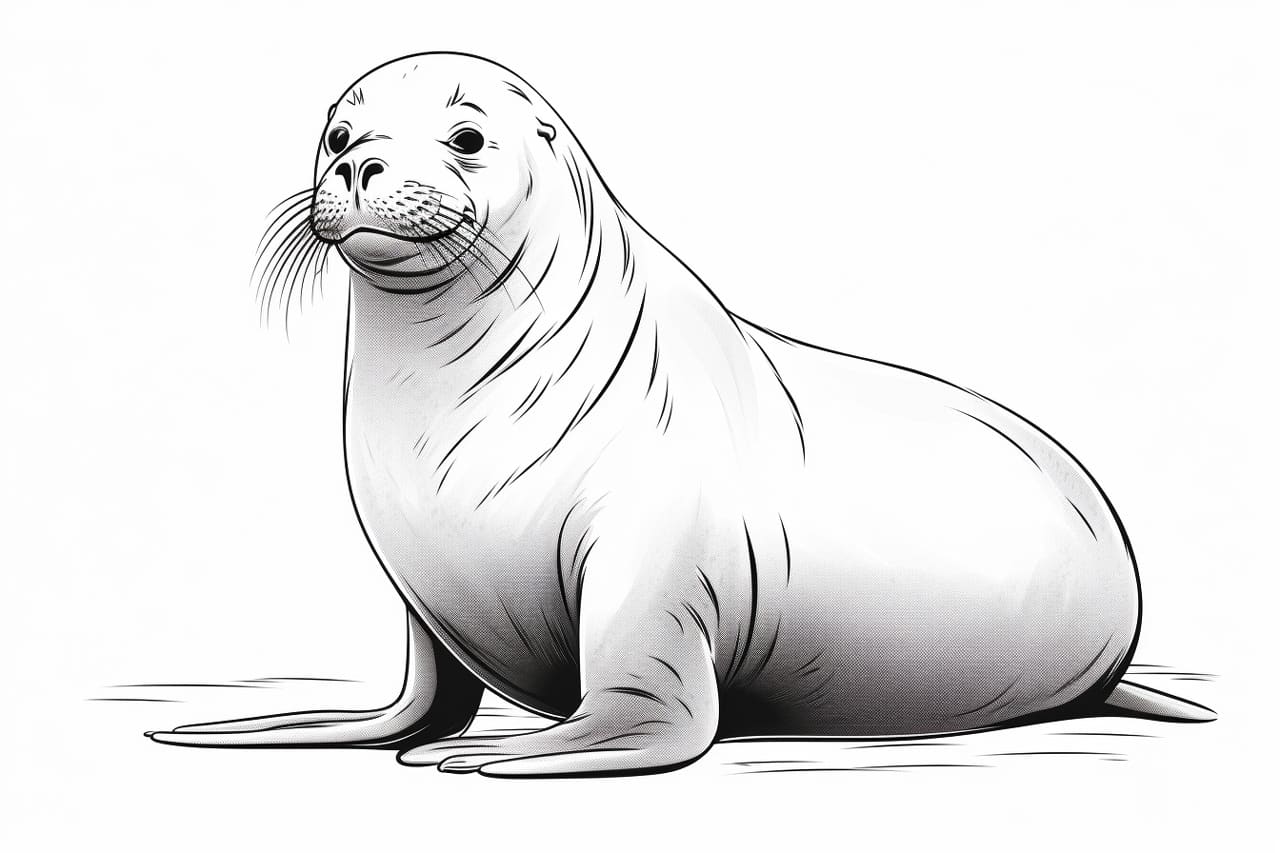
Welcome to this step-by-step guide on how to draw a sea lion! Whether you’re a beginner or an experienced artist, this tutorial will provide you with clear and concise instructions on capturing the graceful beauty of these fascinating creatures. So grab your sketchbook and let’s get started!
Materials Required
Before we dive into the drawing process, it’s essential to gather the necessary materials. Here’s a list of what you’ll need:
- Paper: Choose a high-quality drawing paper that can handle different types of media, such as graphite or colored pencils.
- Pencils: A set of graphite pencils in various hardness (HB, 2B, 4B, 6B) will allow you to achieve different tones and shading effects.
- Eraser: A kneaded eraser works best for this type of drawing as it allows for easy corrections and subtle highlights.
- Blending Tool: You can use a blending stump, tortillon, or even a soft cloth to blend and smudge the graphite for smooth transitions.
- Reference Image: Find a clear and detailed reference photo of a sea lion that you can use for guidance throughout the process.
Now that you have all the necessary materials let’s dive into the step-by-step process of drawing a sea lion.
Step 1: Sketch the Basic Shapes
Start by lightly sketching the basic shapes that make up the sea lion’s body. Begin with an oval for the head, a large oval for the body, and smaller ovals for the flippers. Take your time and don’t worry about precision at this stage. Focus on capturing the overall proportions and pose of the sea lion.
Step 2: Refine the Shapes
Using the initial shapes as a guide, refine the outline of the sea lion’s body. Pay close attention to the curves and contours. The head should gradually slope into the body, and the flippers should curve outwards. Take your time with this step, as it lays the foundation for the rest of the drawing.
Step 3: Add Facial Features
In this step, we’ll focus on the sea lion’s face. Begin by adding the eyes on either side of the head. They should be large and round, with a small indication of a highlight to bring them to life. Add a small, triangular-shaped nose just below the eyes. Lastly, draw a curved line to represent the mouth, slightly smiling to capture the sea lion’s playful expression.
Step 4: Add Details to the Body
Now it’s time to add the details that make the sea lion unique. Start by sketching the ears on either side of the head, just above the eyes. They should be small and pointed. Next, draw the whiskers using short, curved lines that extend from the sides of the nose. Finally, add a few lines to indicate the texture and folds of the sea lion’s skin.
Step 5: Refine the Outline
In this step, we’ll refine the outline of the sea lion’s body, paying close attention to the curves and contours. Use your reference photo to guide you in capturing the unique shape of the sea lion. Take your time with this step, as it will add depth and dimension to your drawing.
Step 6: Add Value and Texture
Now it’s time to add value and texture to your drawing. Start by shading the darker areas such as the areas under the flippers, along the neck, and underneath the body. Use a softer pencil (4B or 6B) to achieve a darker value. Gradually build up the shading, paying attention to the direction of the fur and the overall form of the sea lion’s body.
Step 7: Blend and Smudge
To achieve a smooth and realistic look, use a blending tool such as a blending stump or tortillon to blend the graphite. Gently smudge the shading, paying attention to the direction of the fur and the contour of the body. This technique will help create a soft and seamless transition between light and dark areas.
Step 8: Refine and Add Final Details
In this final step, take a step back and evaluate your drawing as a whole. Make any necessary adjustments to the proportions and values. Add fine details such as wrinkles, folds, and texture to the sea lion’s skin using a sharp pencil. Don’t forget to add a few highlights using an eraser to make certain areas pop and create a sense of depth.
Congratulations! You’ve successfully drawn a sea lion. With practice, you’ll be able to capture the grace and beauty of these incredible creatures in your own unique style.
Conclusion
Drawing a sea lion can be a captivating and rewarding experience. By following this step-by-step tutorial, you’ve learned the techniques required to bring these fascinating creatures to life on paper. Remember to be patient with yourself and enjoy the process. So grab your pencils, reference photo, and let your imagination run wild as you create your own masterpiece of a sea lion.