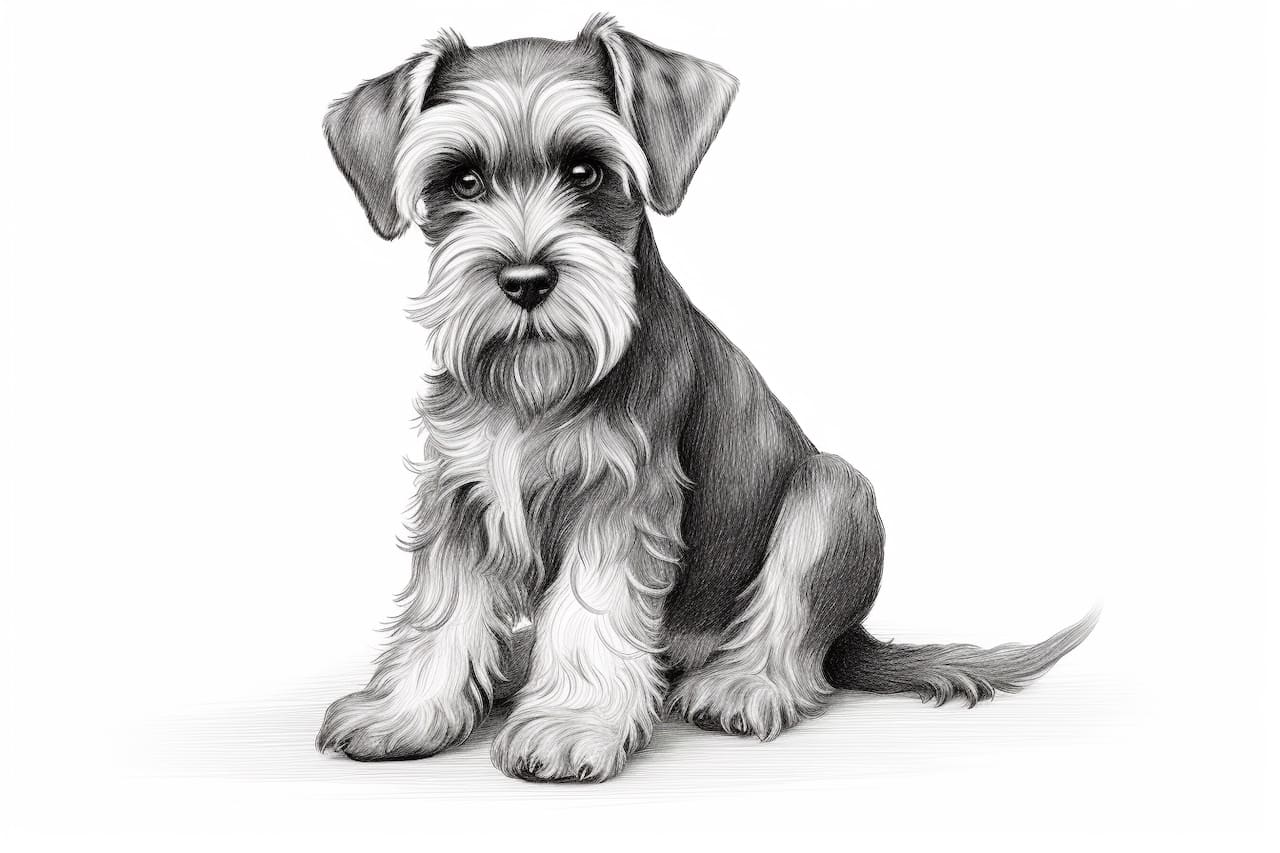
Are you a dog lover and an aspiring artist? Learning how to draw a Miniature Schnauzer is a great way to combine your passions! These adorable dogs are known for their distinctive appearance, wiry coats and bushy eyebrows. In this step-by-step guide, we’ll show you how to capture the unique charm of a Miniature Schnauzer on paper.
Materials Required
Before we begin, gather the following materials:
- Drawing paper: Choose a smooth and sturdy paper that is suitable for your chosen medium.
- Pencils: Have a set of graphite pencils ranging from 2H (light) to 6B (dark).
- Eraser: Use a kneaded eraser that can be molded to any shape for precise corrections.
- Blending stump: This tool helps to blend and smooth the graphite for a realistic finish.
- Reference photo: Find a clear photo of a Miniature Schnauzer to work from.
Now that you have everything you need, let’s get started!
Step 1: Sketch the Basic Shapes
Begin by lightly sketching the basic shapes of the Miniature Schnauzer. Start with an oval for the head, a rectangular shape for the body, and circles for the limbs. Don’t worry about adding details at this stage; focus on getting the proportions and positioning right.
Step 2: Define the Facial Features
Next, let’s bring the Miniature Schnauzer to life by defining its facial features. Using reference photo as a guide, sketch the dog’s eyes, nose, and mouth. Pay attention to the shape and placement of these features, as they contribute to the Schnauzer’s expressive face.
Step 3: Add the Ears and Eyebrows
Now, it’s time to add the Miniature Schnauzer’s signature features – its ears and eyebrows. These distinctive characteristics give the breed its unique appearance. Sketch the ears, which are usually small and V-shaped, and the bushy eyebrows that sit above the eyes.
Step 4: Outline the Body and Limbs
With the head and facial features in place, outline the body and limbs of the Miniature Schnauzer. Use gentle curves to create a sense of the dog’s muscular build. Remember to refer to your reference photo to ensure accuracy.
Step 5: Refine the Details
Now that the basic structure of the Miniature Schnauzer is complete, it’s time to add in the finer details. Pay attention to the texture of the fur, which is often wiry and has a distinct pattern. Use short, repetitive strokes to mimic the appearance of the dog’s coat.
Step 6: Shade and Add Depth
To make your Miniature Schnauzer drawing more three-dimensional, it’s essential to add shading and depth. Observe the reference photo to determine where the shadows fall and use darker shades of graphite to create these areas. Employ the blending stump to smooth out the shading for a realistic effect.
Step 7: Refine and Adjust
Take a step back and observe your drawing from a distance. This will help you identify any areas that may need refinement or adjustment. Make any necessary tweaks until you are satisfied with the overall result.
Step 8: Finalize the Details
In this final step, it’s time to add small details that bring your Miniature Schnauzer drawing to life. Pay attention to the eyes, nose, and mouth, as these features are essential for capturing the expression and personality of the dog. Use a sharp pencil to add fine lines and highlights.
Congratulations! You have successfully drawn a Miniature Schnauzer. With practice, you can refine your technique and create even more lifelike drawings of these charming dogs.
Conclusion
Drawing a Miniature Schnauzer is a delightful way to combine your love for dogs and art. By following these step-by-step instructions, you can create a beautiful portrait of this beloved breed. Remember to be patient with yourself and enjoy the process. With practice and dedication, your skills will continue to grow, allowing you to capture the unique spirit of Miniature Schnauzers on paper.