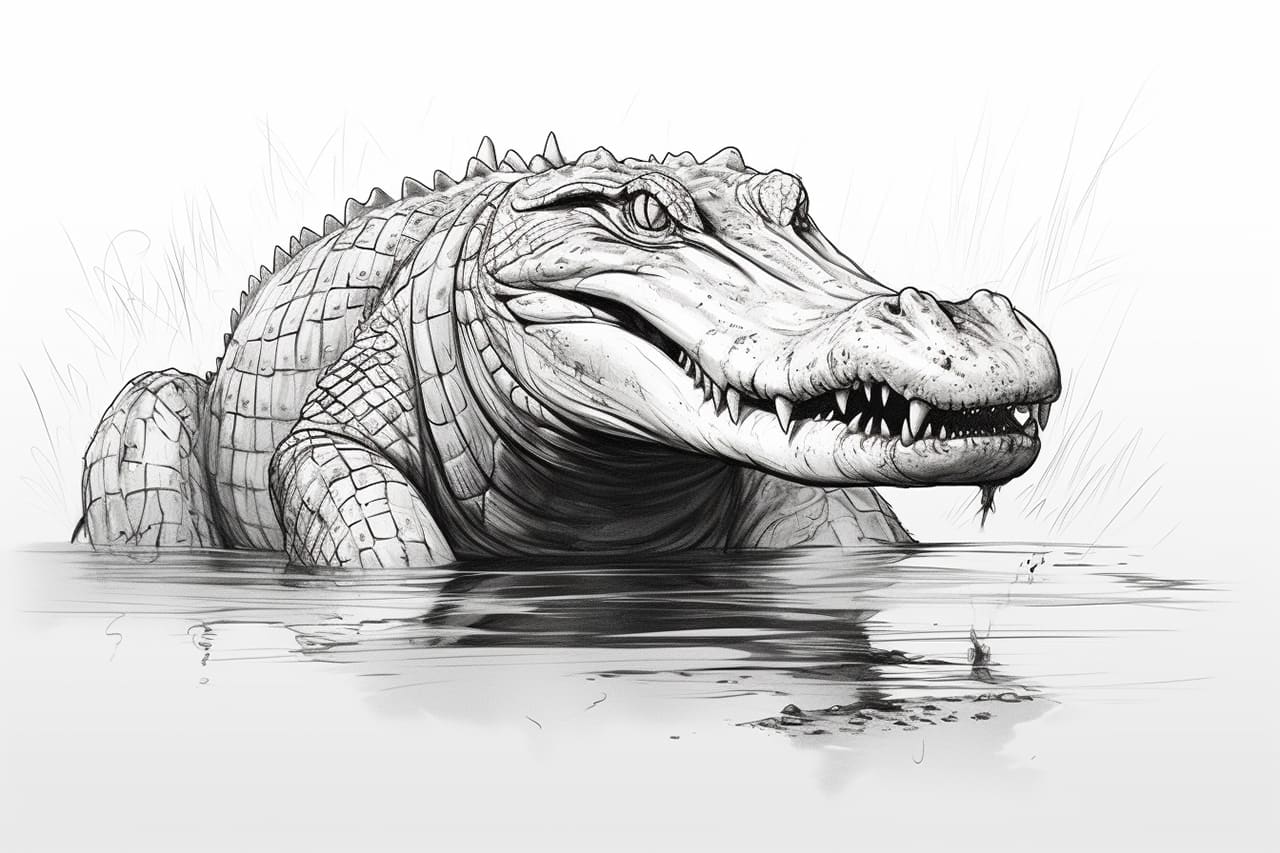
Crocodiles are fascinating creatures, known for their powerful jaws and intimidating presence. If you’ve ever wanted to learn how to draw a crocodile, you’ve come to the right place! In this step-by-step guide, I will walk you through the process of drawing a crocodile in a clear and concise manner. So grab your drawing tools, and let’s get started!
Materials Required:
- Pencil
- Eraser
- Paper
- Colored pencils or markers (optional)
Step 1: Sketch the Body Shape
Start by drawing a large oval shape for the body of the crocodile. This oval will serve as the foundation for your drawing.
Step 2: Add the Head
Next, draw a smaller oval shape at one end of the big oval. This will be the head of the crocodile. Make sure to leave enough space for the snout and the rest of the body.
Step 3: Define the Snout
Extend a curved line out from the head to create the snout of the crocodile. The snout should be long and pointed.
Step 4: Draw the Eye and Nostril
Within the head, draw a small circle for the eye and a smaller oval for the nostril. Position them towards the front of the snout, giving the crocodile an alert and menacing look.
Step 5: Outline the Mouth
Sketch the shape of the crocodile’s mouth by drawing a curved line that connects the snout to the body. Leave a small gap at the end of the snout to indicate the opening of the mouth.
Step 6: Add Teeth and Tongue
Inside the mouth, draw a row of sharp teeth on both the upper and lower jaws. These teeth should be small triangles that point inward. Add a forked tongue at the back of the mouth to give your crocodile a realistic touch.
Step 7: Define the Body
To give your crocodile a muscular appearance, draw a series of curved lines along the body. These lines should follow the contour of the oval shape you drew in the first step. Add some small bumps and scales on the back as well.
Step 8: Draw the Legs and Tail
Attach four short, stubby legs to the body of the crocodile. Each leg should have three clawed toes. The front legs should be slightly longer than the hind legs. Extend a long, thick tail from the end of the body, curving it gracefully.
Step 9: Add Textures and Details
Now it’s time to give your crocodile some texture and detail. Use short, curved lines to create the rough skin texture on the back, tail, and legs. Add small details like scales, wrinkles, and bumps to make your drawing more realistic and interesting.
Step 10: Erase the Guidelines
Carefully erase any unnecessary guidelines and construction lines from your drawing. Use a clean, kneaded eraser to avoid smudging the graphite.
Step 11: Add Color (Optional)
If you prefer a colorful crocodile, now is the time to bring out your colored pencils or markers. Use shades of green, brown, and gray to add lifelike colors to your drawing. Consider adding some darker tones to the shadows and lighter tones to the highlights.
Conclusion
Drawing a crocodile may seem challenging initially, but following these step-by-step instructions can create a stunning and realistic representation of this powerful reptile. Remember to take your time, practice, and have fun with the process. With some patience and creativity, you can perfect your crocodile drawing skills. Happy sketching!


