Welcome to this step-by-step guide on how to draw a Kuvasz, a majestic and elegant breed of dog. Whether you are an experienced artist or a beginner, this tutorial will help you create a beautiful and realistic drawing of a Kuvasz. So, let’s get started!
Materials Required
Before we begin, make sure you have the following materials ready:
- Drawing paper or sketchbook
- Pencils (preferably graphite) of different hardness (e.g., HB, 2B, 4B)
- Eraser (preferably a kneaded eraser)
- Pencil sharpener
- Blending stump or tortillon
- Reference photo of a Kuvasz (you can find one online or use a book)
Now that you have all your materials ready, let’s dive into the step-by-step process of drawing a Kuvasz.
Step 1: Sketch the Basic Shapes
Start by lightly sketching the basic shapes that make up the Kuvasz’s body. Begin with an oval shape for the head, followed by a rectangular shape for the body. Add circles for the joints and simple lines for the legs. Remember to keep these guidelines light, as they will be erased later.
Step 2: Define the Head and Facial Features
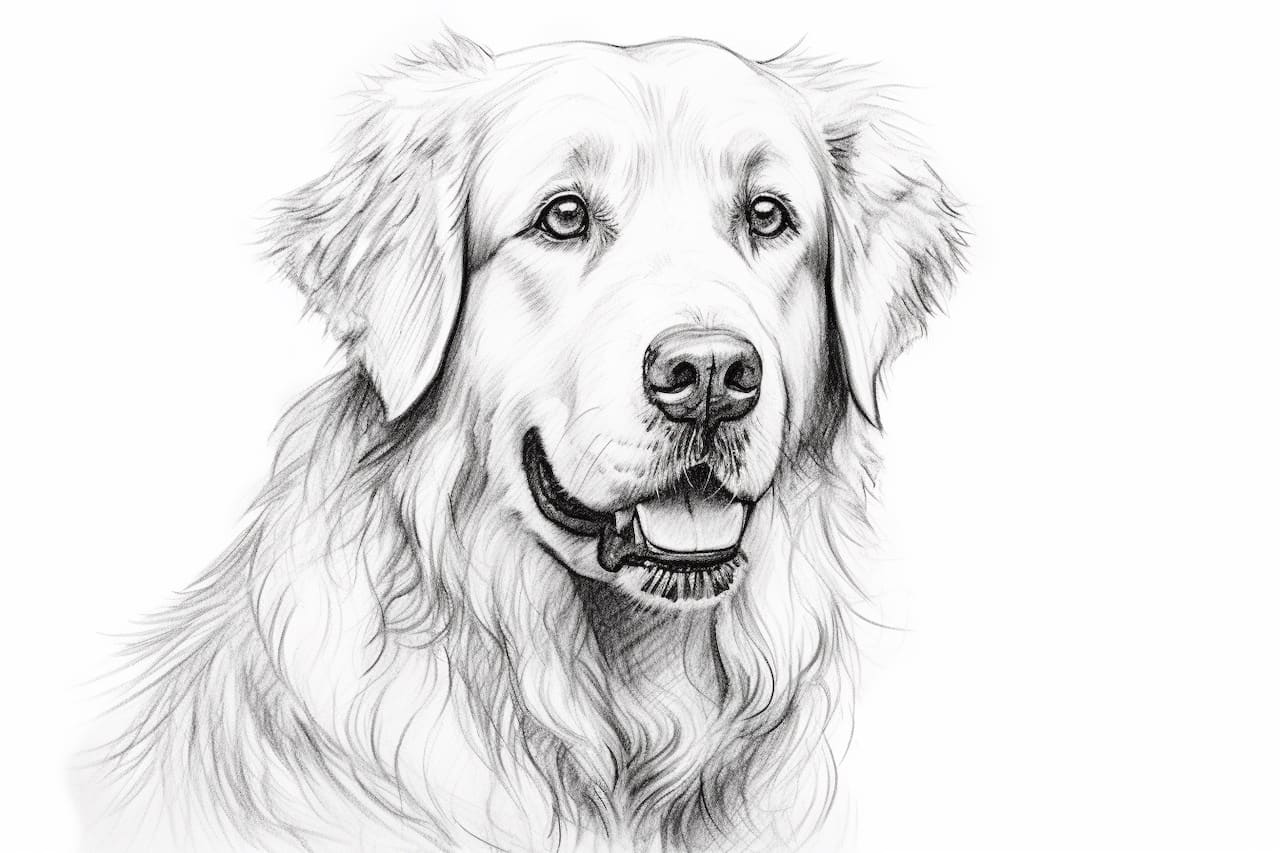
Using the oval shape as a guide, start adding more detail to the head. Sketch the ears, eyes, and nose, paying close attention to their placement and proportions. Kuvasz dogs have almond-shaped eyes and a straight, prominent nose. Take your time to capture these features accurately.
Step 3: Outline the Body and Legs
Using the rectangle shape as a guide, start outlining the body of the Kuvasz. Pay attention to the contours and curves of the dog’s muscular body. Add more definition to the legs by sketching the shape of the muscles and joints. Remember to compare the proportions to your reference photo regularly.
Step 4: Add Fur Details
Kuvasz dogs have a beautiful, long, and fluffy coat. To capture this, start sketching the fur details using light, feathery strokes. Focus on the direction of the fur growth and add texture to create a realistic effect. Use a softer pencil, such as a 4B, to achieve darker and more defined fur areas.
Step 5: Refine the Facial Features
Now it’s time to refine the facial features of the Kuvasz. Use darker pencil strokes to add depth and shading to the eyes, nose, and mouth. Pay attention to the highlights and shadows, as they play a crucial role in creating a three-dimensional effect. Take your time to capture the expression and unique characteristics of the breed.
Step 6: Work on the Body and Legs
Continue adding depth and shading to the body and legs of the Kuvasz. Observe the reference photo closely to capture the correct muscle definition and contours. Use various pencil hardnesses to achieve different tones and textures. Remember to blend the pencil strokes with a blending stump or tortillon to create a smooth and seamless look.
Step 7: Finalize the Details
Take a step back and evaluate your drawing. Look for any areas that need refinement or adjustment. Add more contrast and depth to the fur by darkening the shadows and adding highlights. Pay attention to smaller details like the paws, tail, and facial expressions. Take your time with this step to ensure the best possible outcome.
Step 8: Erase Guidelines and Clean Up
Once you are satisfied with the overall drawing, carefully erase any remaining guidelines and unnecessary pencil marks. Use a kneaded eraser to lift off excess graphite and create clean highlights. Take your time with this step and pay attention to detail, as it can significantly improve the final result.
Conclusion
Congratulations! You have successfully learned how to draw a Kuvasz. By following these step-by-step instructions, practicing patience, and paying attention to details, you can create a stunning and realistic drawing of this beautiful breed. Remember to use a reference photo and take breaks if needed. Enjoy the process and have fun with your artwork!