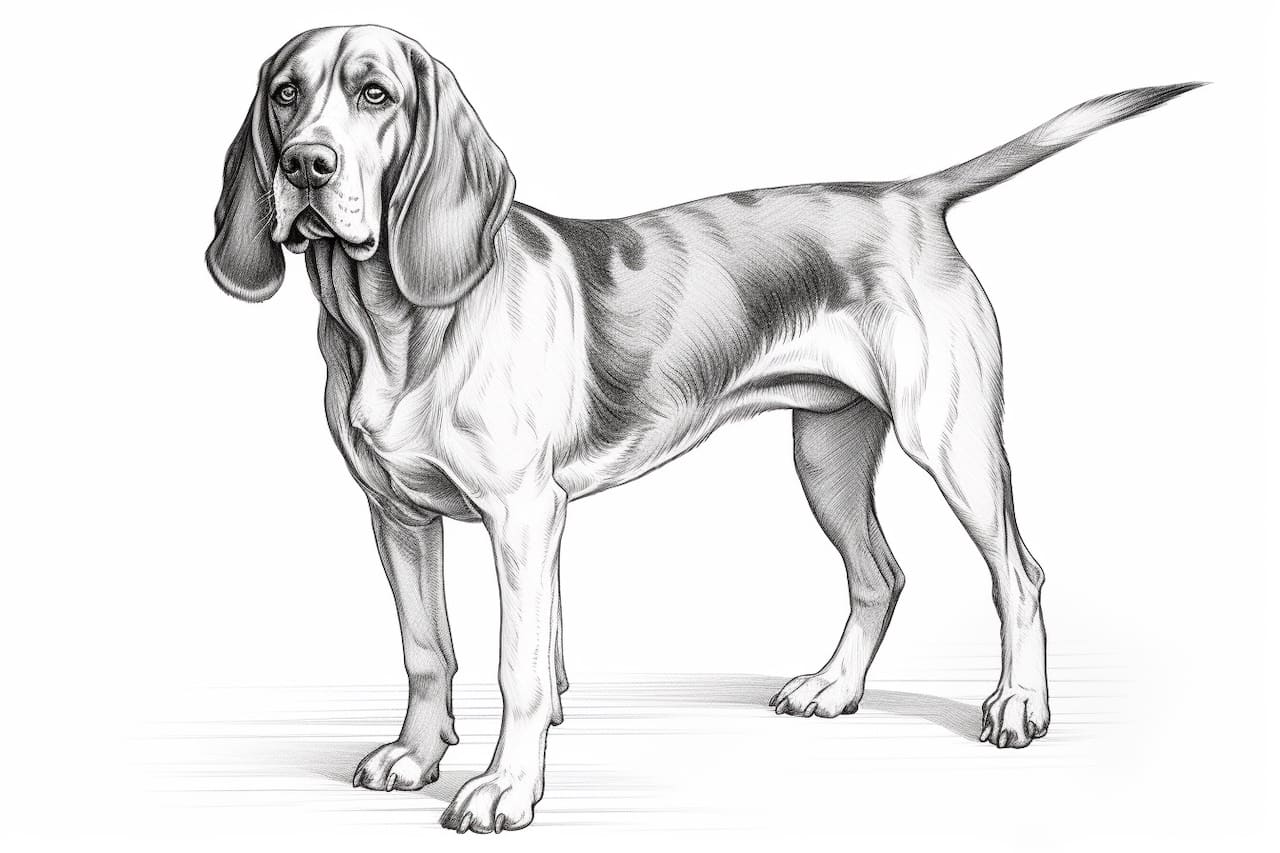
Welcome to this step-by-step guide on how to draw a Coonhound! Coonhounds are well-known for their muscular build and expressive faces. In this tutorial, I will walk you through the process of capturing the unique features of this beloved breed. Whether you are a beginner or an experienced artist, this guide is designed to help you create a realistic and detailed representation of a Coonhound. So grab your pencil and paper, and let’s get started!
Materials Required
To begin, gather the following materials:
- Pencil (HB or 2B)
- Eraser
- Paper (preferably a sketch pad)
Having these basic supplies will ensure that you can easily make corrections and adjustments throughout the drawing process.
Step 1: Basic Outline
Start by lightly sketching the basic shape of the Coonhound’s head and body using your pencil. Pay attention to the proportions and try to capture the general shape and size accurately. Don’t worry about adding any details at this stage, as we will refine the drawing later.
Step 2: Add Facial Features
Now, let’s focus on the Coonhound’s face. Using light, curved lines, sketch the outline of the eyes, nose, and mouth. Take note of the Coonhound’s distinct droopy ears and friendly expression. Remember to keep your lines loose and fluid, as we can refine them later.
Step 3: Define the Eyes and Nose
Coonhounds have large, soulful eyes and a prominent nose. Start by carefully adding more detail to the eyes, paying attention to the shape and proportions. Draw the irises and pupils, leaving a highlight in each eye to give them a lifelike appearance. Next, refine the shape of the nose, adding the nostrils and any other details that you observe.
Step 4: Outline the Ears and Mouth
Using light and flowing lines, define the Coonhound’s expressive ears. Pay attention to the shape and position of the ears, as they are a distinctive feature of this breed. Continue by adding more details to the mouth, including the lips and tongue. Take your time to ensure that the mouth looks natural and captures the Coonhound’s friendly expression.
Step 5: Refine the Body
Now that we have established the Coonhound’s facial features, let’s move on to the body. Take your time to carefully add more definition and detail to the outline you drew in the first step. Pay attention to the shape and proportions of the neck, chest, and legs. Keep in mind that Coonhounds are muscular and athletic dogs.
Step 6: Add Fur Texture
To give your drawing a more realistic appearance, it’s important to add texture to the Coonhound’s fur. Start by lightly sketching short, curved lines in the direction of the fur growth. Take your time and build up the texture gradually, especially around the neck, chest, and legs. Use a light touch so that the fur looks soft and natural.
Step 7: Final Details
In this final step, focus on adding any remaining details to your drawing. Pay close attention to the Coonhound’s paws, claws, and tail. Refine the features of the face by adding more depth and shadow, and make any necessary adjustments to the overall proportions. Take a step back and evaluate your drawing to see if there are any areas that need further refinement.
Congratulations! You have successfully drawn a Coonhound. By following these step-by-step instructions, you have captured the unique features of this beloved breed. Remember, practice makes perfect, so keep honing your skills and experimenting with different techniques.
Conclusion
In conclusion, this tutorial has guided you through the process of drawing a Coonhound. From sketching the basic outline to adding intricate details, each step allowed you to gradually bring your drawing to life. With practice and patience, you can master the art of drawing Coonhounds and other dog breeds. So go ahead and continue your artistic journey, creating beautiful representations of these loyal and lovable creatures.