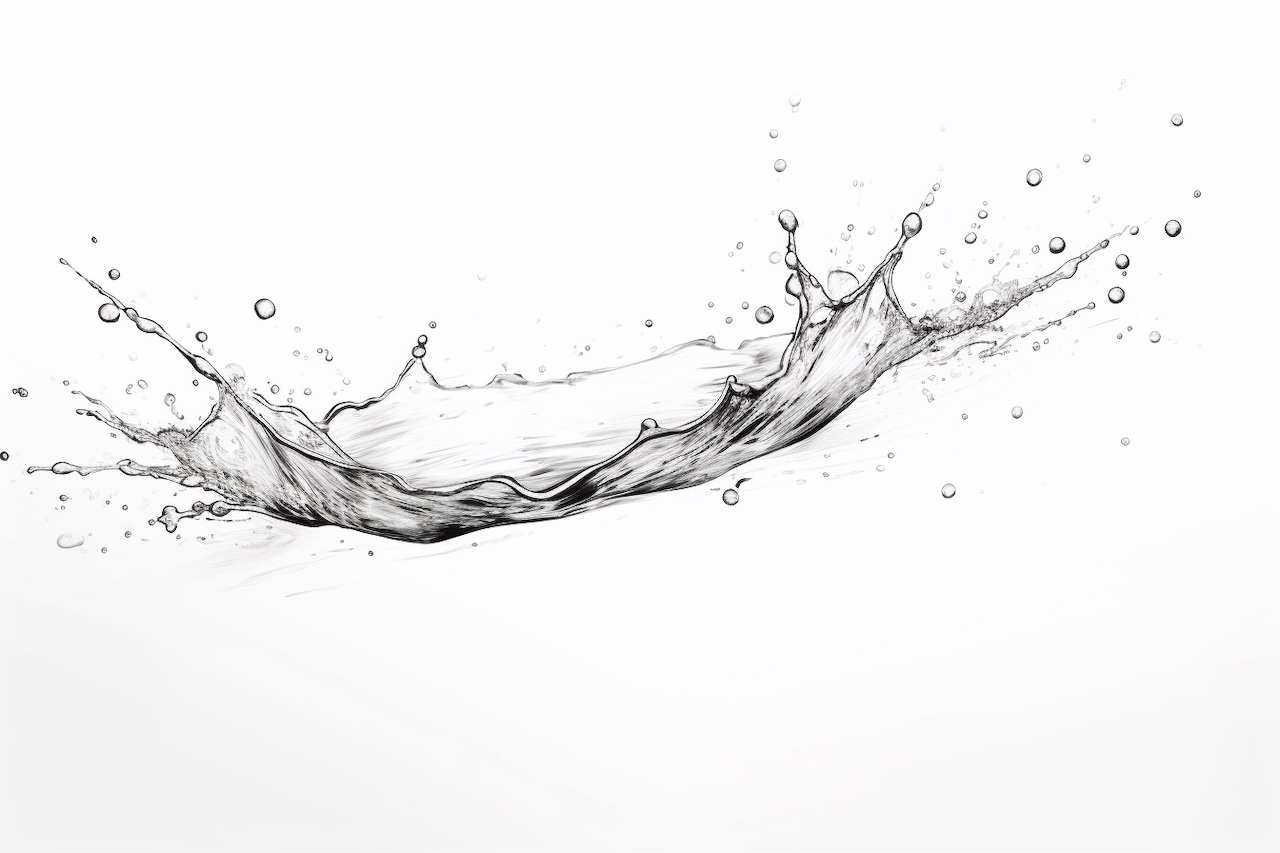
Do you want to learn how to draw a realistic and dynamic splash? Whether you’re an aspiring artist or just looking to improve your drawing skills, mastering the art of drawing a splash can add a touch of realism and movement to your artwork. In this step-by-step guide, we will walk you through the process of drawing a splash, from the initial sketch to adding the finishing touches. So grab your pencils and let’s get started!
Materials Required:
Before we dive into the process, gather the following materials:
- Drawing paper or sketchbook
- Pencils (graphite or charcoal)
- Eraser
- Blending tool (such as a blending stump or tortillon)
- Fineliner or ink pen (optional, for outlining)
Now that you have all your materials ready, let’s begin!
Step 1: Plan Your Splash
Before starting any drawing, it’s important to have a clear plan in mind. Decide where you want your splash to be placed on the paper and envision how you want it to look. Is it a small splash or a large one? Will it be in the center or off to the side? Take a moment to think about these details before moving forward.
Step 2: Outline the Basic Shape
Start by lightly sketching the basic shape of the splash using a pencil. Remember, a splash is a dynamic and fluid shape, so don’t worry about making it perfect at this stage. Focus on capturing the general outline and flow of the splash. Use loose, flowing lines to create a sense of movement.
Step 3: Add Details
Once you have the basic shape outlined, start adding smaller details to the splash. Look closely at reference images or observe real splashes to understand how they behave. Draw smaller splashes within the main shape, indicating the smaller droplets and water spray. Use quick, energetic strokes to bring the splash to life.
Step 4: Define the Edges
Next, define the edges of the splash to give it a more refined and realistic appearance. Pay close attention to the areas where the water is breaking or cascading. Use darker or heavier lines to create contrast and add depth to the drawing. Don’t forget to erase any unnecessary guidelines or construction lines.
Step 5: Add Shadows and Highlights
To make the splash appear more three-dimensional, add shading and highlights. Determine the direction of the light source and imagine how it would interact with the water. Use hatching or cross-hatching techniques to create shadows and add volume to the splash. Leave some areas lighter to represent highlights and reflections.
Step 6: Blend and Smooth
To achieve a smoother and more realistic look, use a blending tool like a blending stump or tortillon. Gently blend the pencil strokes to soften the edges and create a seamless transition between different areas of the splash. Be careful not to over-blend and lose the texture and details of the water.
Step 7: Optional Outlining
If you prefer a more defined and graphic look, you can outline the splash with a fineliner or ink pen. This step is entirely optional and depends on your style and preference. Keep the lines fluid and dynamic to maintain the movement of the splash.
Step 8: Finishing Touches
Now that the main splash is complete, take a step back and assess your drawing. Make any necessary adjustments or add extra details if needed. Pay attention to the overall balance and composition of the artwork. Use the eraser to clean up any stray marks or smudges.
Conclusion
Congratulations on completing your splash drawing! By following this step-by-step guide, you’ve learned how to create a dynamic and realistic splash on paper. Whether you’re drawing a splash as a standalone artwork or incorporating it into a larger piece, this skill will undoubtedly enhance your artistic abilities. Remember to practice regularly and experiment with different techniques to further refine your drawing skills. Happy splashing!


