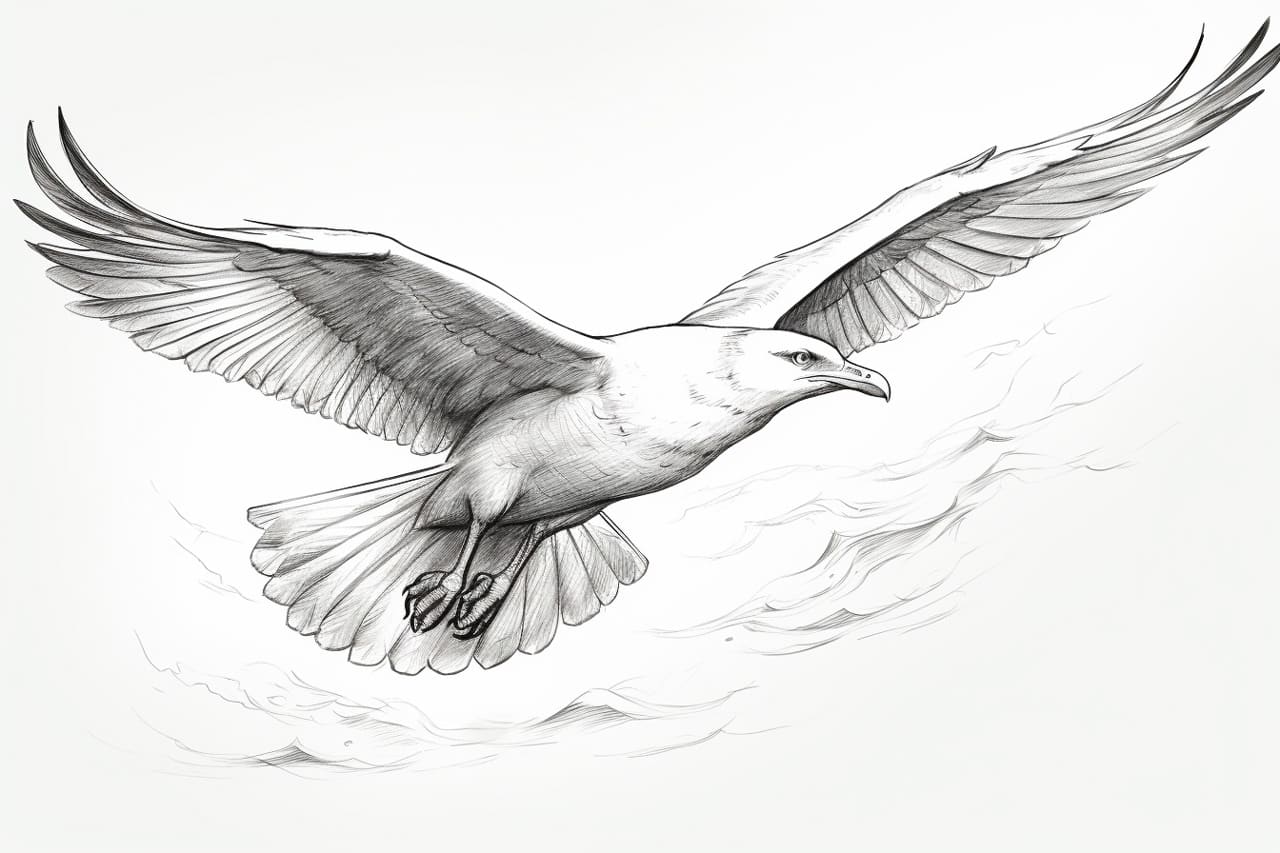
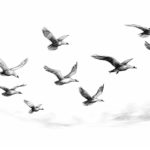
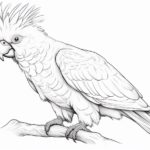
Seagulls are beautiful and graceful creatures that are often found soaring through the sky. Drawing them can be a fun and rewarding experience, allowing you to capture their elegance on paper. In this step-by-step guide, I will teach you how to draw a flying seagull with clear instructions and simple techniques. So grab your drawing materials and let’s get started!
Materials Required:
- Pencil
- Paper
- Eraser
- Fine-tip marker or pen (optional)
Step 1: Outline the Body
Start by drawing a small oval shape for the seagull’s body. This will form the foundation of your drawing. Keep the outline light and loose, as you can make adjustments later on.
Step 2: Add the Wings
Extend two curved lines from both sides of the body to create the seagull’s wings. The wings should appear elongated and slightly angled upwards, as if the seagull is in mid-flight. Remember to keep the lines light and fluid.
Step 3: Sketch the Head and Beak
Draw a small circle near the front of the body to represent the seagull’s head. Next, add a slightly curved triangle shape extending from the circle to create the beak. The beak should be pointing slightly downward. Take your time to get the proportions right, as the head and beak are important features of the seagull.
Step 4: Define the Eye and Feathers
Within the circle representing the head, draw a small oval to form the eye. Leave a small white circle within the eye to give it a reflective look. Add a few curved lines around the body to indicate the overlapping feathers. Don’t worry about adding too many details at this stage, as we will refine them later.
Step 5: Draw the Tail
At the back of the seagull’s body, sketch a long and slightly curved triangle shape to represent the tail. Make sure the tail feathers are arranged neatly and evenly. This will add balance and grace to your drawing.
Step 6: Refine the Wing Details
Now it’s time to add some details to the wings. Draw a few curved lines within each wing to represent the individual feathers. Pay attention to the direction of the lines, as they should flow smoothly with the wings’ shape. This will give your seagull a realistic and textured appearance.
Step 7: Add Texture to the Body
Take your pencil and lightly shade in some areas of the seagull’s body, particularly around the wings and tail. This will create a sense of depth and dimension. Be mindful of the light source in your drawing and shade accordingly to make it more realistic.
Step 8: Emphasize the Feathers and Beak
Using small and quick strokes, darken the lines that define the feathers and beak. This will give them more definition and bring your seagull to life. Take your time and be patient with this step, as it requires attention to detail.
Step 9: Finalize the Eye and Add Final Details
Refine the shape of the seagull’s eye by adding a small dot within the white circle you created earlier. This will give it a more realistic appearance. Add any additional details you may have missed, like small lines to enhance the feathers or extra shading to create more depth.
Step 10: Ink and Erase
If you’re satisfied with your drawing, use a fine-tip marker or pen to outline your artwork. Wait for the ink to dry, and then erase any remaining pencil lines. Be careful not to erase any inked lines accidentally.
Conclusion
Drawing a flying seagull can be a delightful experience. By following these step-by-step instructions, you can create a beautiful and lifelike representation of this majestic bird. Remember to stay patient, take your time, and don’t be afraid to make adjustments along the way. With practice, you’ll be able to capture the essence of a flying seagull in your drawings.
So grab your pencil, paper, and let your creativity take flight as you draw a magnificent flying seagull!

