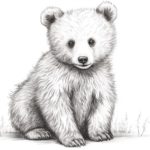
Welcome aspiring artists! In this step-by-step tutorial, we will guide you through the process of drawing a delightful cartoon bear. Whether you are a beginner or simply looking to improve your drawing skills, this tutorial is perfect for you. So grab your pencils, paper, and let’s get started!
Materials Required
Before we begin, make sure you have the following materials ready:
- Drawing paper or sketchbook
- Pencils (HB for sketching and a range of softer pencils for shading)
- Eraser
- Fine-tipped black marker or pen
- Colored pencils or markers (optional)
Now that you have everything you need, let’s dive into the world of cartoon bears!
Step 1: Basic Shapes
Start by drawing a large circle in the center of your paper. This will be the bear’s head. Then, add two smaller circles slightly overlapping the bottom of the head circle. These will represent the bear’s body and hips.
Step 2: Facial Features
Within the head circle, sketch two small circles for the bear’s eyes. Place them slightly towards the top and leave some space in between for the nose. Add a small oval shape below the eyes for the nose and a curved line underneath it for the mouth.
Step 3: Ears and Muzzle
Draw two rounded triangles on each side of the head circle for the bear’s ears. Make the bottom part of each ear slightly wider than the top. Then, add a rounded rectangular shape below the nose for the bear’s muzzle. This will give your bear a cute and cuddly look!
Step 4: Arms and Legs
Extend two curved lines from the bottom circle for the bear’s arms. Bend them to create a more dynamic pose. Add circular paws at the end of each arm, by drawing small ovals. For the bear’s legs, draw two straight lines extending from the bottom of the body circle, and add circular paws at the ends.
Step 5: Body and Tail
Connect the head, body, and hips circles with curved lines to give the bear its shape. Then, add a small rounded triangle at the back for the bear’s tail. This will make your bear look extra playful!
Step 6: Details on the Face
Now it’s time to add some details to the bear’s face. Draw small circles within the eyes for the pupils. Add curved lines above the eyes to represent eyebrows, giving your bear some expression. For the mouth, draw a small curved line at each end to create a smile.
Step 7: Fur and Texture
To give your cartoon bear a furry appearance, draw short, curved lines all over its body and limbs. These lines should follow the contours of the bear’s shape. Use your pencil with a light touch to create a softer fur texture. Don’t forget to erase any overlapping lines as you go along.
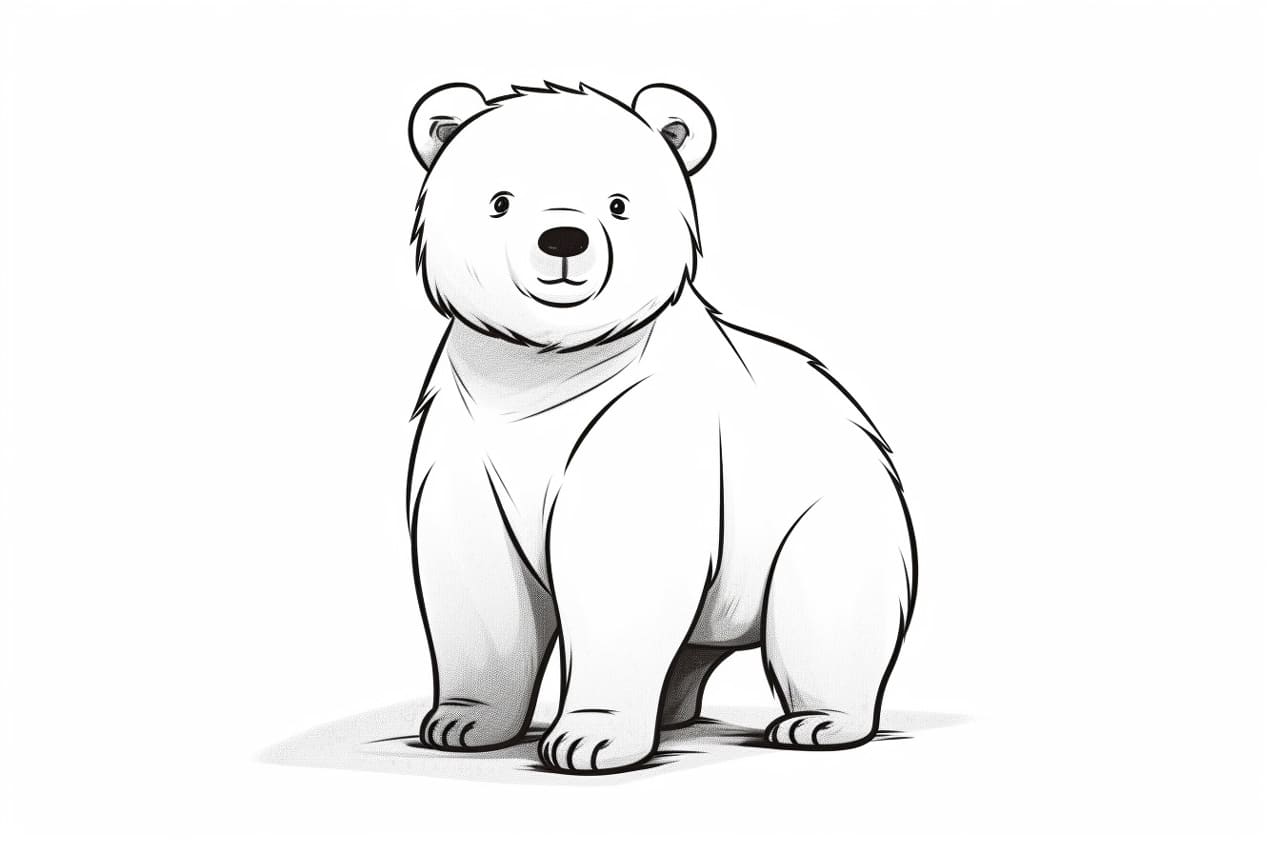
Step 8: Finalize the Outline
Once you are satisfied with the main structure and details of your cartoon bear, go over the lines with a fine-tipped black marker or pen. This will make the drawing more defined and ready for coloring if you choose to do so.
Step 9: Coloring (Optional)
If you want to add some extra vibrancy to your cartoon bear, grab your colored pencils or markers and start coloring. Use shades of brown for the bear’s body and lighter tones for the fur. Feel free to get creative with the colors and make your bear truly unique!
Conclusion
Congratulations on completing your cartoon bear drawing! With the help of these step-by-step instructions, you’ve created an adorable character that is ready to bring joy to anyone who sees it. Remember, practice makes perfect, so keep drawing and exploring your artistic skills. Stay tuned for more tutorials and happy drawing!