Welcome to this step-by-step guide on how to draw a mockingbird. Whether you are a seasoned artist or a beginner, this tutorial will provide you with clear, concise instructions to help you create a realistic and beautiful portrayal of this fascinating bird. So grab your materials and let’s get started!
Materials Required:
To draw a mockingbird, you will need the following materials:
- Pencil (preferably HB or 2B)
- Eraser
- Drawing paper or sketchbook
- Fine-tip black pen or marker (optional)
- Colored pencils or watercolor paints (optional)
- Reference image of a mockingbird
Now that you have gathered all the necessary materials, we can begin the step-by-step process of drawing a mockingbird.
Step 1: Basic Shapes
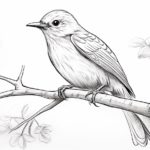
Start by sketching the basic shapes that will serve as the foundation for your mockingbird. Begin with an oval shape for the body and a smaller circle for the head. These shapes will help you establish the proportions and overall structure of the bird.
Step 2: Beak and Eyes
Add the beak by drawing a small triangle extending from the head circle. Remember to pay attention to the angle and size of the beak, as it varies among different bird species. Next, draw the eyes on either side of the head. Mockingbirds have round eyes, so make sure to capture their shape accurately.
Step 3: Head and Neck
Refine the shape of the head by adding more details such as the characteristic crest and any feather markings. Pay close attention to the reference image to capture the intricacies of the mockingbird’s head. Next, draw a curved line from the back of the head to create the neck.
Step 4: Wings
Sketch the outlines of the wings, taking care to position them correctly in relation to the body. Mockingbirds have long, slender wings that taper towards the tips. Add some feathery details to give the wings a realistic texture.
Step 5: Tail
Draw the long, elegant tail of the mockingbird. Start by sketching the central tail feathers and then add the smaller feathers on either side. Pay attention to the curvature and length of the tail, as it is a prominent feature of the bird.
Step 6: Legs and Feet
Sketch the legs and feet of the mockingbird. Pay attention to the proportions and positioning of these features. Mockingbirds have thin, straight legs with three-toed feet. Add some minor details to depict the claws on the feet.
Step 7: Details and Feathers
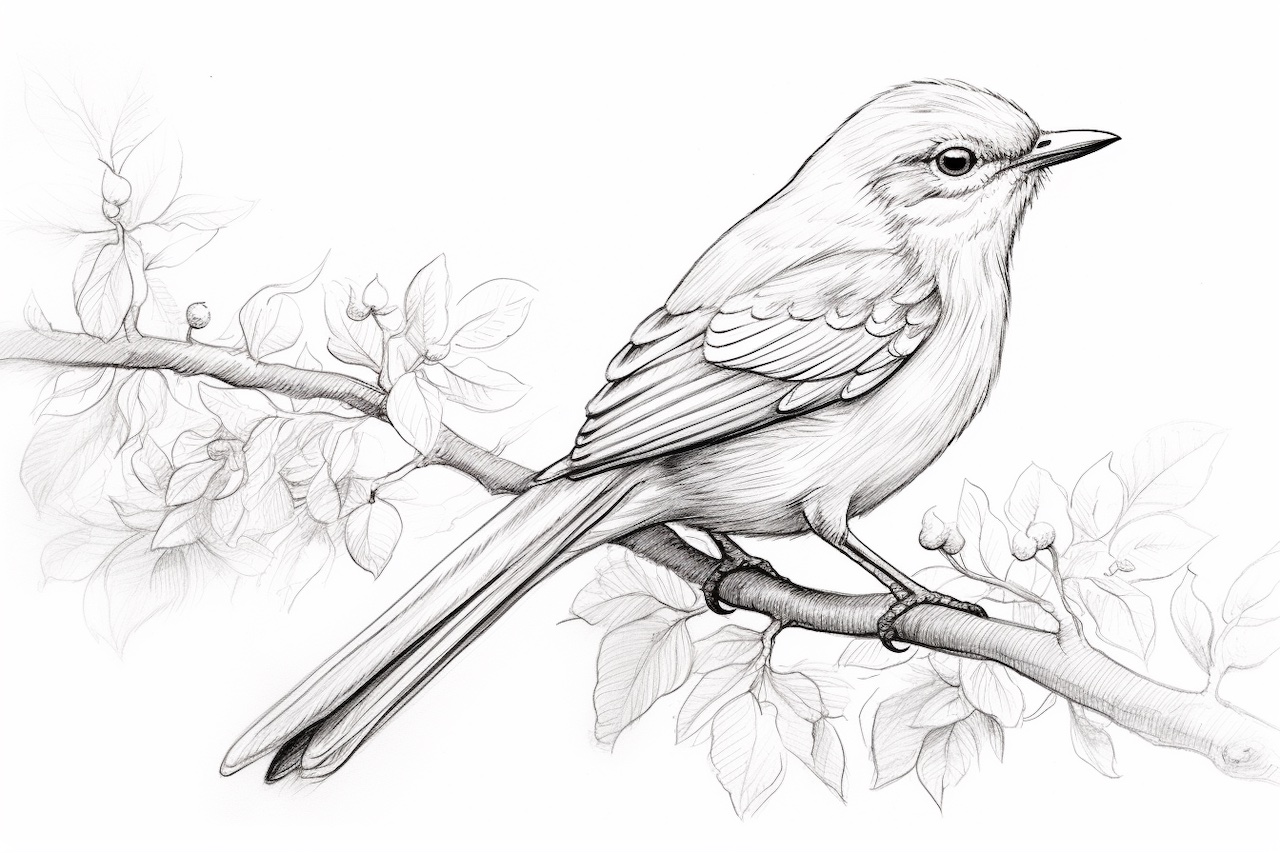
Now it’s time to add more intricate details to your drawing. Pay close attention to the reference image and carefully observe the feather patterns on the body, wings, and tail. Use short, light strokes to replicate the texture and shading of the feathers. Take your time with this step to capture the beauty of the mockingbird’s plumage.
Step 8: Finalize the Outline
Refine the outline of your drawing by erasing any unnecessary lines and smoothening out the contours. Make sure the proportions and shapes look accurate before proceeding.
Step 9: Add Color (Optional)
If you prefer a colored drawing, you can now add color to your mockingbird. Use colored pencils or watercolor paints to carefully fill in the different parts of the bird. Pay attention to the shades and hues of the feathers, as well as any distinct markings.
Step 10: Ink (Optional)
For a more defined and polished look, you can outline your drawing with a fine-tip black pen or marker. This step is optional but can add a professional touch to your artwork. Make sure to let the ink dry completely before erasing any pencil marks underneath.
Conclusion:
Congratulations! You have successfully learned how to draw a mockingbird. By following these step-by-step instructions, you have created a stunning representation of this remarkable bird. Remember, practice makes perfect, so feel free to experiment and continue honing your skills. Keep exploring the world of art and enjoy the process of creating beautiful drawings.