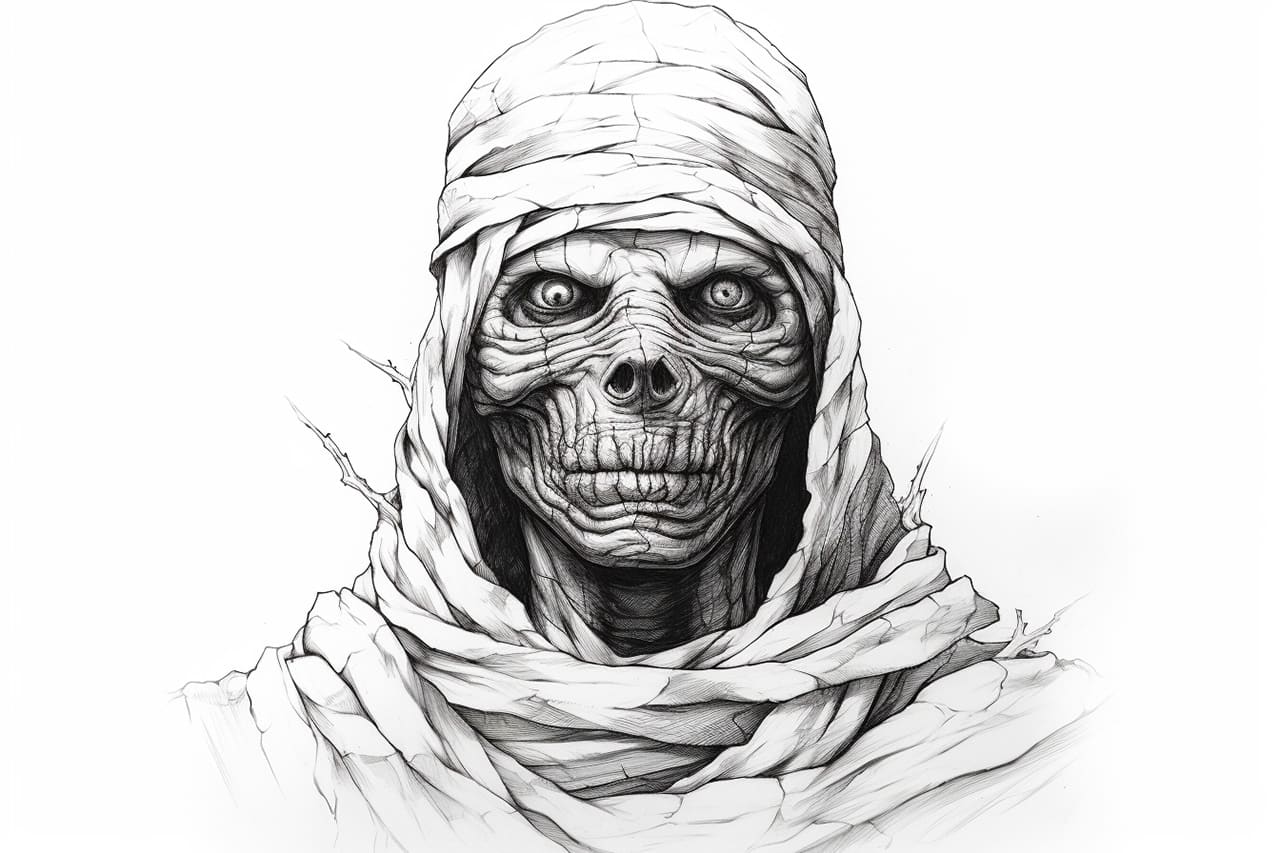
Welcome to this step-by-step guide on how to draw a mummy! In this tutorial, I will walk you through the process of creating a detailed and realistic mummy drawing. By following these simple steps, you will be able to capture the essence of this ancient creature in your artwork. So let’s get started!
Materials Required
Before we begin, make sure you have the following materials ready:
- Drawing paper or sketchbook
- Pencil
- Eraser
- Fine-tip markers or pens (optional)
- Colored pencils or markers (optional)
Now that you have your materials ready, let’s dive into the steps!
Step 1: Basic Shape
Start by drawing a vertical line slightly off-center on your paper. This line will act as a guide for the mummy’s body alignment. Next, draw a horizontal line intersecting the vertical line at the midpoint. This horizontal line will help you position the mummy’s facial features accurately.
Step 2: Head and Facial Features
At the top of the vertical line, draw a circle to represent the mummy’s head. Then, using the horizontal line as a guide, draw two oval shapes on either side of the vertical line. These ovals will serve as the mummy’s eyes.
Below the eyes, draw a horizontal line to indicate the placement of the mummy’s bandages. Add horizontal curved lines across the face to represent the wrapping of the bandages. Make sure to leave gaps for the eyes and the mouth.
Step 3: Eyes and Wrinkles
Within the oval shapes, draw smaller circles for the mummy’s pupils. Leave a small white dot in each pupil to create a sense of reflection. Add a few horizontal lines above and below the eyes to represent wrinkles on the mummy’s forehead and under the eyes.
Step 4: Nose, Mouth, and Teeth
Draw a small triangular shape beneath the eyes to form the mummy’s nose. Below the nose, draw a horizontal line as a guide for the mouth. Add a series of small, jagged lines within this shape to create the illusion of bandaged teeth.
Step 5: Ears and Hair
On either side of the head, draw semi-circular shapes to represent the mummy’s ears. Add some angled lines within the ears to indicate the bandages. Then, draw a few hair strands peeping out from under the bandages. Make them uneven and messy to give your mummy a more rugged look.
Step 6: Torso and Bandages
Start drawing the mummy’s body by extending two lines down from the bottom of the head. These lines will form the sides of the mummy’s torso. Connect them at the bottom with a horizontal line to complete the torso shape.
Draw vertical lines across the torso to create the appearance of wrapped bandages. Vary the width and spacing of the lines to add depth and texture to your drawing.
Step 7: Arms and Hands
Extend two lines from the sides of the torso to create the mummy’s arms. At the end of each arm, draw a rectangular shape for the hands. Add extra lines within the hands to indicate fingers and creases in the bandages.
Step 8: Legs and Feet
Similar to the arms, extend two lines downward from the bottom of the torso to form the mummy’s legs. At the end of each leg, draw a rectangular shape for the feet. Again, add extra lines to represent the bandages and toes.
Step 9: Details and Texture
Now that you have the basic outline of the mummy, it’s time to add some texture and details. Use your pencil or fine-tip markers to draw irregular lines and shapes across the bandages to give them a weathered and ancient appearance. Don’t be afraid to experiment with different patterns and textures to make your mummy drawing more interesting.
Step 10: Final Touches and Shading
To bring your mummy drawing to life, add some shading to create dimension. Identify the light source in your drawing and darken the areas that would be in shadow accordingly. Use your pencils or colored markers to add depth and shading to the bandages, as well as to the mummy’s face and body.
Conclusion
Congratulations! You have successfully learned how to draw a mummy from start to finish. By following these step-by-step instructions and adding your own creative touches, you can create a unique and captivating mummy drawing. Remember to practice regularly and have fun with your artwork.
I hope you found this guide helpful in your drawing journey. Remember, the key to improving your drawing skills is practice and patience. So keep sketching, and soon you’ll be able to master more complex subjects. Happy drawing!