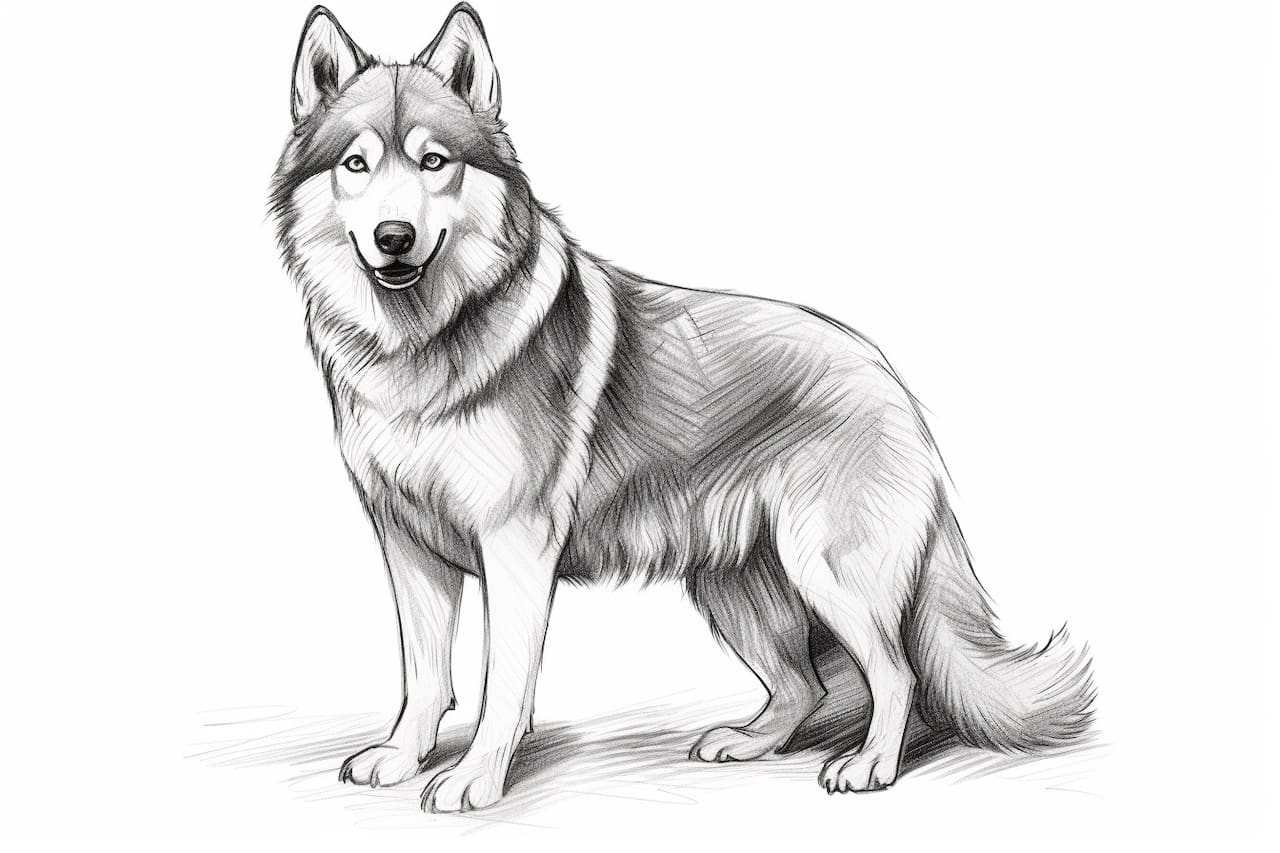
Welcome to this step-by-step guide on how to draw a Labrador Husky! Whether you are a beginner or an experienced artist, this tutorial will provide clear and concise instructions to help you create a beautiful and realistic drawing of this stunning dog breed. So, grab your drawing supplies, and let’s get started!
Materials Required
Before we begin, let’s gather all the materials you’ll need for this drawing:
- Pencil: A graphite pencil with a medium or soft lead (HB or softer) is recommended for sketching and shading.
- Paper: Choose a smooth drawing paper or sketchbook that can handle erasing and shading without smudging too easily.
- Eraser: A kneaded eraser works best for removing or lightening pencil lines without damaging the paper.
- Blending Stump: This tool is useful for smoothly blending and shading the graphite pencil marks.
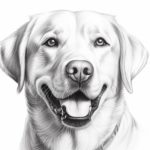
- Reference Image: Find a clear and detailed photo of a Labrador Husky to use as a reference throughout the drawing process.
Once you have gathered these materials, find a comfortable and well-lit workspace to begin your drawing.
Step 1: Outline the Basic Shape
Start by lightly sketching the basic shape of the Labrador Husky using your pencil. Begin with an oval shape for the head, followed by a slightly elongated oval for the body. Add a few lines to indicate the position of the limbs, tail, and ears. Remember to keep your lines light and easily erasable as we’ll refine the details in later steps.
Step 2: Define the Facial Features
Now, let’s focus on the facial features of the Labrador Husky. Using your reference image as a guide, sketch the eyes, nose, and mouth. Pay close attention to the shape and positioning of these features, as they greatly contribute to capturing the characteristic expression of the breed. Take your time to get the proportions right, making sure to leave enough space for the surrounding fur.
Step 3: Add Fur Details
Labrador Huskies have a thick and fluffy coat, so it’s important to capture the texture and volume in your drawing. Start by lightly sketching the general flow of the fur using curved lines. Pay attention to the direction of the fur and its varying lengths on different parts of the dog’s body. Use short, overlapping strokes to gradually build up the fur texture, keeping in mind the reference image for guidance.
Step 4: Refine the Body and Limbs
Now that we have the basic outlines and fur details, it’s time to refine the shape of the body and limbs. Use your pencil to add more definition and volume to the Labrador Husky’s body, paying attention to the musculature and curves. Refine the shape of the legs and paws, adding individual toes and claws. Don’t forget to include the tail, which is often thick and bushy.
Step 5: Shading and Depth
To create depth and dimension in your drawing, it’s important to add shading. Observe the reference image and identify areas of light and shadow. Use your pencil to lightly shade the darker areas, gradually building up the tones by layering more graphite. Use a blending stump to smooth out the transitions between light and dark areas, creating a more realistic and three-dimensional effect.
Step 6: Final Details and Highlights
In this final step, focus on adding the finishing touches to your Labrador Husky drawing. Enhance the facial features by adding more details to the eyes, nose, and mouth. Use your eraser to lighten any areas that may have become too dark and to create highlights on the fur. Pay attention to small details such as whiskers or subtle markings that are unique to each dog. Take your time to ensure all the details are precise and reflective of the breed.
Conclusion
Congratulations! You have successfully learned how to draw a Labrador Husky step by step. By following these clear and concise instructions, you have created a realistic and detailed drawing of this beautiful dog breed. Remember, practice makes perfect, so don’t be afraid to experiment and continue honing your skills. Keep exploring and capturing the beauty of the world through your artwork.