Welcome to this step-by-step guide on how to draw a small butterfly! This tutorial teaches you the techniques and steps required to create a beautiful and realistic butterfly drawing. Whether you are a beginner or an experienced artist, this tutorial will provide you with the necessary instructions to bring your artwork to life. So let’s get started with this drawing lesson!
Materials Required
Before we begin, gather the following materials:
- Drawing paper
- Pencil (preferably a mechanical pencil or a set of drawing pencils)
- Eraser (preferably a kneaded or vinyl eraser)
- Fine-tip markers or pens (optional for outlining)
- Colored pencils or markers (optional for adding color)
Now that we have our materials ready, let’s dive into the step-by-step process of drawing a small butterfly.
Step 1: Sketch the Body and Head
Start by lightly sketching the body and head of the butterfly using a pencil. The body consists of a long, thin shape with a slight curve. The head is a small oval shape attached to the front of the body.
Step 2: Add Antennae and Eyes
Next, draw two thin, curved lines on top of the butterfly’s head to represent the antennae. At the end of each antenna, draw a small oval shape to indicate the eyes.
Step 3: Create the Wings
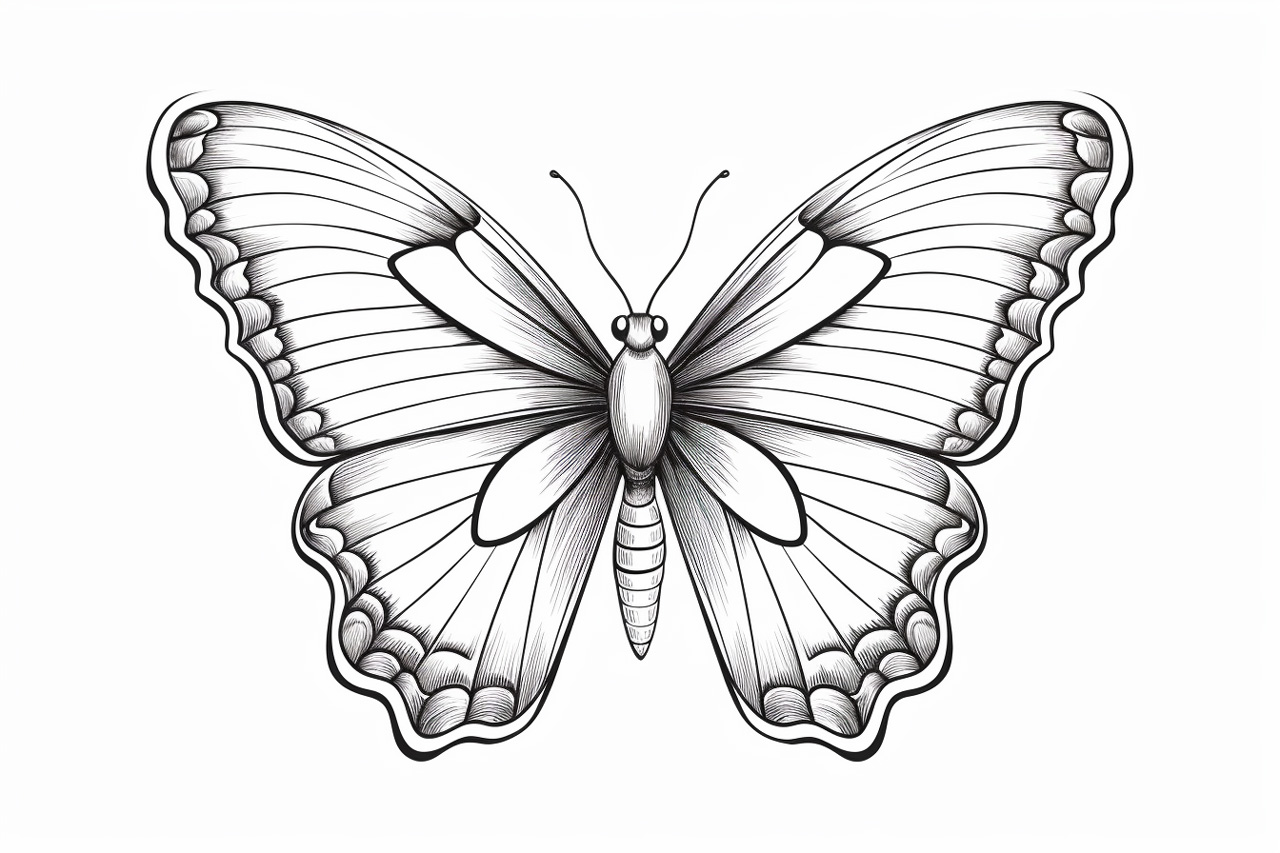
Now it’s time to draw the wings of the butterfly. Each wing consists of two curves that meet at a point near the body. Start by drawing one curve extending outward from the top of the body, then draw another curve starting from the bottom of the body. Repeat this step on the opposite side to complete both wings.
Step 4: Add Patterns to the Wings
To make your butterfly drawing more interesting, add patterns to the wings. You can create patterns with lines, dots, or any other design you like. Be creative and experiment with different patterns on each wing.
Step 5: Outline the Drawing
Once you are happy with the sketch, go over the main lines of your drawing with a fine-tip marker or pen. This will make the lines more defined and help your drawing stand out.
Step 6: Erase Excess Lines
Carefully erase any unnecessary pencil lines to clean up your drawing. Make sure to use a light touch so you don’t smudge the ink from the pen or marker.
Step 7: Add Details
Now it’s time to add some details to your butterfly drawing. Add small lines and shapes to the body and head to give them more definition. You can also add additional patterns or designs to the wings if desired.
Step 8: Color the Drawing (Optional)
If you want to add color to your butterfly drawing, grab your colored pencils or markers. Begin by lightly coloring the wings in your chosen colors. Blend different shades together to create a smooth transition between colors. You can also add shading and highlights to give your drawing more depth and dimension.
Step 9: Finalize Your Drawing
Once you are satisfied with your drawing, take a step back and evaluate the overall composition. Make any necessary adjustments or additions to enhance the final result. Pay attention to the proportions, details, and overall balance of your artwork.
Congratulations! You have successfully completed your small butterfly drawing. With practice, you will be able to draw butterflies with ease and confidence.
Conclusion
In this step-by-step tutorial, we have learned how to draw a small butterfly. By following these instructions and using your creativity, you can create stunning butterfly drawings that captivate viewers. Remember to have fun and experiment with different colors, patterns, and designs. Let nature be your inspiration. Happy drawing!