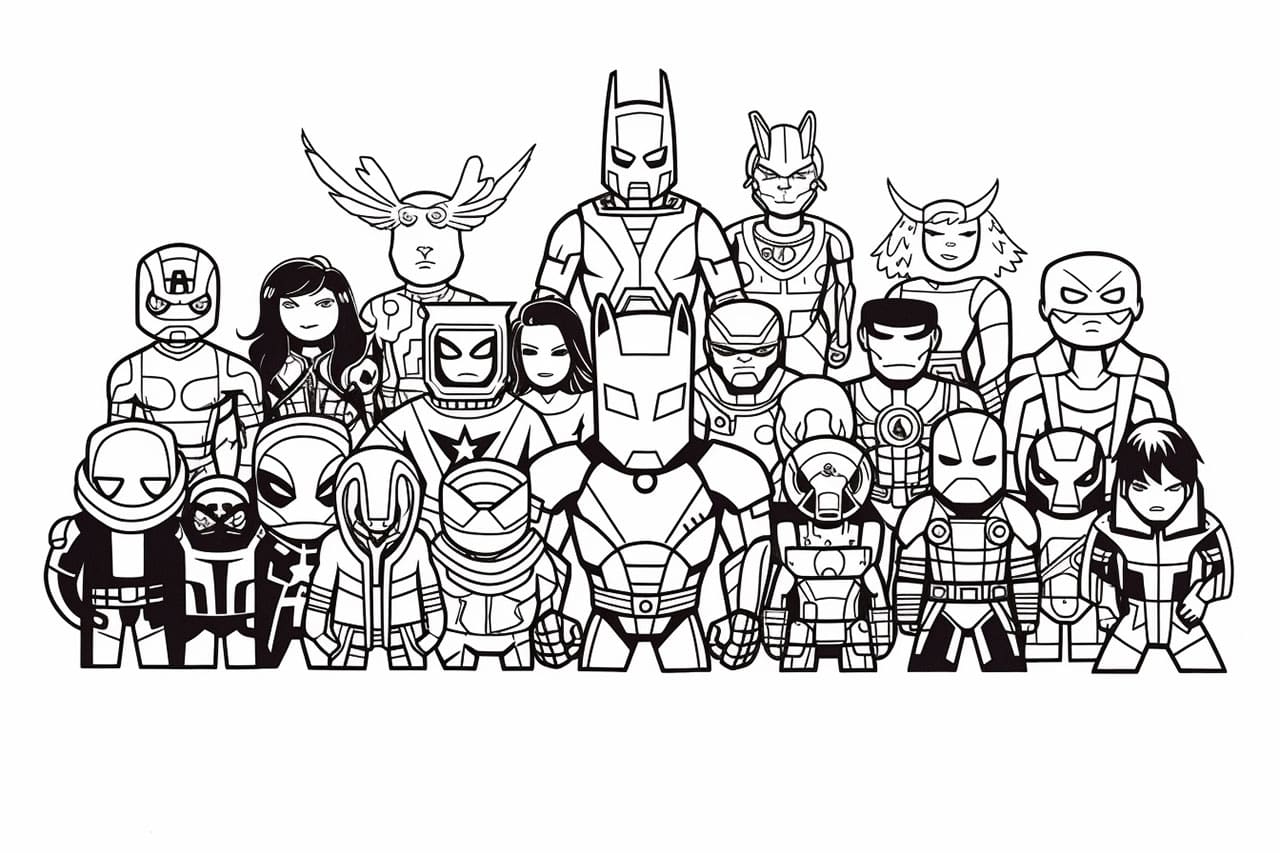
Welcome to this step-by-step guide on how to draw Marvel characters! Whether you’re a fan of Spider-Man, Iron Man, or Captain America, this tutorial will help you bring your favorite Marvel superheroes to life on paper. In this article, we will cover the basic techniques and principles of drawing Marvel characters, providing you with the necessary skills to create your own dynamic illustrations. So grab your pencils, paper, and let’s get started!
Materials Required
Before we begin, let’s gather the materials you’ll need to draw Marvel characters:
- Drawing pencils – A set of graphite pencils, ranging from H to 6B, will give you the versatility to create different line weights and shading.
- Eraser – A good quality eraser will allow you to correct mistakes and make necessary adjustments.
- Paper – Choose a smooth, heavyweight paper that is suitable for drawing. A sketchbook or drawing pad will work well.
Now that we have our materials ready, let’s dive into the process of drawing Marvel characters!
Step 1: Research and Reference
To begin, it’s essential to familiarize yourself with the character you want to draw. Study different images, comic books, or movies featuring the Marvel character. Pay attention to their distinctive features, costumes, and poses. Collect reference images that will guide you throughout the drawing process.
Step 2: Basic Shapes and Proportions
Start by sketching the character’s basic shapes using light, simple lines. Marvel characters are often portrayed with exaggerated proportions, so observe and replicate these characteristics accurately. Pay attention to the head, body, and limbs, ensuring they are in proportion with each other.
Step 3: Facial Features
Next, focus on drawing the character’s facial features. Marvel superheroes have unique and expressive faces that are crucial in capturing their essence. Start with the eyes, nose, and mouth, using reference images as a guide. Pay attention to details such as the shape of the eyes, the size of the nose, and the structure of the lips.
Step 4: Outlining and Details
Once you have the basic shapes and facial features in place, start outlining the character’s body and costume. Use a darker pencil or a fine liner to create clean and confident lines. Add the intricate details of the costume, such as webbing for Spider-Man or advanced armor for Iron Man. Take your time and be patient – this step is essential for capturing the character’s unique appearance.
Step 5: Shading and Textures
To add depth and dimension to your drawing, it’s time to incorporate shading. Marvel characters often have dynamic poses and defined muscles, so shading is crucial to bring out their three-dimensional form. Pay attention to light sources and create shadows accordingly. Experiment with different shading techniques, such as hatching or cross-hatching, to add texture and volume to your drawing.
Step 6: Final Touches and Refinements
Now that you’ve captured the character’s likeness and added shading, take a step back and evaluate your artwork. Make any necessary refinements or adjustments to ensure accuracy and enhance the overall appearance. Erase any unnecessary guidelines, smudges, or mistakes. Fine-tune the details and ensure that your drawing is a true representation of the Marvel character you chose.
Conclusion
Congratulations! You have completed this step-by-step guide on how to draw Marvel characters. By following these instructions and practicing regularly, you will continue to improve your drawing skills and create stunning illustrations of your favorite superheroes. Remember to have fun and experiment with different styles and techniques as you develop your artistic abilities. Enjoy the process of bringing these beloved characters to life on paper!


