Rivers are one of nature’s most dynamic and mesmerizing elements, winding through landscapes, reflecting light, and bringing a sense of movement and tranquility to any scene. Whether you’re drawing a peaceful stream, a raging rapid, or a majestic river cutting through mountains, capturing the flow and depth of water is a rewarding challenge.
In this step-by-step guide, we’ll explore how to draw a river so it feels natural and fluid. You’ll learn techniques to create reflections, add ripples, and depict movement, making your river look alive and dynamic. Whether you’re a beginner looking to improve your landscape drawings or an experienced artist refining your approach to water, this tutorial will guide you every step of the way.
So, grab your pencils, erasers, and blending tools, and let’s bring your river scene to life! ️
Materials Required
Before we begin, let’s ensure that we have all the necessary materials ready. Here’s a list of what you’ll need:
- Drawing paper
- Pencil
- Eraser
- Fine-tip pens or markers
- Watercolors or colored pencils
- Brushes
- Water container
- Paper towels
Now that we have everything we need, let’s dive into the steps of drawing a river.
How to Draw a River: A Step-by-Step Guide ️
Rivers are among nature’s most captivating elements, constantly shifting and shaping the landscapes they pass through. Capturing the motion of flowing water, the textures of riverbanks, and the subtle interplay of light and shadow can elevate any landscape drawing.
In this step-by-step guide, you’ll learn how to sketch a realistic river scene, incorporating organic shapes, dynamic water movement, and natural surroundings. Whether you’re drawing a peaceful, winding stream or a fast-moving river, these techniques will help bring your artwork to life.
So, grab your pencils, erasers, fine-tip pens, and colors, and let’s dive into the flowing world of rivers! 
Step 1: Sketch the Riverbanks
Start by lightly outlining the riverbanks using a 2H or HB pencil. Since rivers don’t flow in straight lines, make sure your banks are curved and organic—they should twist and widen naturally as they move across the page.
- Decide on the perspective: Will the river disappear into the distance or curve dramatically?
- Make the edges irregular: Some areas can be steep and others gradual, reflecting real riverbanks.
- Leave space for details: Such as rocks, vegetation, and reflections in later steps.
Tip: A river that widens as it moves downward will create a sense of depth and perspective.
Step 2: Add Depth and Flow to the River
To make the river look three-dimensional, sketch a centerline through the riverbed. This will help guide the flow of water and any ripples or waves.
- Let the centerline follow the natural bends of the river.
- Where the river widens, stretch the curves more gently.
- If you’re drawing a fast-moving river, steepen and sharpen the curves.
This will serve as the foundation for the motion of the water in later steps.
Step 3: Sketch Rocks and Pebbles Along the Riverbed
Now, add natural elements to the riverbank and riverbed:
- Draw larger rocks first, placing them in clusters or where the current might leave them.
- Add smaller pebbles between the larger ones, varying their size and shape.
- Use overlapping techniques to create depth and realism.
Tip: Partially submerged rocks add realism—draw half a rock in the water, with ripples around it.
Step 4: Draw the Flowing Water
To convey movement, add gentle curved lines along the centerline of the river. These represent ripples and waves caused by the current.
- Use light, free-flowing strokes to indicate soft waves.
- Near rocks or obstacles, add slightly sharper curves to show disturbances.
- At the riverbanks, make the ripples slightly larger—water moves differently near the edges.
Tip: If the river is moving fast, make the ripples more angular and elongated. For calm water, keep them smooth and soft.
Step 5: Add Details to the Riverbanks
To create a lush, natural environment, sketch vegetation along the edges:
- Tall grass and reeds can frame the river.
- Overhanging tree branches can add depth and composition.
- Small bushes or driftwood make the scene feel realistic and dynamic.
Pay attention to how the plants interact with the water—some may lean over, while others follow the wind’s direction.
Step 6: Begin Inking the Sketch ️
Now that your pencil sketch is complete, it’s time to ink the drawing with a fine-tip pen or marker.
- Trace the riverbanks, rocks, and trees first, defining their edges.
- Use different line weights (thicker for the foreground, thinner for the background) to create depth.
- When inking the water, use broken and curved lines rather than solid ones to preserve the sense of movement.
Tip: Leave some pencil sketching visible if you want a softer, more blended look.
Step 7: Ink the Flowing Water
Using a finer pen or marker:
- Trace the ripples and waves, keeping them loose and organic.
- Vary the line thickness—thicker near obstacles, thinner in open areas.
- Use short, parallel strokes for shallow, calmer areas and more chaotic strokes for faster water.
Step 8: Erase Unnecessary Pencil Lines
Once the ink has dried, gently erase any pencil lines to clean up your drawing.
- Be careful around detailed areas—you don’t want to smudge the ink!
- If any ink lines faded during erasing, carefully go over them again.
Tip: Use a kneaded eraser for a softer, controlled erasing process.
Step 9: Add Color and Depth
Now it’s time to breathe life into your drawing! Choose your preferred medium—colored pencils, markers, or watercolors.
- Water: Use shades of blue, green, and gray to give the river depth.
- Rocks: Try earthy tones like brown and gray, adding darker shadows on one side for depth.
- Vegetation: Blend greens and yellows for a natural, textured look.
Tip: Layer colors gradually to create a smooth, blended effect, especially in water.
Step 10: Enhance Shadows, Reflections, and Highlights
To make your river look even more realistic:
 Shadows: Use darker tones under overhanging trees, rocks, and along the edges of the river. Reflections: Lightly blend blue and green into the river to mirror the surroundings. Highlights: Use a white gel pen or eraser to lift light areas where the sun hits the water.
Your River Drawing is Complete! 
Congratulations! You’ve successfully created a realistic, flowing river scene, capturing the movement of water, the textures of the landscape, and the depth of reflections.
Rivers come in many forms—wild and rushing, peaceful and winding, or vast and powerful. Experiment with different compositions, perspectives, and weather conditions to refine your skills.
Now, grab your art supplies and let your creativity flow! ️
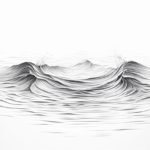
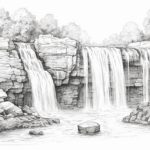
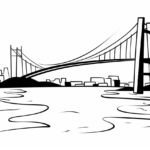
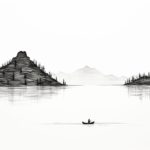
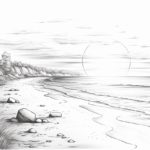
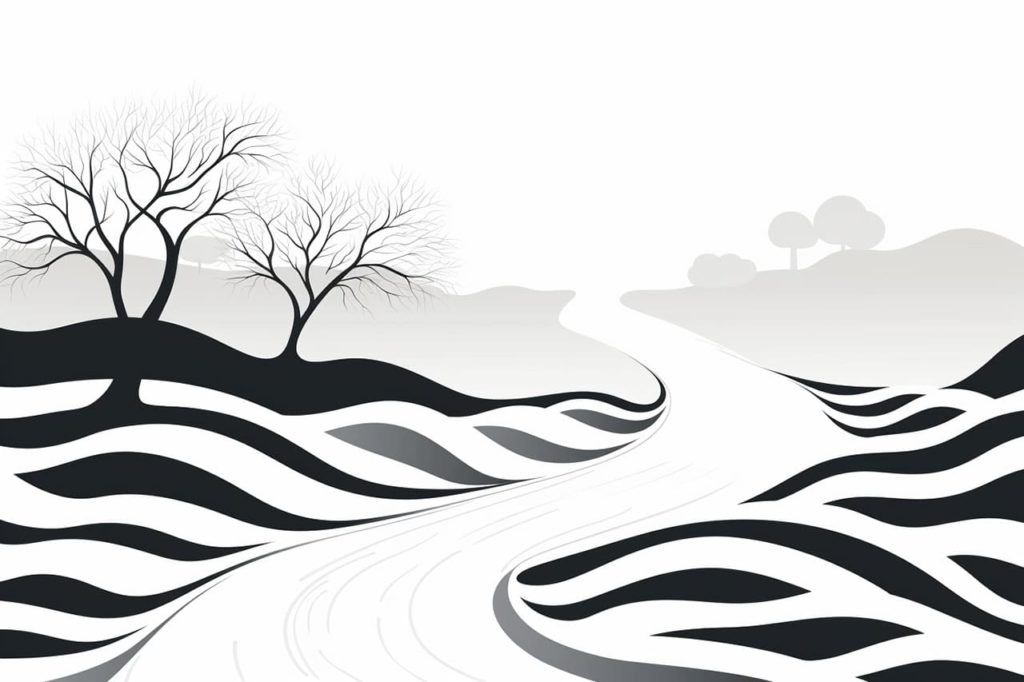
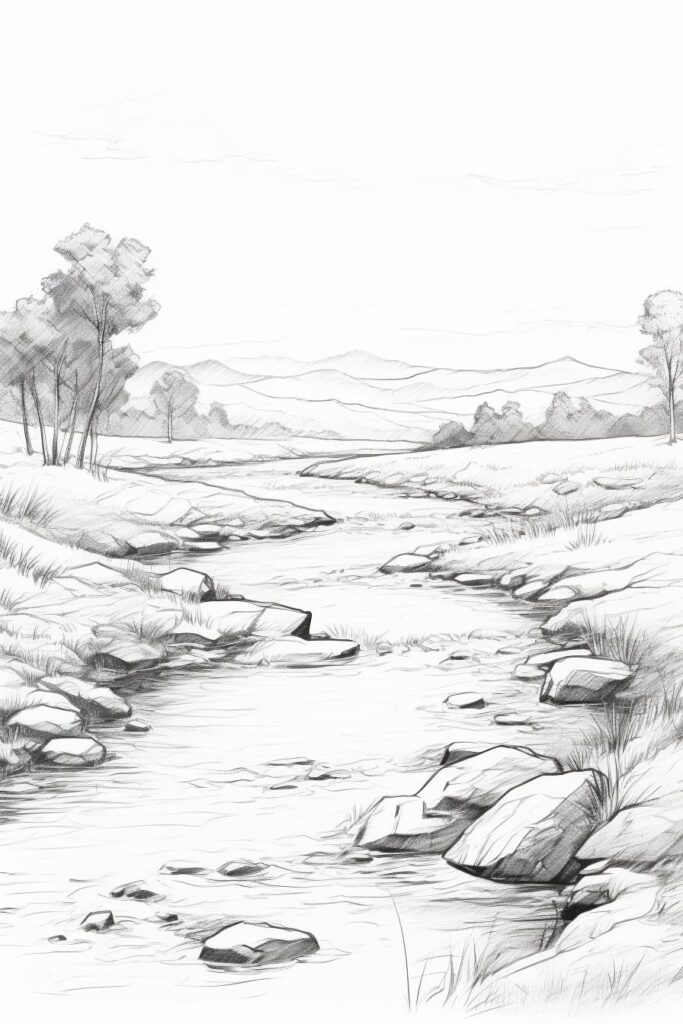
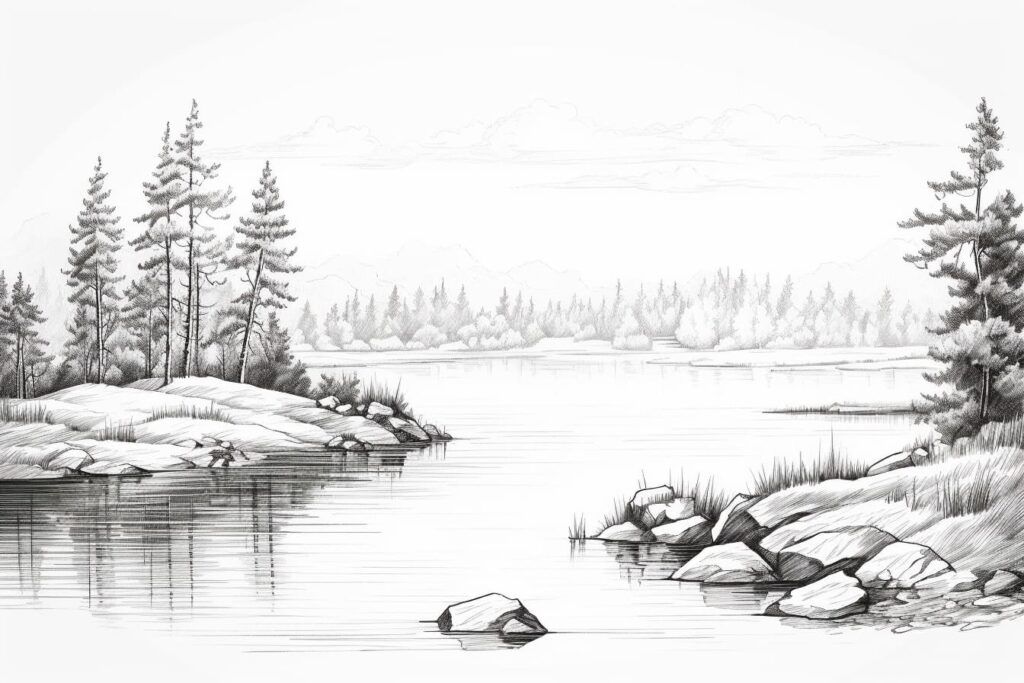
Gallery of River Drawings

Fun Facts About Rivers
- The Nile River is the world’s longest river, stretching over 4,100 miles through northeastern Africa.
- Rivers can originate from lakes, springs, glaciers, or be a confluence of smaller streams.
- The Amazon River, while not the longest, has the largest drainage basin in the world and is home to an incredibly diverse range of wildlife.
- Rivers have been crucial in shaping landscapes and have historically served as vital trade routes for civilizations.
- The Mississippi River, one of the top 15 longest rivers in the world, flows through 10 US states and is a major water transport corridor.
- Rivers play a key role in the water cycle, as they help carry runoff from rainfall to larger bodies of water like seas and oceans.
- Many world-famous cities, such as London, Paris, and Cairo, are situated on riverbanks, which supported their historic growth and development.
- The Ganges River, considered sacred in Hinduism, supports millions of people with its resources, despite facing severe pollution challenges.
- Estuaries, where rivers meet the sea, are some of the most productive ecosystems on Earth, supporting diverse marine and bird life.
- Rivers can change course naturally over time due to erosion, sediment deposit, and tectonic activity, sometimes dramatically altering landscapes.
Suggestions for Scenes and Settings for River Drawings
- Mountain River: Illustrate a serene mountain scene where a river begins as a narrow stream, meandering down rocky terrain.
- Urban Riverfront: Capture the bustling energy of a river lined with skyscrapers, bridges, and boats along a busy cityscape.
- Rainforest River: Paint a lush, vibrant scene where a river winds through dense jungle foliage with exotic wildlife on the banks.
- Historic River Crossing: Depict an ancient bridge spanning a river, with travelers crossing on foot, by horse, or in carriages.
- Sunset on the River: Create a tranquil river scene at dusk, with the sun shimmering on the water’s surface and trees silhouetted against the colorful sky.
- River Delta: Draw an intricate maze of waterways and islands as a river fans out into the ocean, bustling with life.
- Frozen River: Show a winter landscape where the river is partly frozen, with snow-covered banks and patches of open water.
- River under the Stars: Imagine a nighttime scene with a river reflecting the starlit sky and glowing fireflies dancing above the water.
- Riverside Fantasy Village: Design a whimsical village nestled beside a river, with cute cottages, flowering gardens, and a tiny dock.
- River Carnival: Picture a festive riverside event with colorful tents, amusement rides, and a parade of boats adorned with lights.