Welcome to this step-by-step guide on how to draw a river. Whether you’re a beginner or an experienced artist, learning how to depict a flowing river can be both fun and challenging. In this article, I will walk you through the process of capturing the essence of a river in your artwork. So let’s grab our art supplies and get started!
Materials Required
Before we begin, let’s ensure that we have all the necessary materials ready. Here’s a list of what you’ll need:
- Drawing paper
- Pencil
- Eraser
- Fine-tip pens or markers
- Watercolors or colored pencils
- Brushes
- Water container
- Paper towels
Now that we have everything we need, let’s dive into the steps of drawing a river.
Step 1: Sketch the River Banks
Start by lightly sketching the outline of the river banks on your drawing paper using a pencil. Consider the shape and curvature of the river as you draw. Remember to keep your lines gentle and loose, as rivers tend to have organic and flowing shapes.
Step 2: Add Depth to the River
To add depth to your river, draw a centerline down the middle of the riverbed. This line will act as a guide for positioning various elements of the river. In areas where the river widens or narrows, gently curve the centerline accordingly.
Step 3: Sketch the Rocks and Pebbles
Now it’s time to add some rocks and pebbles to the riverbed. Start by sketching the larger rocks first, distributing them evenly along the river banks. Then, add smaller rocks and pebbles, creating a natural and random arrangement. Varying the sizes and shapes of the rocks will give your drawing a more realistic look.
Step 4: Draw the Flowing Water
To capture the motion of flowing water, draw a series of gentle curves along the centerline you sketched earlier. These curves represent the ripples and waves formed by the movement of the water. Make sure these curves become more pronounced as they approach the river banks, replicating the way water flows.
Step 5: Add Details to the River Banks
Next, it’s time to add details to the river banks. Sketch some grass, trees, or other vegetation along the edges of the river. These details will enhance the natural environment and give your drawing a sense of realism. Pay attention to the size and shape of the vegetation, as well as the angles at which they lean towards the river.
Step 6: Start Inking the Drawing
Once you’re satisfied with your pencil sketch, it’s time to start inking your drawing. Grab your fine-tip pens or markers and carefully trace over the pencil lines. Start with the river banks, rocks, and pebbles, making sure to capture all the details. Be patient and take your time with this step, as it will determine the final look of your artwork.
Step 7: Ink the Flowing Water
Continuing with your fine-tip pen or marker, trace over the flowing water lines you sketched earlier. Make the lines thicker and darker as they approach the river banks to create a sense of depth and motion. Remember that the flowing water lines should be organic and irregular, resembling the movement of an actual river.
Step 8: Erase the Pencil Lines
After your ink has dried, carefully erase any visible pencil lines in your drawing. Take your time and be gentle to avoid smudging or smearing the ink. If you find any areas where the ink has become faint, simply go over them again with your pen or marker.
Step 9: Add Color to Your Drawing
Now that your inking is complete and the pencil lines are gone, it’s time to add color to your drawing. You can use watercolors or colored pencils, depending on your preference. Start by painting or coloring the river itself, using shades of blue and green to represent the water and surrounding vegetation. Gradually build up the colors, creating depth and texture.
Step 10: Enhance the Details
To enhance the details of your river drawing, use finer brushes or colored pencils to add shading and highlights. Pay attention to the shadows cast by rocks and vegetation, as well as the reflections on the water’s surface. By adding these details, you will bring your river to life and create a more realistic and visually appealing artwork.
Conclusion
Congratulations on completing your river drawing! By following these step-by-step instructions, you’ve learned how to capture the beauty and movement of a river in your artwork. Remember to practice regularly and experiment with different techniques to further refine your skills. So grab your art supplies and start exploring the enchanting world of rivers through your artistic creations!
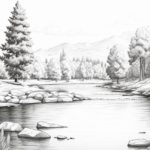
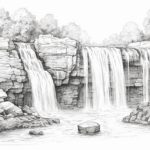
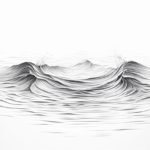
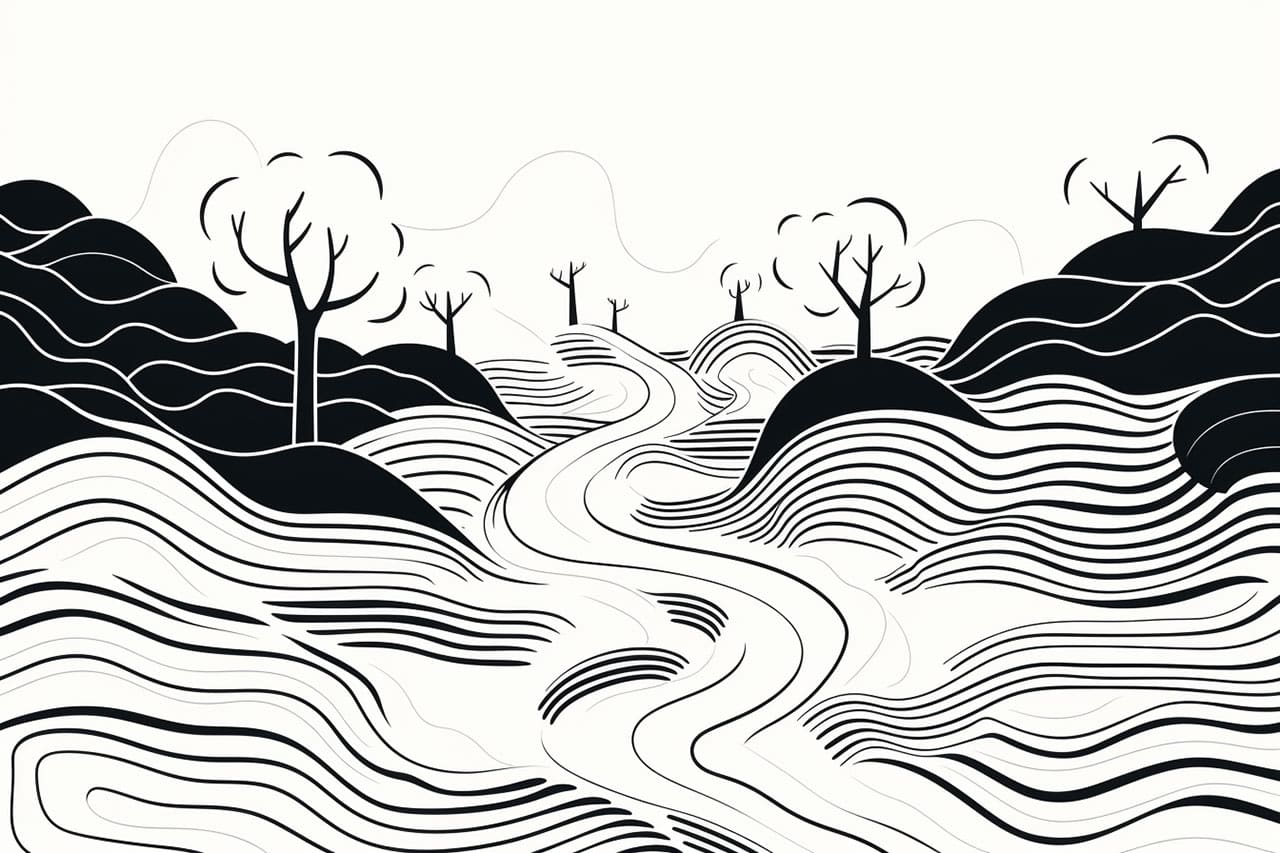
Gallery of River Drawings