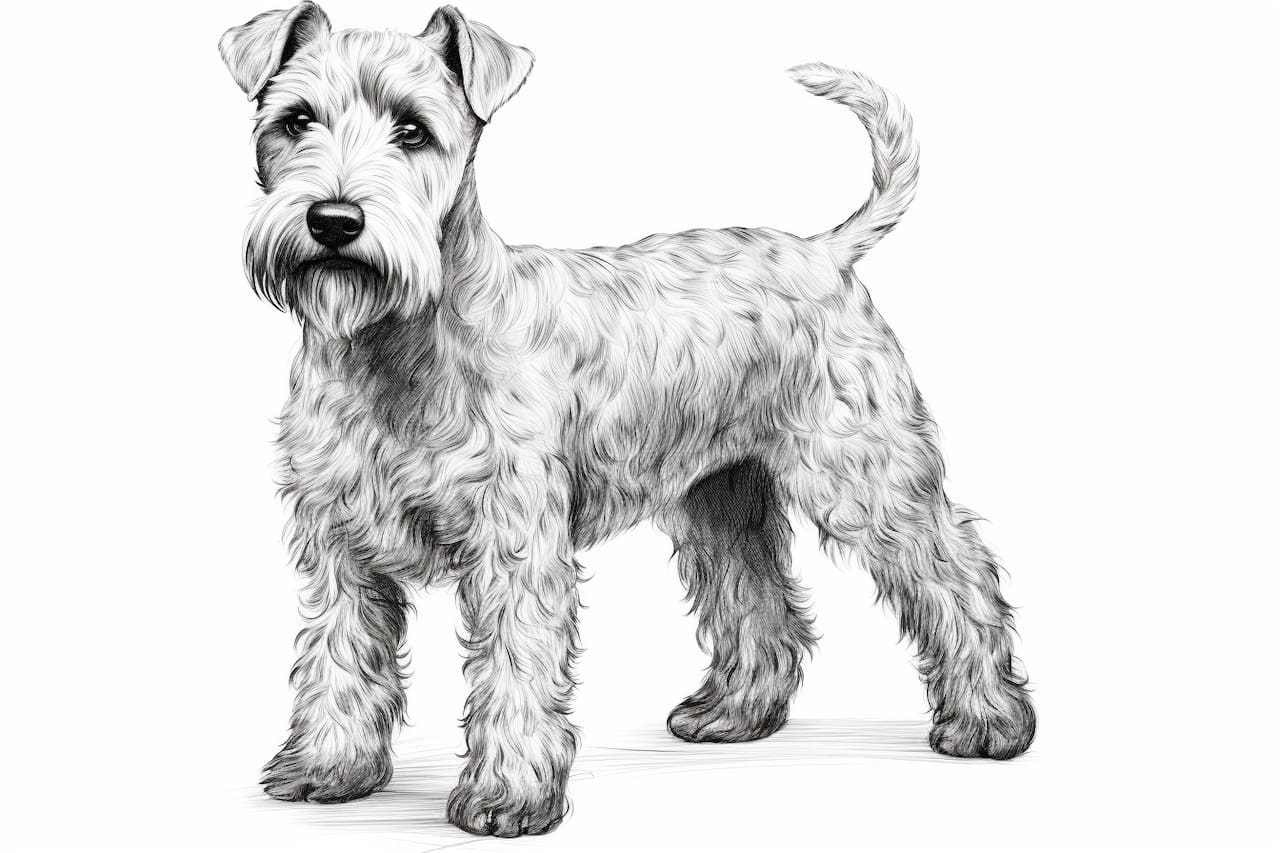
Welcome to this step-by-step guide on how to draw a Lakeland Terrier. In this article, I will take you through each stage of the drawing process, providing clear instructions and helpful tips along the way. By the end, you’ll have a beautiful representation of this lively and adorable breed.
Materials Required
Before we begin, let’s gather the materials you’ll need for this drawing:
- Pencil: A good quality graphite pencil with a range of hardness (e.g., HB, 2B, 4B).
- Paper: Use a smooth, white paper that can handle pencil shading. A sketchbook or drawing paper pad will work perfectly.
- Eraser: Have a kneaded eraser and a regular eraser handy to correct mistakes and clean up your drawing.
- Reference Image: Find a clear reference image of a Lakeland Terrier to guide your drawing. This can be a photograph or a printed picture.
Now that you have all your materials ready, let’s get started on capturing the essence of a Lakeland Terrier on paper!
Step 1: Basic Outline
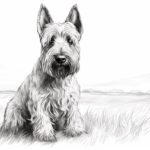
Begin by lightly sketching a rough outline of the Lakeland Terrier’s body using your HB pencil. Start with a simple oval shape for the head, followed by a long, curving line for the back, and another rounded shape for the hindquarters. Remember to keep your lines light and loose, as this is just a guide for the final drawing.
Step 2: Facial Features
Using the reference image, carefully observe the Lakeland Terrier’s facial features. Start with the eyes, which are egg-shaped and set apart. Draw them as gentle ovals slightly tilted upwards. Add a small circle inside each eye to represent the pupils. Then, sketch the triangular-shaped ears by drawing two slightly curved lines, one below each eye.
Moving on to the nose, draw a rounded shape at the bottom of the head, slightly closer to one side. Add a small dot in the middle for the nostril. Finally, sketch the mouth by drawing a curved line that starts from the side of the nose and gently slopes downward.
Step 3: Furry Body
To add texture and capture the furry appearance of the Lakeland Terrier, we will start detailing the body. Use short, light strokes to depict the fur on the top of the head, the sides of the face, and around the ears. Gradually darken the strokes as you move towards the back of the head.
Continue adding fur-like strokes to the body, following the direction of the dog’s hair growth. Pay close attention to the reference image, as the fur pattern can vary. Use a combination of short, straight strokes and gentle curves to mimic the unique texture of a Lakeland Terrier’s coat.
Step 4: Legs and Tail
Now, let’s focus on the legs and tail. Notice the muscular structure and proportions of a Lakeland Terrier’s legs. Start by sketching the front legs using long, slightly curved lines that taper towards the paws. Add small ovals at the end of each leg to represent the paws.
For the hind legs, draw two lines extending from the hindquarters, bending slightly at the joints. Connect these lines at the bottom with a curved line to complete the leg. Add the paws by drawing small ovals, similar to the front legs.
Finally, draw the tail as a long, thin curve starting from the back, slightly above the hindquarters. Make the tip of the tail slightly fluffier by adding short, quick strokes.
Step 5: Shading and Depth
Now that the basic structure of the Lakeland Terrier is complete, it’s time to add shading and depth to your drawing. Use a 2B or 4B pencil to darken the areas of shadow, such as the sides of the face, under the chin, and between the legs.
Focus on creating smooth transitions between light and dark areas by using a technique called blending. You can achieve this by gently smudging the graphite with your fingertip or a blending stump. Remember to refer to the reference image to accurately depict the fur patterns and shadows.
Once you’re satisfied with the overall shading, take a step back and assess your drawing. Make any necessary adjustments or corrections to enhance the likeness of the Lakeland Terrier.
Conclusion
Congratulations on completing your drawing of a Lakeland Terrier! I hope you enjoyed following along with this step-by-step guide. Remember, practice is key to improving your drawing skills, so keep exploring different subjects and techniques.
Drawing a Lakeland Terrier allows you to appreciate the unique characteristics and charm of this wonderful dog breed. Feel free to experiment with different materials, such as colored pencils or markers, to bring your drawing to life.
Now that you have learned how to draw a Lakeland Terrier, why not try drawing other dog breeds or animals? The possibilities are endless, and with each drawing, your skills will continue to grow.
Happy drawing!