How to Draw a Rhinoceros in 8 Easy Steps
Learn how to draw with this step-by-step tutorial.
Materials You'll Need
- Drawing paper
- Pencil (HB or 2B)
- Eraser
- Blending stump
Drawing a rhinoceros might feel like a big challenge, but with a little guidance and a sprinkle of patience, you'll soon discover how fun and rewarding it can be! These magnificent creatures are a blend of strength and grace, with their iconic horns, textured skin, and solid, powerful stance. Whether you're a budding artist or an experienced sketcher looking to refine your skills, learning how to draw a rhinoceros is an opportunity to capture the essence of one of nature's most extraordinary animals.
In this step-by-step tutorial, we'll break down the process into simple, achievable stages. You'll start with basic shapes to establish the rhino's anatomy, then move on to adding details like its distinctive horns, folds of skin, and shading to bring it to life. By the end, you'll have a realistic and impressive rhino drawing you can be proud of.
So grab your pencils, paper, and a sense of adventure, and let's embark on this creative journey into the world of rhinos!


Materials Required
Before we begin, let's gather all the materials you will need:
-
Drawing paper or sketchbook
-
Pencils of different grades (2B, 4B, and 6B)
-
Sharpener
-
Reference image of a rhinoceros (preferably a side view)
Now that we have our materials ready, let's dive into the step-by-step process of how to draw a rhinoceros.
How to Draw a Rhinoceros Step-by-Step
Step 1: Basic Shapes and Proportions
Start by lightly sketching the basic shapes and proportions of a rhinoceros. Begin with a large oval shape for the body and a smaller oval shape for the head. Add a small rectangle on top of the head for the horn. Next, add two curved lines for the back and a line for the belly. Lastly, draw four short, thick legs that connect to the body.
Step 2: Outlining the Body
Using the basic shapes as a guide, start outlining the rhinoceros's body. Draw the outline of the body, making sure to follow the natural curves and contours. Pay close attention to the shape of the head, the position of the horn, and the angles of the legs. Take your time with this step, as the outline will serve as the foundation for the rest of the drawing.
Step 3: Head and Facial Features
Now, let's focus on the rhinoceros's head and facial features. Add details such as the eyes, ears, and nostrils. Rhinoceroses have small, beady eyes, so keep that in mind while drawing. Use short, curved lines to indicate the position of the ears, and add a small dot for the nostrils. Remember to observe your reference image closely to capture the unique characteristics of a rhinoceros's face.
Step 4: Horn and Ears
Next, refine the details of the horn and ears. Rhinoceros horns vary in size and shape, so feel free to be creative with your drawing. Draw the horn as a cone-like shape that tapers towards the tip. Add some texture by lightly sketching short, diagonal lines on the surface of the horn. For the ears, add more definition by drawing folds and creases within the curved lines.
Step 5: Legs and Feet
Moving on to the legs and feet, carefully sketch the shapes and proportions. Rhinoceroses have thick, muscular legs with three toes on each foot. Pay attention to the angles and positions of the legs, ensuring that they appear strong and sturdy. Add small details such as lines to define the joints and hooves.
Step 6: Body Details
Now that the basic structure of the rhinoceros is complete, it's time to add some details to the body. Start by drawing curved lines along the back and sides to indicate the folds of loose skin. Rhinoceroses also have wrinkled and textured skin, so feel free to add some lines and dots to represent this characteristic. Take your time to add these details, as they will bring your drawing to life.
Step 7: Shading and Texture
To make your rhinoceros drawing more realistic, it's important to add shading and texture. Begin by identifying the light source in your reference image and use that as a guide for shading. Start by lightly shading the areas that are in shadow, such as the underside of the body and the legs. Gradually build up the shading by applying more pressure with your pencil, creating a smooth transition between light and dark areas. Use short, overlapping lines to add texture to the skin, especially around the folds and wrinkles.
Step 8: Final Touches
In the final stage, take a step back and evaluate your drawing. Make any necessary adjustments to ensure the proportions are accurate and the details are well-defined. Add any additional shading or texture to enhance the overall appearance. Use your eraser to clean up any stray lines or smudges. Once you are satisfied with your drawing, you can confidently sign your name at the bottom corner.
Tip: When drawing a rhinoceros, focus on capturing the unique contours of its body to convey its strength and mass. Start with light, loose sketches using a pencil to outline the basic shapes—think of the rhino as a series of overlapping geometric forms. Pay special attention to the angles of the head and the curve of its back, as these will guide your proportions. Once you're satisfied with the overall structure, switch to a finer pencil or pen to add details like the texture of the skin and the distinctive folds, which provide depth and realism. Don't forget to incorporate shading to emphasize the three-dimensionality of the rhino; using a blending stump can help create smooth transitions and enhance the muscular appearance of this magnificent creature.
Conclusion
Drawing a rhinoceros may have initially seemed like a challenge, but by breaking down the process into simple steps, you can create a realistic and detailed representation of this magnificent creature. Remember to practice regularly, observe and study reference images, and have fun exploring your artistic skills. With patience and dedication, you'll soon be creating stunning rhinoceros drawings of your own. Happy drawing!
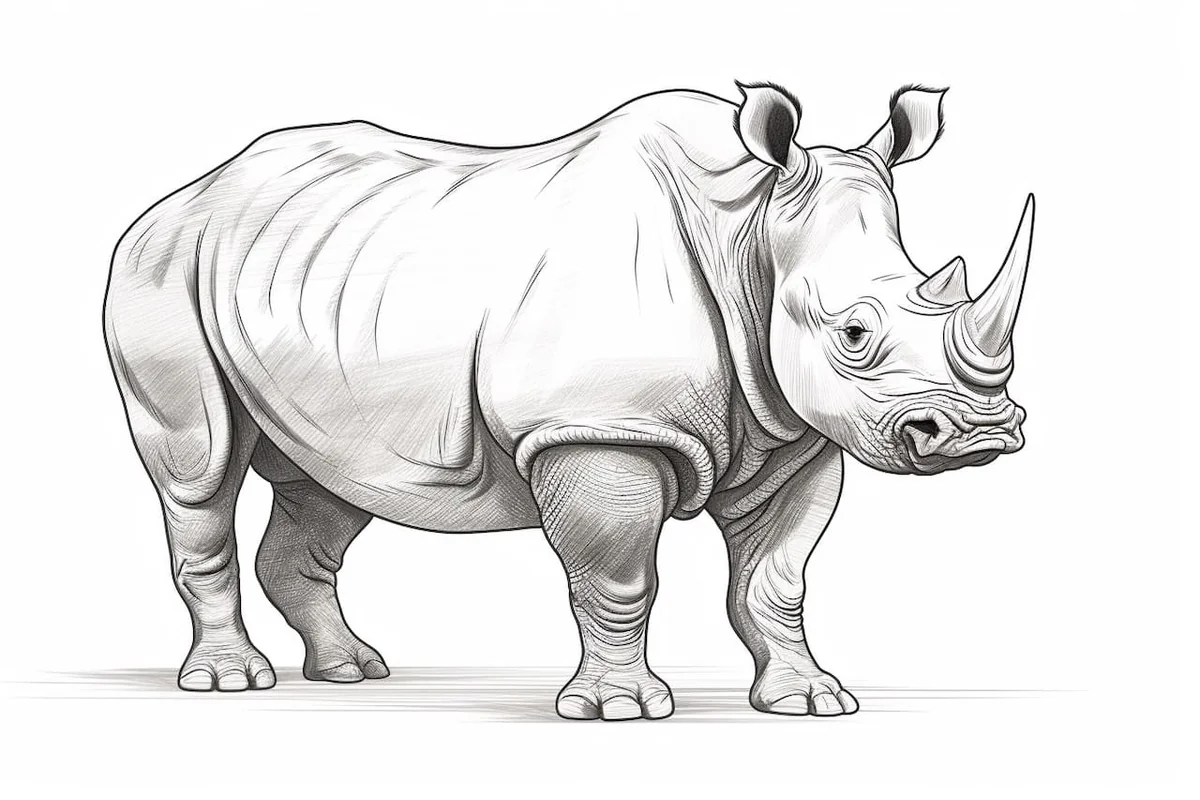
Gallery of Rhinoceros Drawings


