Drawing a cat can be a fun and rewarding experience. With some simple steps and practice, you can create a beautiful and realistic cat drawing. In this tutorial, we’ll break down the process of how to draw a cat into easy-to-follow steps. Let’s get started!
Materials Required
- Pencil
- Eraser
- Drawing paper
- Reference picture of a cat
Step 1: Draw the Basic Shapes
Begin with the Foundation: When sketching, starting with basic shapes helps in establishing proportions.
- Head: Draw a large circle for the head. This will serve as the base for the facial features.
- Snout: Sketch a smaller oval or circle at the lower half of the large circle. This will help in defining the cat’s muzzle later on.
- Body: For the body, envision an elongated oval or a kidney bean shape which signifies the cat’s torso.
- Tail: Extend a slightly curved or straight line from the rear end of the body for the tail, depending on the pose or the cat’s mood you want to depict.
- Ears: Add two triangular or small oval shapes on top of the head circle for the ears, keeping them symmetrical and alert.
Step 2: Refine the Shapes
From Basic to Specific:
- Legs: Starting from the bottom of the torso shape, draw four elongated shapes (like cylinders) representing the legs. Remember, cats have a graceful gait, so aim for slender, tapered legs.
- Back & Tail: Adjust the initial curved line of the back, adding more contour to represent the cat’s spine and muscles. Similarly, give the tail a more three-dimensional appearance by slightly broadening it.
- Snout: Refine the smaller circle to create the cat’s snout. This includes a slight protrusion for where the nose will sit and indentations for the mouth area.
Step 3: Sketch the Details
Giving Character to Your Cat:
- Eyes: Halfway between the top of the head circle and the snout, sketch two almond-shaped eyes, ensuring they’re evenly spaced on either side.
- Nose & Mouth: Place a small, upside-down triangular shape in the center of the snout for the nose. Draw a gentle ‘W’ shape below the nose to form the mouth.
- Fur Direction: As you add details, remember the fur’s flow. On the face, it radiates outwards, while on the body, it follows the direction from head to tail.
Step 4: Add Shading and Texture
Bringing the Drawing to Life:
- Shading Basics: Use the side of your pencil for broader strokes. Shade areas like under the chin, belly, inside of the ears, and where the legs meet the body. These are areas where light naturally casts shadows.
- Fur Texture: Using short, curved, and overlapping strokes, mimic the texture of fur. Vary your pencil pressure to get a range of light and dark lines.
Step 5: Final Touches
Perfecting Your Artwork:
- Review: Take a moment to step back and scrutinize your drawing from a distance. This will give you a fresh perspective on any adjustments needed.
- Whiskers & Details: Don’t forget those delicate whiskers! Draw them with light, quick strokes emanating from the snout.
- Clean Up: Use an eraser to clean up any unnecessary guidelines or stray marks, and if desired, reinforce the outlines of the cat for added emphasis.
Congratulations! You have successfully learned how to draw a cat. With practice, you can refine your skills and draw even more complex and beautiful animals.
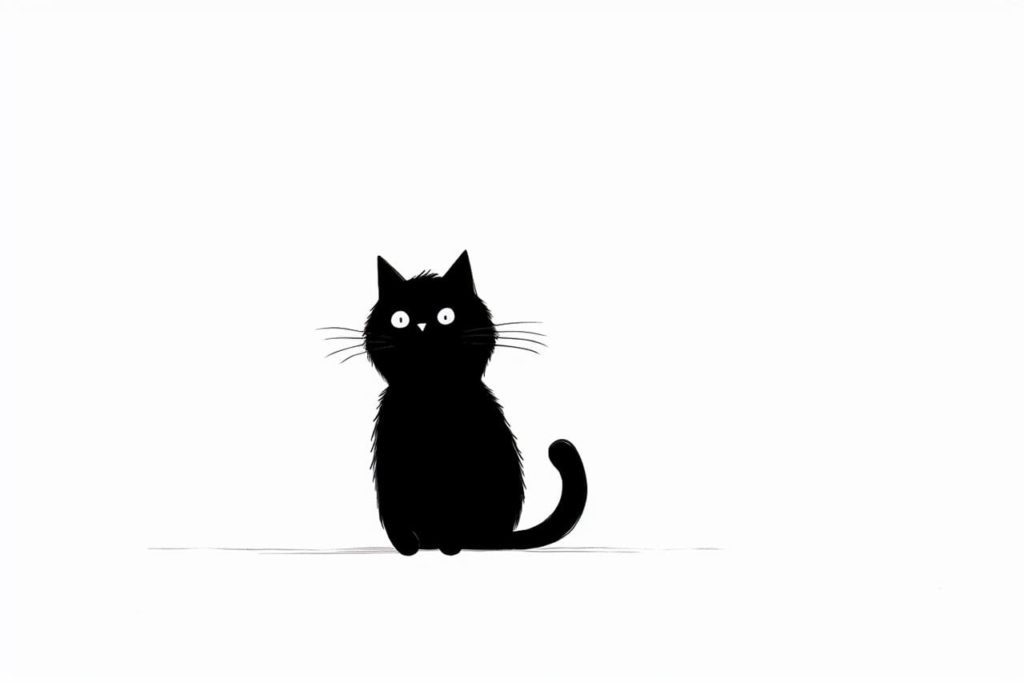
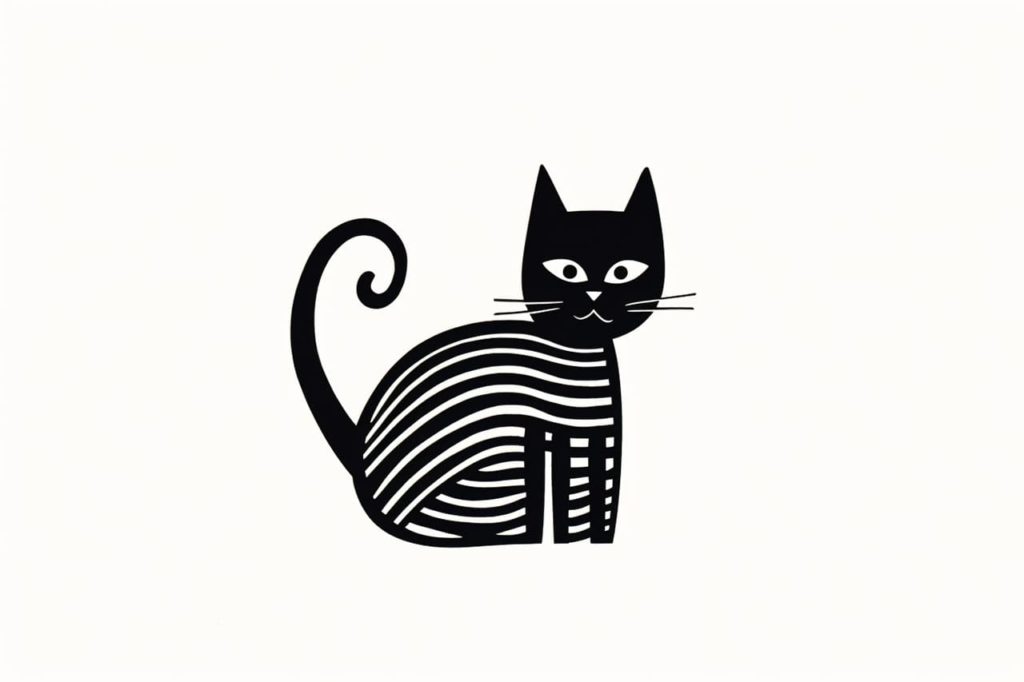
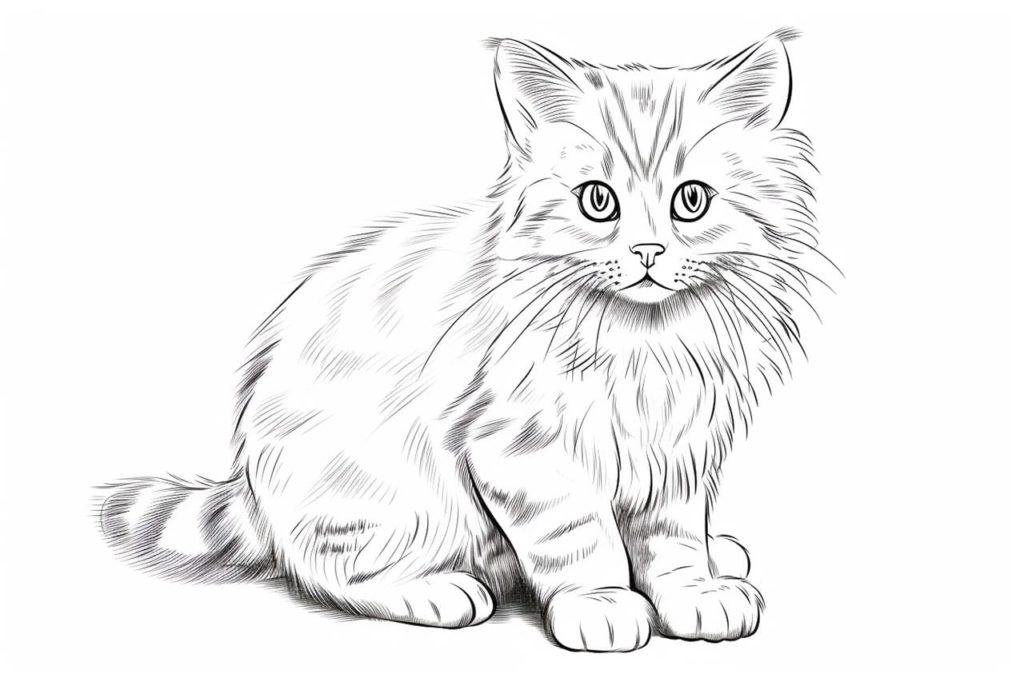
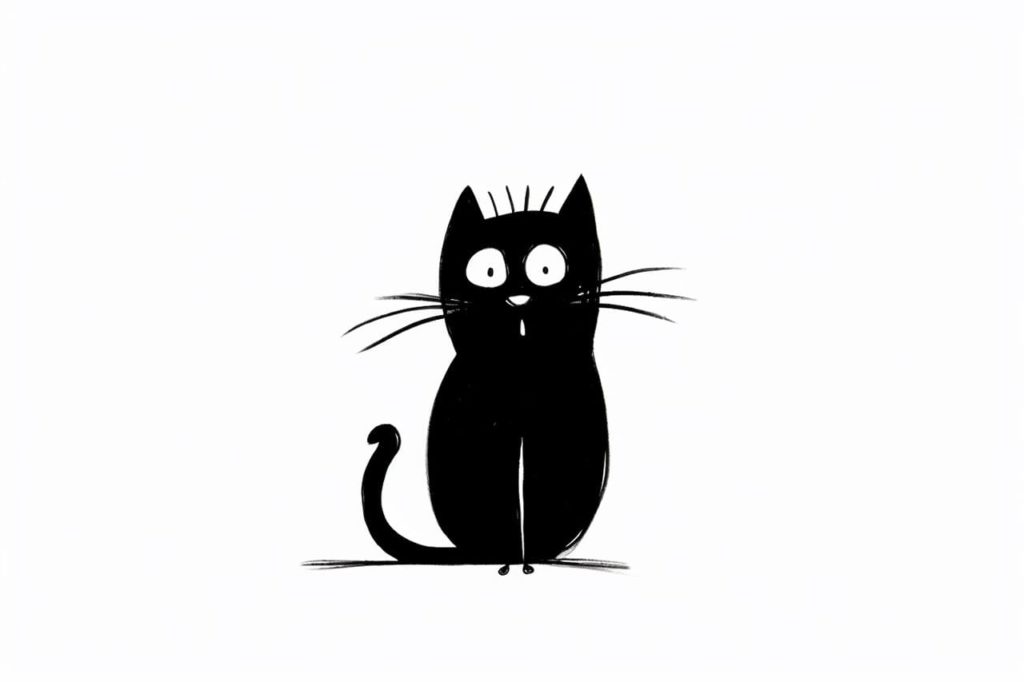
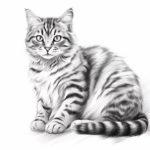
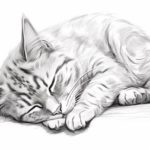
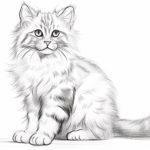
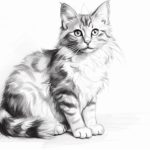
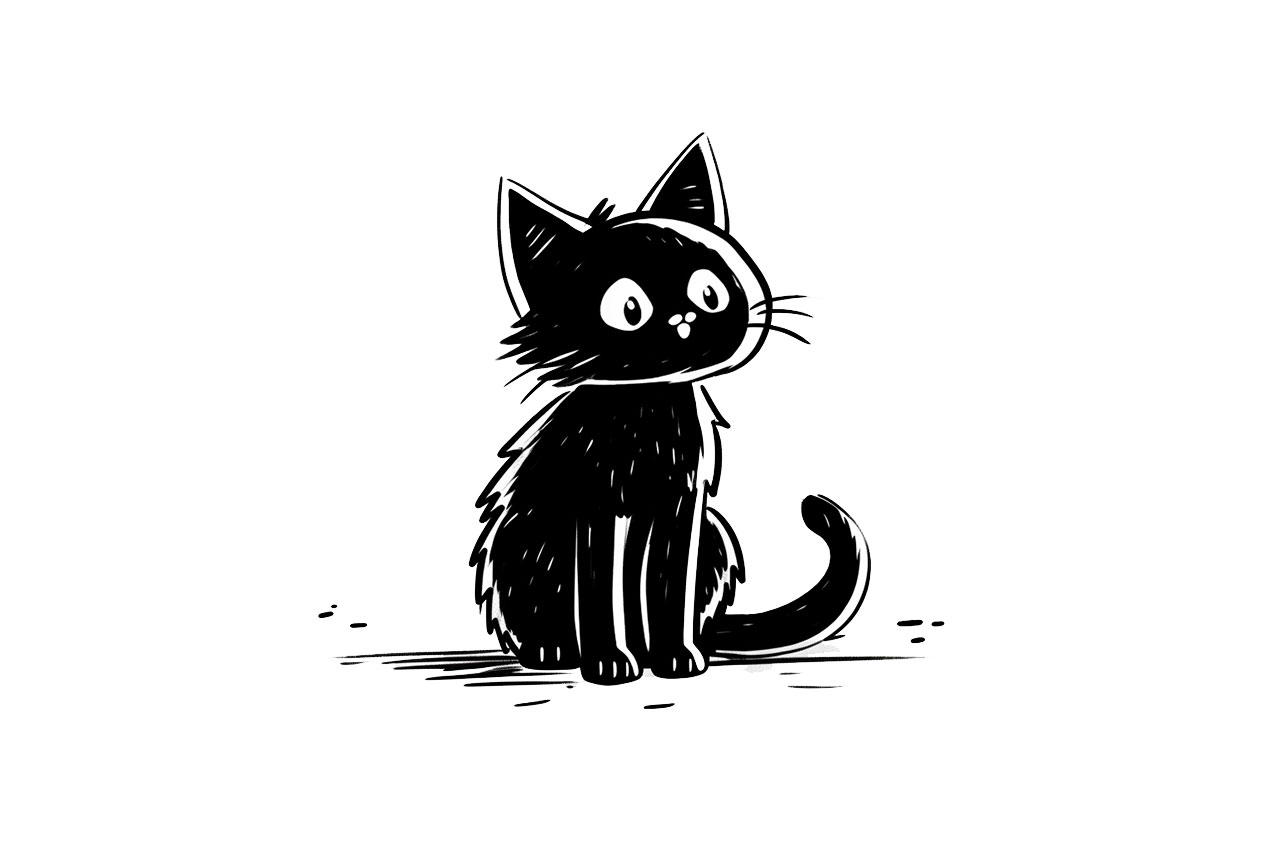
Gallery of Cat Drawings