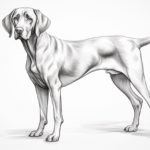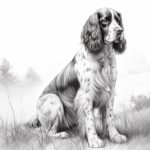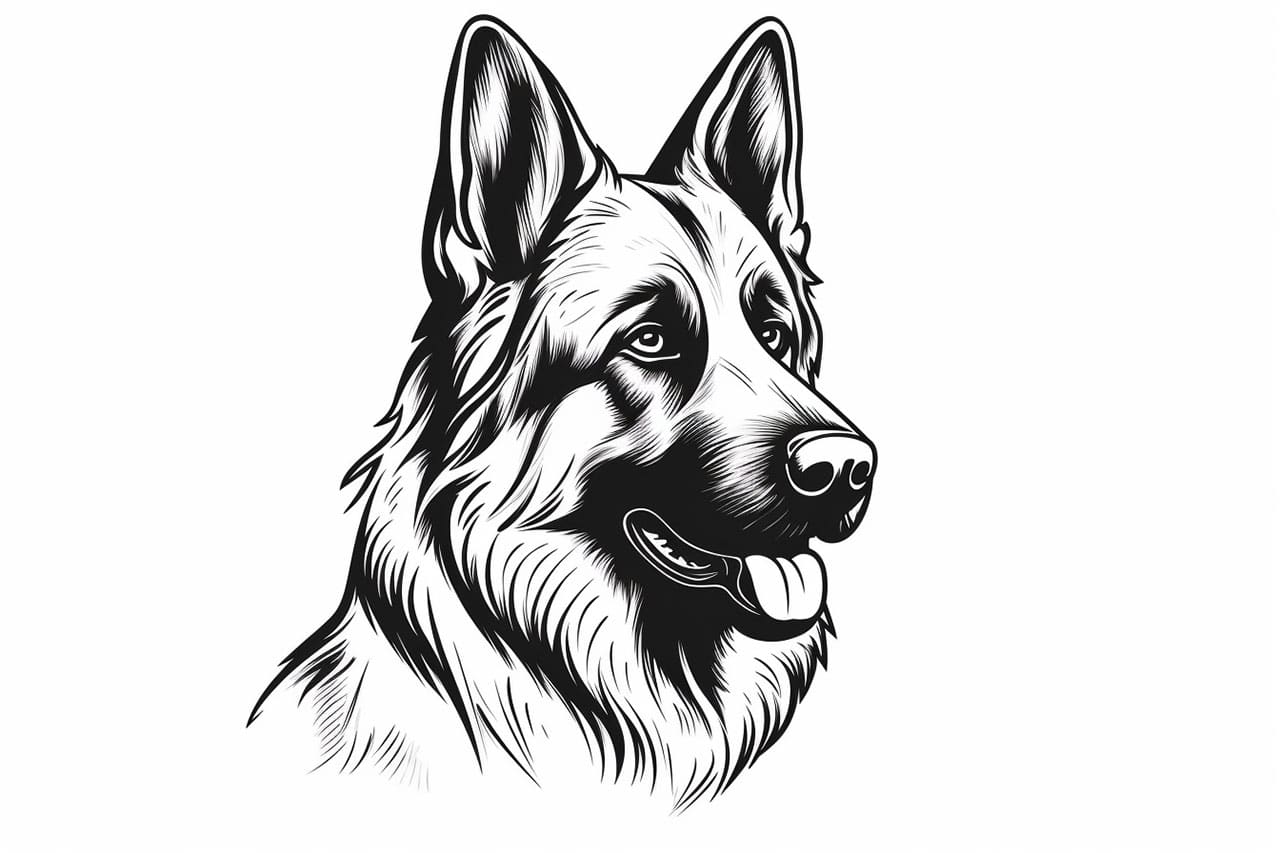
Welcome to this step-by-step guide on how to draw a German Shepherd! In this article, we will walk you through the process of creating a realistic and lifelike drawing of this majestic dog breed. Whether you are a beginner or an experienced artist, this tutorial will help you capture the unique features and essence of a German Shepherd. So let’s get started!
Materials Required
Before we begin, make sure you have the following materials at hand:
- Drawing paper: Choose a smooth and heavyweight paper suitable for your chosen medium.
- Pencils: A range of pencils with different hardness, such as 2H, HB, and 2B.
- Eraser: A kneaded eraser is recommended for easy corrections and blending.
- Blending tools: You can use a blending stump or a tortillon for smooth shading.
- Reference photo: Find a clear and high-resolution image of a German Shepherd to use as a visual reference.
Now that you have your materials ready, let’s dive into the step-by-step process of drawing a German Shepherd.
Step 1: Basic Shapes and Proportions
Start by lightly sketching the basic shapes and proportions of a German Shepherd. Begin with an oval shape for the head and add a circle for the body. Connect these shapes with a gently curved line to create the neck.
Step 2: Outlining the Head
Refine the outline of the head, following the shape you sketched earlier. Pay attention to the distinctive features of a German Shepherd, such as its pointed ears and strong jawline. Add a line for the muzzle, making sure it curves slightly inward.
Step 3: Eyes, Nose, and Mouth
Sketch the eyes by adding almond-shaped ovals above the muzzle. Within each eye, draw a smaller circle for the iris and a smaller dot for the pupil. Add a triangular shape for the nose, positioned slightly above the middle of the muzzle. Finally, draw a curved line for the mouth, capturing the German Shepherd’s characteristic expression.
Step 4: Ears and Facial Details
Focus on the ears, which are a prominent feature of the German Shepherd breed. Sketch the ears as pointy triangles that stand erect on top of the head. Pay attention to the placement and angle of the ears, as they can vary between individual dogs. Next, add some fur details around the face to enhance realism.
Step 5: Body Proportions and Legs
Refine the shape of the body, ensuring that it maintains a balanced and proportional appearance. Add the front legs by sketching two straight lines extending down from the body. For the hind legs, draw two lines at an angle, giving the impression of depth.
Step 6: Fur Texture and Shading
Start adding details to the fur by using short, overlapping pencil strokes. Pay attention to the direction of the fur, which typically follows the contours of the dog’s body. Use a combination of light and dark pencil strokes to create depth and volume. Take your time with this step, as the texture of the fur is crucial in capturing the likeness of a German Shepherd.
Step 7: Tail and Final Touches
Draw the tail with long, flowing lines that taper to a point. Make sure it is in proportion to the rest of the body. Add any final details and refine the drawing as necessary. Use your eraser to lighten any unwanted lines and make adjustments to the shading if needed.
Conclusion
Congratulations on completing your drawing of a German Shepherd! By following these step-by-step instructions, you have learned how to capture the distinct features and essence of this magnificent breed. Remember, practice makes perfect, so keep honing your skills by drawing other animals and objects. Happy drawing!