Welcome to this step-by-step tutorial on how to draw a magnificent panther! In this article, we will guide you through the process of creating a realistic and impressive depiction of this majestic animal. Whether you are a beginner or an experienced artist, follow along and let your creativity come to life on paper!
Materials Required
Before we begin, make sure you have the following materials:
- Drawing paper (preferably a heavier weight paper)
- Pencil (preferably a mechanical pencil with different lead thickness options)
- Eraser (preferably a kneaded eraser)
- Black ink pen (optional for outlining)
- Colored pencils or markers (optional for adding color)
Now that you have gathered your materials, let’s dive into the step-by-step process of drawing a panther.
Step 1: Sketching the Basic Shapes
Start by lightly sketching the basic shapes that form the body of the panther. Begin with an oval for the head, a larger oval for the body, and long ovals for the limbs. Keep the shapes simple and loose; focus on proportions rather than details at this stage.
Step 2: Defining the Body Proportions
Using the basic shapes as a guide, refine the proportions of the panther’s body. Add more detail to the head, elongate the body, and shape the limbs by adding curves and angles. Pay attention to the natural pose of a panther, with its strong and agile physique.
Step 3: Adding Facial Features
Now it’s time to bring the panther’s face to life. Sketch in the eyes, nose, and mouth. Pay close attention to the shape and placement of these features, as they greatly influence the overall expression of the panther. Remember, panthers have distinctive eyes and a sleek snout.
Step 4: Outlining the Body
With the basic structure in place, use a darker pencil or black ink pen to outline the shape of the panther. Start from the head and work your way down, carefully tracing the contours of the body. Take your time and ensure smooth lines that follow the natural curves of the panther’s form.
Step 5: Detailing the Features
Now, let’s focus on adding more specific details to the panther. Begin by sketching in the fur texture, using short, curved lines to create the illusion of sleek and shiny fur. Pay attention to the direction of the fur growth, following the contours of the body. Add facial details such as whiskers and small dots for the nose.
Step 6: Shading and Adding Depth
To give your drawing dimension and depth, it’s time to add shading. Observe the light source and imagine where shadows would fall on the panther’s body. Use your pencil to create gradual transitions from light to dark areas, utilizing different pencil pressures and blending techniques to achieve a realistic effect.
Step 7: Refining the Details
Take this opportunity to refine the details of your panther drawing. Add more definition to the facial features, such as the eyes and mouth, by using a sharper pencil or ink pen. Pay attention to the small nuances that make a panther unique, such as the shape of the ears and the muscular structure.
Step 8: Optional Coloring
If you prefer a colored drawing, now is the time to bring your panther to life with colored pencils or markers. Start by lightly layering the base color of the fur, gradually adding darker shades and highlights. Be mindful of adding subtle variations and textures to achieve a realistic appearance.
Conclusion
Congratulations! You have successfully learned how to draw a stunning panther from start to finish. Drawing animals can be challenging, but with patience and practice, you can create remarkable artworks. Remember to start with basic shapes, refine the proportions, pay attention to details, and add shading for depth.
We hope you enjoyed this tutorial and found it helpful in honing your artistic skills. Now it’s your turn to unleash your creativity and create your own unique panther masterpiece!
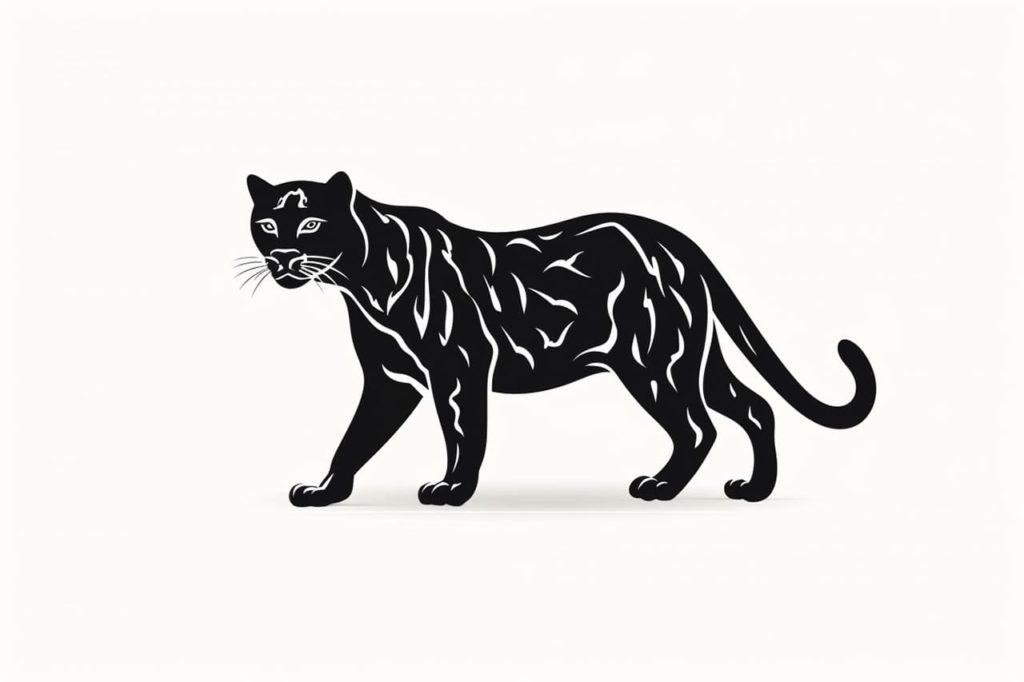
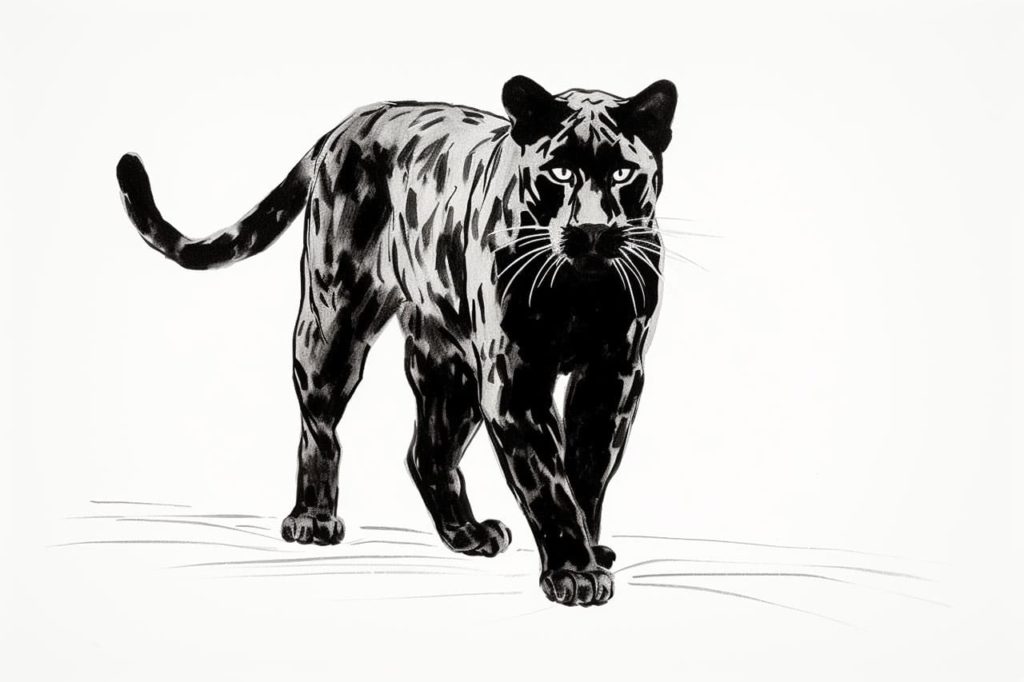
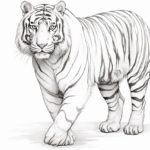
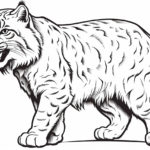
Gallery of Panther Drawings