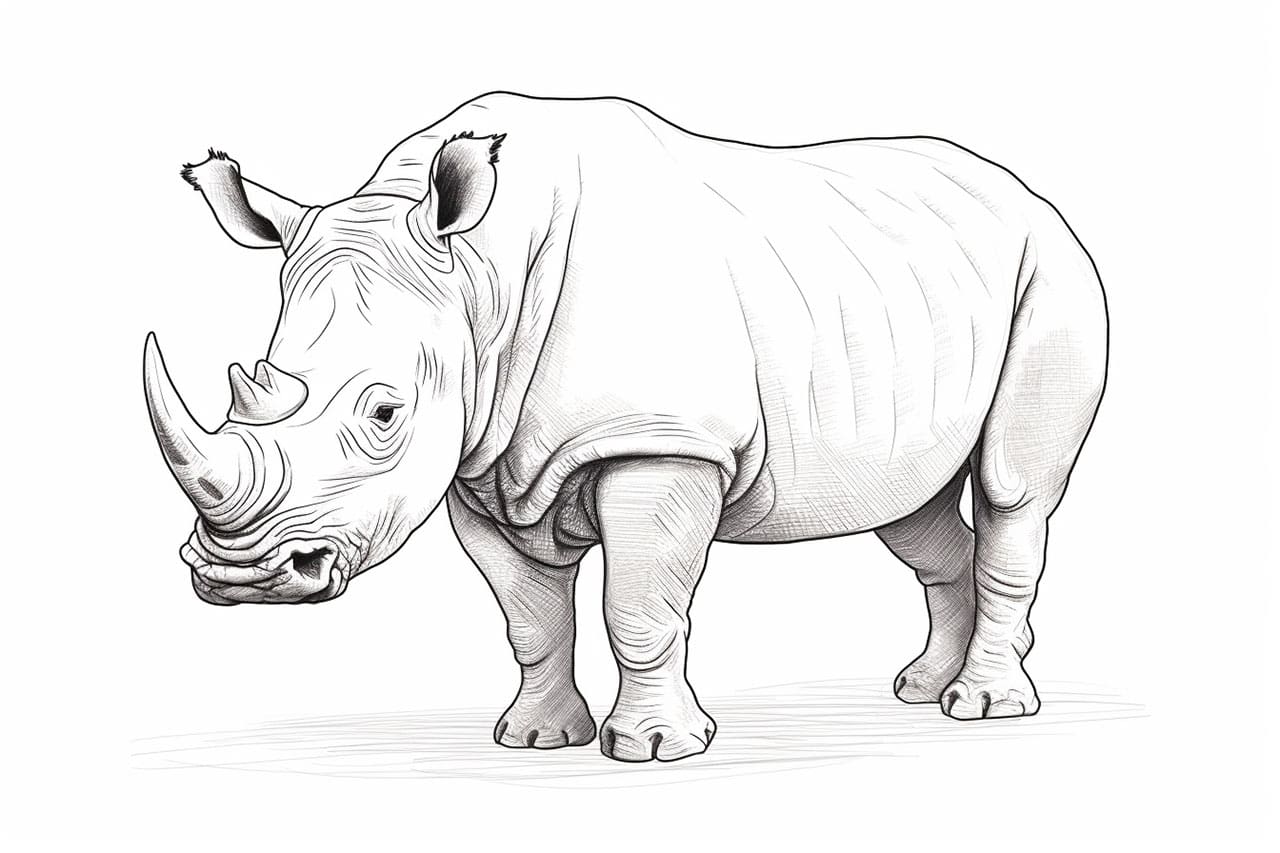
Welcome to this step-by-step guide on how to draw a rhino. In this article, we will go through the process of creating a detailed and accurate drawing of a majestic rhinoceros. Whether you are a beginner or an experienced artist, these instructions will help you capture the essence of a rhino on paper.
Materials Required
Before we begin, let’s gather the materials needed for this drawing:
- Drawing paper
- Pencil (preferably a mechanical pencil with different lead thicknesses)
- Eraser
- Sharpener
- Ruler
- Reference image of a rhino (this can be a photograph or a detailed drawing)
Now that we have our materials ready, let’s dive into the steps of drawing a rhino!
Step 1: Start with Basic Shapes
Begin by lightly sketching the basic shapes that make up the body of a rhino. Start with a large oval shape for the body, followed by a smaller oval for the head. Connect the two ovals with a curved line to indicate the neck. Remember to keep your lines light and loose at this stage.
Step 2: Outline the Body
Using the basic shapes as a guide, start outlining the body of the rhino. Pay attention to the proportions and curves of the animal. Use light, curved lines to define the body and the limbs. Take your time and adjust your lines as needed to achieve the desired shape.
Step 3: Add the Facial Features
Now, let’s focus on the rhino’s face. Sketch the placement of the eyes, ears, and the horn. Pay close attention to the reference image to accurately capture the details. Use light and precise lines to outline these features.
Step 4: Refine the Details
With the basic structure in place, it’s time to add more details to your drawing. Start by adding texture to the rhino’s skin using short, horizontal strokes. Pay attention to the patterns and folds on the body. Use a darker pencil or add more pressure to create contrast and depth in your drawing.
Step 5: Work on the Horn and Ears
The horn is one of the distinctive features of a rhino. Carefully refine the shape and texture of the horn using curved lines. Add details such as cracks and ridges to make it look more realistic. Similarly, work on the ears, adding texture and folds to give them a three-dimensional appearance.
Step 6: Define the Eyes and Facial Features
The eyes are the windows to the soul, even in a rhino. Sketch the shape of the eyes, paying attention to the reference image to capture the expression. Add highlights to the eyes to make them look more lifelike. Define the nostrils, mouth, and other facial features using light and precise lines.
Step 7: Add Shading and Details
To add depth and dimension to your drawing, focus on shading. Observe the reference image closely to identify areas of light and shadow on the rhino’s body. Use your pencil to create gradations of value, from light to dark. Be patient and work gradually, building up layers of shading to achieve a realistic effect.
Step 8: Refine and Finalize
Take a step back and evaluate your drawing. Make any necessary adjustments to the proportions, shapes, and details. Use an eraser to clean up any stray lines or smudges. Once you are satisfied with the overall result, darken the lines that need emphasis and add any final touches to complete your drawing.
Conclusion
Congratulations! You have successfully learned how to draw a rhino. By following these step-by-step instructions and paying attention to details, you have created a realistic representation of this magnificent creature. Remember, practice makes perfect, so don’t be discouraged if your first attempt isn’t exactly how you envisioned it. Keep refining your skills and experimenting with different techniques to improve your drawings. Happy drawing!
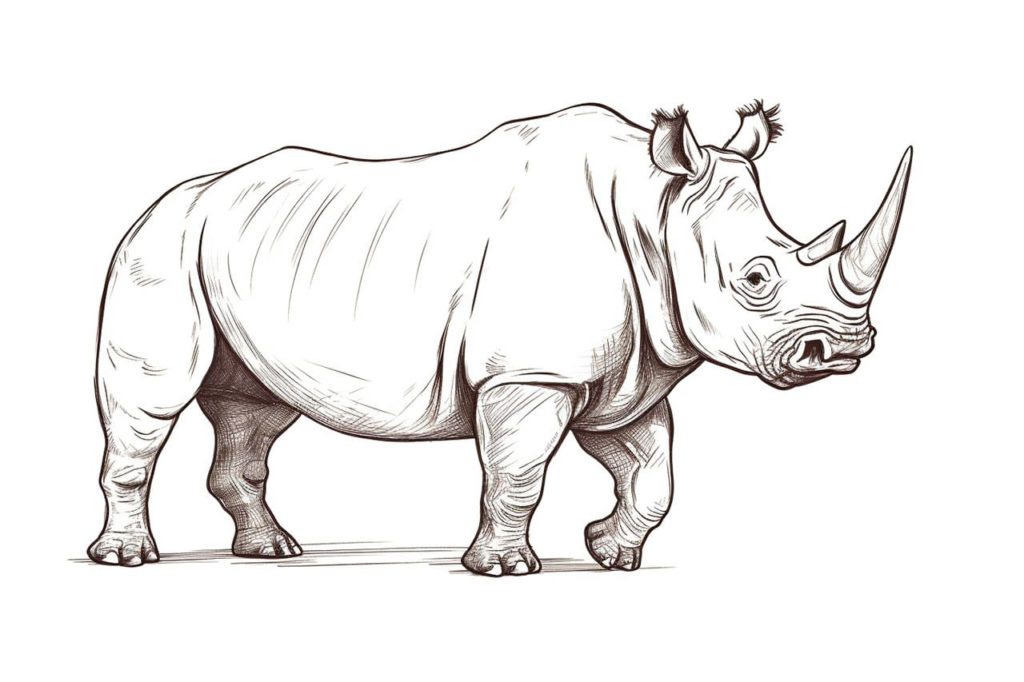
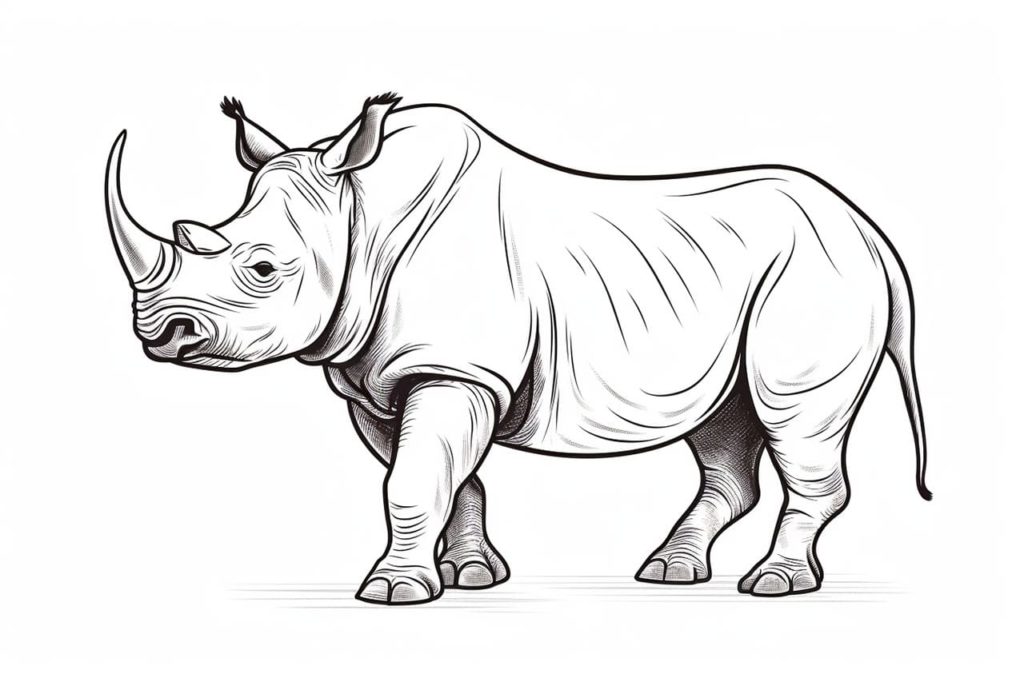
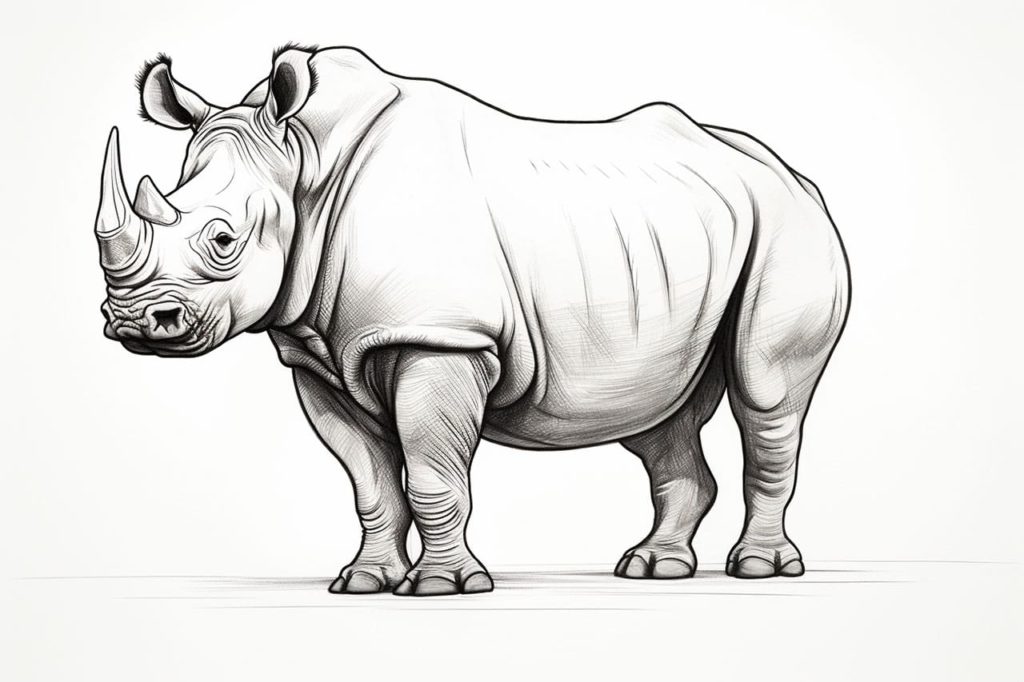
Gallery of Rhino Drawings