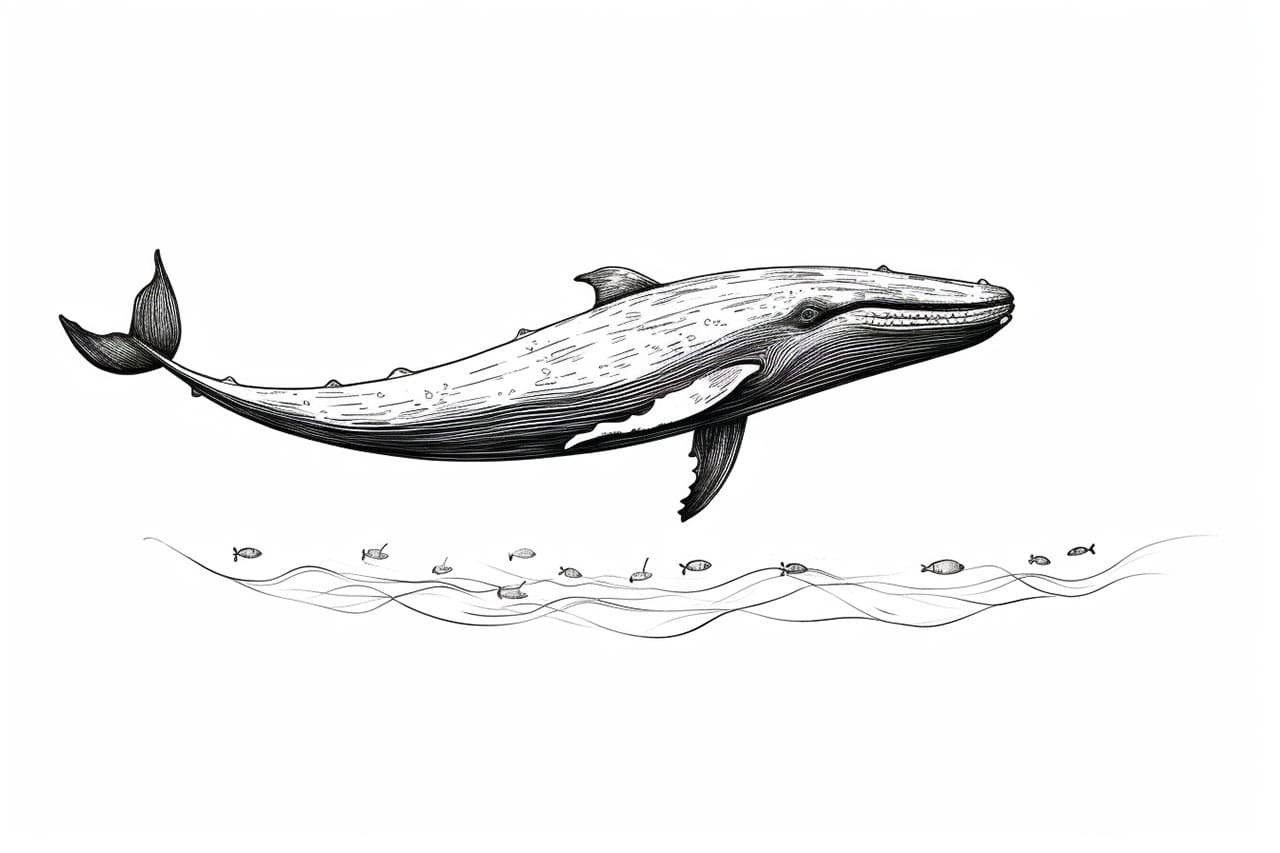
Welcome to this step-by-step guide on how to draw a whale! Whether you are an experienced artist or just starting out, this tutorial will help you create a beautiful and realistic whale drawing. Whales are majestic creatures that inhabit the oceans, and capturing their essence on paper can be a rewarding experience. So grab your drawing materials and let’s get started!
Materials Required:
Before we dive into the drawing process, make sure you have the following materials at hand:
- Drawing paper or sketchbook
- Pencils (ranging from 2H to 6B)
- Eraser (preferably kneaded eraser)
- Fine tip markers or pens
- Blending tools (such as a blending stump or cotton swabs)
- Reference image of a whale (for inspiration and guidance)
Having these materials ready will ensure a smooth drawing experience and help you achieve the desired results.
Step 1: Start with Basic Shapes
Begin by lightly sketching the basic shapes that form the structure of the whale. Whales have a large, rounded body, so start with an oval shape that represents the main body. Add a smaller oval at one end to indicate the head, and another elongated oval at the opposite end for the tail.
Step 2: Add the Fin and Tail
Next, it’s time to add more details to your whale drawing. Sketch a triangular-shaped fin on the upper part of the whale’s body, near where the head meets the body. This fin helps whales maintain their balance and stability in the water. Then, draw a simple, curved shape for the tail at the back of the whale’s body. The tail is an essential feature that propels the whale through the water.
Step 3: Define the Head and Mouth
Now, let’s focus on the head of the whale. Using the basic oval shape as a guide, refine the outline of the head, making it slightly narrower towards the front. Add a small, curved line to represent the whale’s mouth, which is usually located on the underside of the head. Whales have a unique feature called a rostrum, a protruding snout that can vary in shape and size depending on the species.
Step 4: Create the Eye and Blowhole
To give your whale drawing more life, add the eye and blowhole. Position the eye on the side of the head, just above the mouth. Whales have comparatively small eyes, so keep it relatively small in size. Draw a simple oval or circular shape to represent the eye. Above the eye, draw a small, sideways teardrop shape to indicate the blowhole, where whales exhale and inhale air.
Step 5: Refine the Body and Tail
Now it’s time to refine the body of your whale drawing. Start by carefully outlining the body shape, making it smooth and curvy. Pay attention to the contours and proportions, as they play a crucial role in capturing the likeness of a whale. Also, refine the shape of the tail, making it more detailed and dynamic. Whales have different tail shapes depending on the species, so refer to your reference image for guidance.
Step 6: Add Details and Texture
To make your whale drawing more realistic, add some details and texture. Whales have a smooth skin texture, which can be represented by drawing fine lines or crosshatching lightly on the body. Be careful not to overdo it, as subtlety is key. Add small details such as wrinkles or folds near the mouth and eye area to add character to your drawing.
Step 7: Erase and Clean up
Take a step back and evaluate your drawing. Use an eraser to gently remove any stray lines or smudges. Clean up the drawing by erasing any unnecessary construction lines and refining the outline of the whale. This will give your drawing a polished look.
Step 8: Add Shadows and Highlights
To create depth and dimension in your whale drawing, it’s important to add shadows and highlights. Identify the direction of your light source and use a range of pencils from light to dark to create shading. Start by lightly shading the areas of the whale that are farther away from the light source, and gradually build up the shadows by increasing the pressure on your pencil. Use an eraser to create highlights on the shiny parts of the whale’s body, such as the water droplets or glimmering skin.
Step 9: Finalize the Drawing
In the final step, review your drawing and make any necessary adjustments. Look for any areas that need refinement or additional shading. Take your time to ensure that your whale drawing looks balanced and captures the essence of these magnificent creatures. Once you are satisfied with the results, you can outline the drawing with a fine-tip marker or pen to give it a more finished look.
Conclusion
Congratulations! You have successfully learned how to draw a whale. By following these step-by-step instructions and using your own creativity, you have created a beautiful whale drawing. Drawing whales can be a challenging but rewarding experience, allowing you to appreciate and understand these incredible animals more deeply.
Remember, practice makes perfect. Don’t be discouraged if your first attempt doesn’t turn out exactly as you envisioned. Keep practicing and experimenting with different techniques and styles. With time and persistence, your drawings will continue to improve.
So, grab your pencils and start exploring the fascinating world of whale drawings. Enjoy the process, have fun, and let your creativity soar!