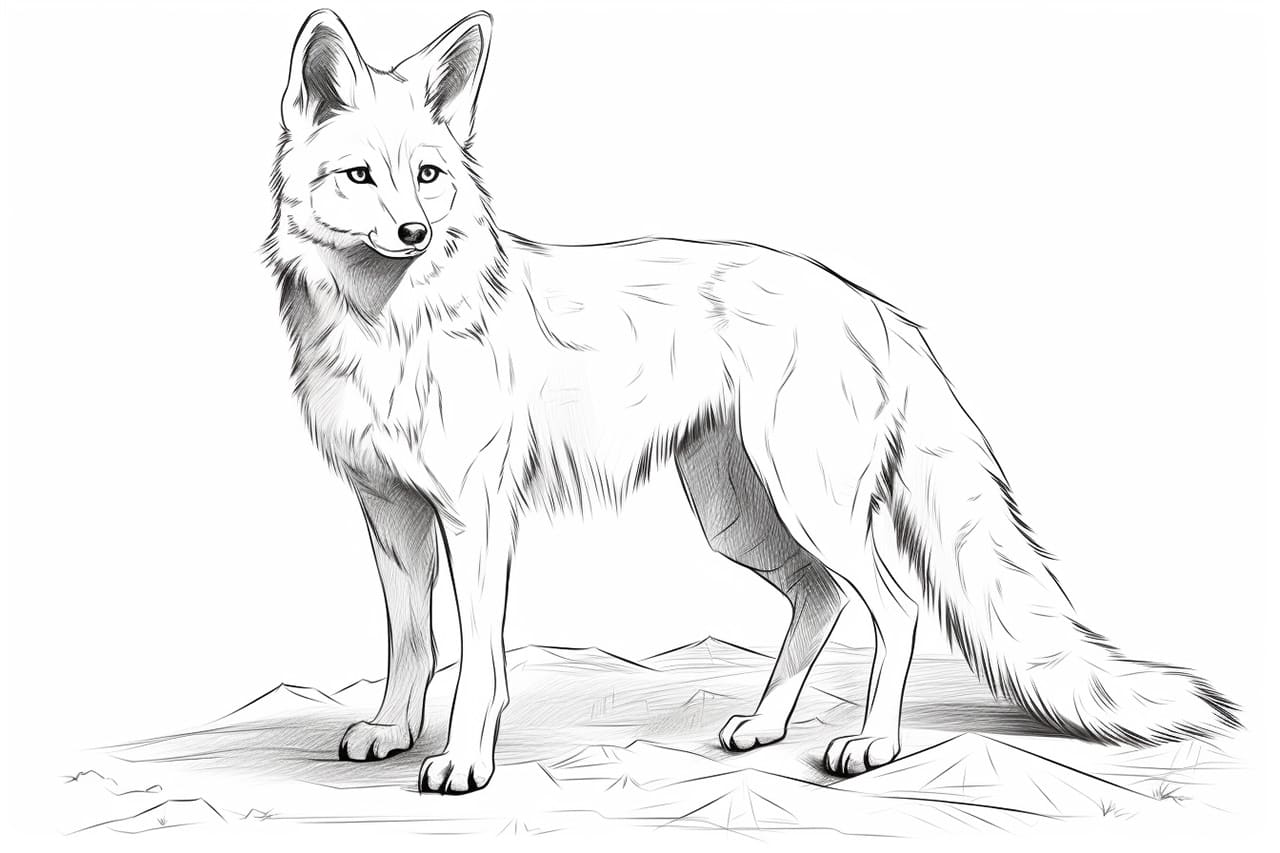
Welcome to this step-by-step guide on how to draw a dhole! The dhole, also known as the Asiatic wild dog, is a fascinating and beautiful creature found in parts of Asia. By following along with these instructions, you’ll be able to capture the essence of this amazing animal on paper.
Materials Required
Before we dive into the drawing process, let’s make sure we have all the necessary materials:
- Drawing paper
- Pencil
- Eraser
- Fine-tip marker or pen
- Colored pencils or markers (optional)
Now that we have everything we need, let’s get started!
Step 1: Basic Guidelines
Begin by lightly sketching a circle for the dhole’s head. Add a curved line extending from the bottom of the circle to form the body. These initial shapes will act as a guide as we refine the dhole’s features.
Step 2: Facial Features
Within the circle, draw two large oval shapes for the dhole’s eyes, slightly slanted and facing forward. Add a smaller oval in the middle of each eye to represent the pupils. Next, draw a small triangular shape for the nose, just below the eyes. At the bottom of the circle, sketch a curved line for the mouth, slightly angled upwards on each end to give the impression of a smile. Don’t forget to add some pointy ears on top of the head!
Step 3: Body Details
Refine the body shape by adding more curves and contours to show the dhole’s muscular build. Draw two curved lines extending from the head to form the neck and back. Then, add another set of curved lines to create the outline of the legs and tail. Remember to keep the lines light and easily erasable at this stage.
Step 4: Facial Features, Part 2
Now, let’s add more details to the dhole’s face. Draw a curved line above each eye to indicate the eyebrows. Then, add a series of short, curved lines above the nose to create the dhole’s whiskers. Use longer, curved lines to outline the dhole’s snout and jawline.
Step 5: Eyes and Ears
Add more definition to the dhole’s eyes by darkening the outer edges and adding eyelashes. Within the ears, draw curved lines to represent the inner folds. This will give the ears a more realistic appearance.
Step 6: Fur Texture
To give the dhole a furry texture, lightly sketch short, curved lines all over its body. Pay close attention to the direction of the lines, following the contour of the body. This technique creates the illusion of fur and adds depth to your drawing.
Step 7: Refine and darken
Now that the basic structure and details are in place, use your pencil to refine the overall shape and features of the dhole. Darken the lines that you want to emphasize, such as the outline of the body, the eyes, nose, and mouth. Erase any unnecessary guidelines that may still be visible.
Step 8: Finalize with Ink (optional)
If you prefer a finished, inked look, go over your pencil lines with a fine-tip marker or pen. Be careful and precise, using confident strokes. Let the ink dry completely before erasing any remaining pencil lines.
Step 9: Add Color (optional)
For an extra touch of vibrancy, you can add color to your dhole drawing using colored pencils or markers. Dholes typically have a reddish-brown coat, so you can start by filling in the body with light shades of brown. Gradually add darker shades to create depth and dimension. Don’t forget to use a light touch and blend the colors smoothly.
Conclusion
Congratulations! You’ve successfully learned how to draw a dhole! By following these step-by-step instructions and using your own creativity, you’ve created a beautiful representation of this remarkable creature. Remember to practice regularly, and soon you’ll be able to draw dholes with ease.
We hope you enjoyed this tutorial on how to draw a dhole. Happy drawing!


