Welcome to this step-by-step guide on how to draw a photorealistic eye. Whether you are a beginner or an experienced artist, this tutorial will provide you with the necessary techniques to create a stunning, lifelike eye drawing. By following these steps and practicing regularly, you will be able to capture the intricate details and depth of an eye, making your drawings truly remarkable.
Materials Required
To begin, gather the following materials:
- Drawing pencils (ranging from light to dark, such as 2H to 6B)
- Eraser (preferably a kneaded eraser)
- Blending tools (such as tortillions or blending stumps)
- Drawing paper (preferably smooth or medium texture)
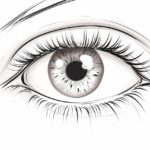
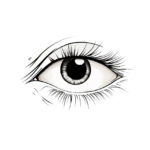
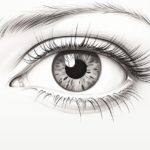
- Reference image of an eye (choose one with clear details and good lighting)
Now that you have your materials ready, let’s dive into the steps of drawing a photorealistic eye.
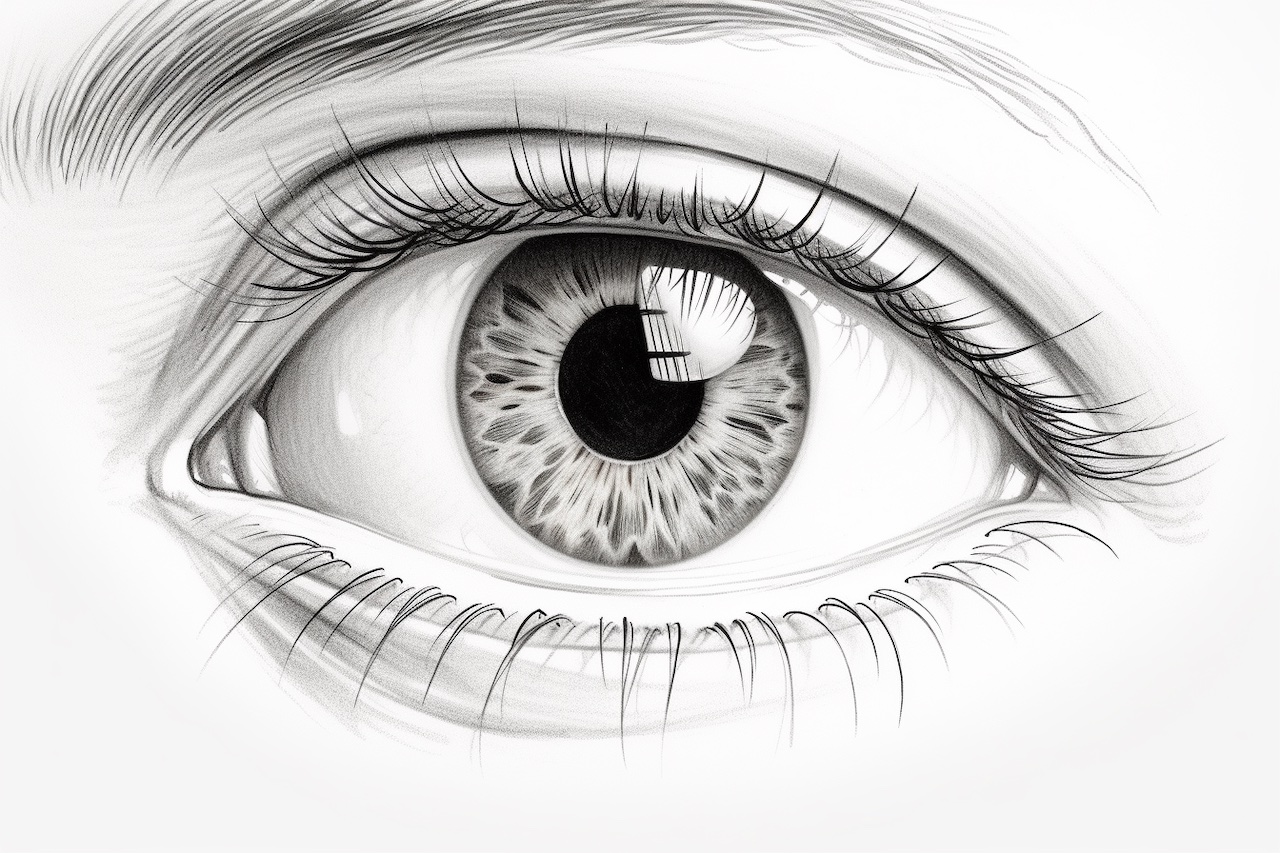
Step 1: Outline the Basic Shape
Start by lightly sketching the basic shape of the eye. Use gentle, curved lines to create the upper and lower eyelids, making sure to maintain a realistic proportion. Pay close attention to the reference image and carefully observe the shape of the eye.
Step 2: Define the Pupil and Iris
Within the basic shape, draw a smaller circle to represent the pupil. The size of the pupil may vary depending on the lighting in your reference image. Surrounding the pupil, sketch the outer boundary of the iris, keeping it circular but slightly irregular to mimic the natural variation in iris shape.
Step 3: Add Detail to the Iris
Using a darker pencil, begin adding subtle details to the iris. Pay attention to the patterns and textures within the iris, such as radial lines or specks of color. These details contribute to the realistic appearance of the eye. Take your time and remember to keep your strokes light and gentle.
Step 4: Shade the Pupil
To create depth, start shading the pupil using a softer pencil. Gradually build up layers of shading, starting from the outer edge of the pupil and working inward. Leave a small area near the center of the pupil unshaded to simulate the reflection of light.
Step 5: Develop the Highlight and Reflections
Using an eraser, carefully create a highlight in the pupil by gently lifting off some of the graphite. This highlight adds an essential touch of realism to the eye. Additionally, add reflections on the surface of the iris and the edge of the pupil to mimic the way light interacts with the eye.
Step 6: Shade the Eyelids and Eye Socket
Next, turn your attention to the surrounding areas of the eye. Begin by shading the eyelids, using lighter pencil strokes to represent the softer skin on the upper lid and slightly firmer strokes to depict the thickness of the lower lid. Gradually darken the shading as you move closer to the lash line. To add depth, shade the area around the eye socket, using reference images to guide you.
Step 7: Add Eyelashes and Fine Details
Using a sharp pencil or a fine liner, carefully draw the individual eyelashes. Start from the root and work outward, varying the length and direction of the lashes to make them appear natural. Don’t forget to add the lower lashes as well, using lighter strokes. Finally, refine any remaining details, such as the wrinkles on the eyelids or small veins on the whites of the eye.
Conclusion
Congratulations! You have successfully learned how to draw a photorealistic eye. By following these step-by-step instructions and practicing regularly, you will continue to improve your drawing skills and capture the intricate details that make an eye come to life on paper. Remember to be patient with yourself and enjoy the process. With dedication and practice, your eye drawings will continue to impress.