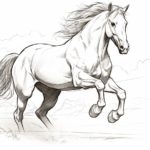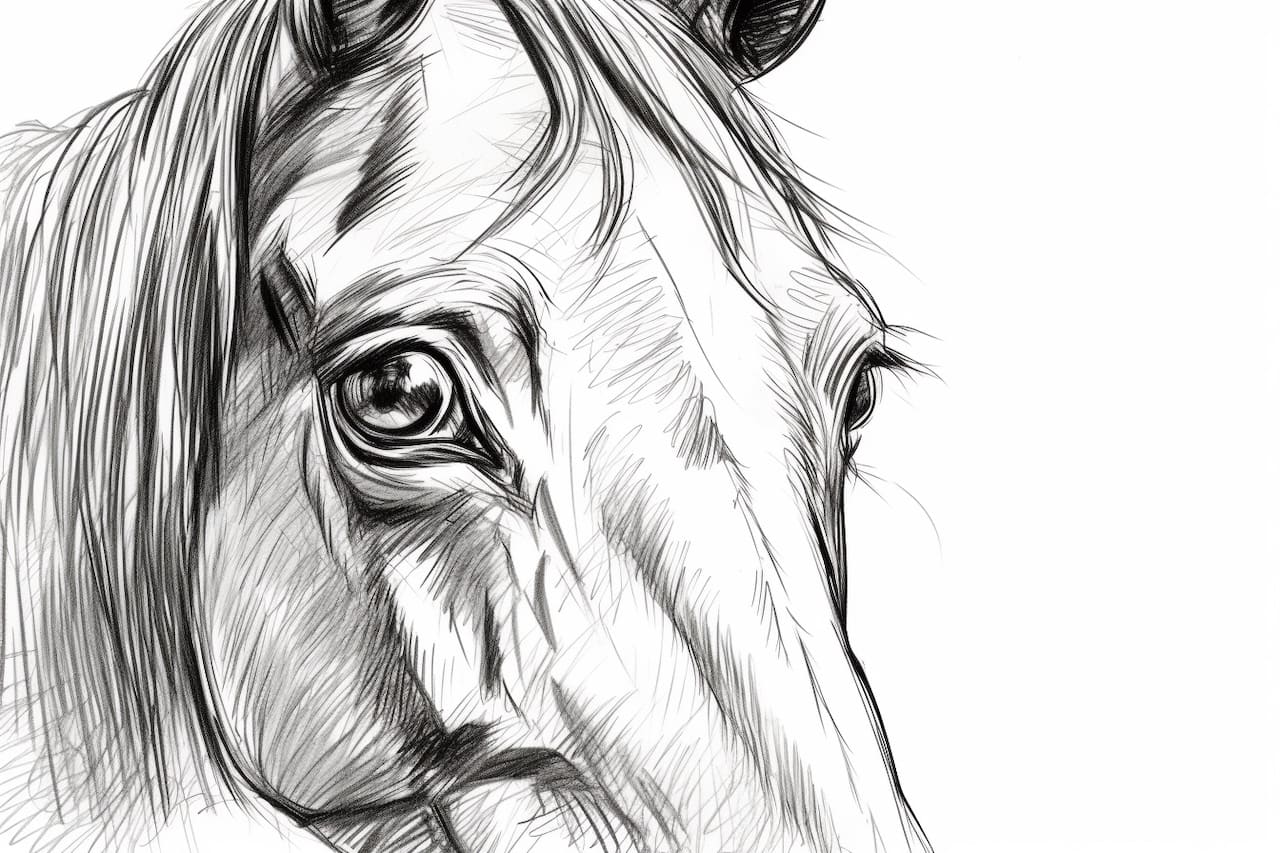
Welcome to this step-by-step guide on how to draw a horse eye. As an expert artist and drawing instructor, I will walk you through the process to help you create a realistic and captivating horse eye drawing. Horses have charismatic eyes that are often the focal point of any artwork featuring these magnificent creatures. By following these easy steps, you will be able to capture the essence of a horse’s eye in your own artwork.
Materials Required
Before we begin, let’s gather the materials you will need for this drawing tutorial:
- Drawing paper or sketchbook
- Pencil (HB or 2B)
- Eraser
- Blending stump or cotton swab
- Fine-tip black marker or pen
- Colored pencils or markers (optional)
Now that we have our materials ready, let’s get started!
Step 1: Outline the Basic Shape
Start by lightly sketching a circle on your drawing paper. This will serve as a guide for the basic shape of the horse eye. Remember, at this stage, don’t press too hard with your pencil. We want these lines to be easily erasable later on.
Step 2: Add the Eyelids
Using the circle as a guide, sketch two curved lines above and below it to create the upper and lower eyelids. Pay attention to the shape of the eyelids, as they can vary depending on the angle and expression of the horse.
Step 3: Define the Eye
Within the circle, lightly sketch an almond shape to define the eye itself. The exact shape may vary depending on the breed or individual horse you are drawing. Take your time to get the proportions right, as this will greatly affect the realism of your drawing.
Step 4: Draw the Iris and Pupil
Inside the almond shape, draw the iris and pupil. The iris is usually slightly oval-shaped and can be of various colors, such as brown, blue, or green. The pupil, located in the center of the iris, is typically a vertical slit shape. Make sure to leave a small area of white for the reflection of light.
Step 5: Add Detail and Reflection
Now it’s time to add more detail to the eye. Use your pencil to lightly shade the iris, giving it a sense of depth. Pay attention to any unique patterns or markings that may exist in the horse’s eye you are drawing. Don’t forget to add a small highlight or reflection on the iris to make it look more alive.
Step 6: Refine the Eyelids and Eyelashes
Go back to the eyelids and darken the lines to make them more defined. Add eyelashes along the edges of the upper and lower eyelids. These lashes should be slightly curved and vary in length. Pay attention to the direction of the lashes, as they can help convey the expression of the horse.
Step 7: Clean Up and Refine
Take a step back and evaluate your drawing so far. Use an eraser to remove any unwanted lines or smudges. Refine any areas that may need more definition or shading. This is your opportunity to make necessary adjustments and ensure the overall accuracy and realism of your horse eye drawing.
Step 8: Ink the Drawing
Once you are satisfied with your pencil drawing, use a fine-tip black marker or pen to outline the final lines. Carefully trace over the main contours, eyelashes, and any other important details. This will give your horse eye drawing a more finished and polished look.
Step 9: Add Color (optional)
If you prefer a colored horse eye drawing, you can now use colored pencils or markers to add color to your artwork. Consider the breed or specific horse you are drawing to choose the appropriate colors for the iris and any other details. Blend the colors smoothly using a blending stump or a cotton swab for a more realistic result.
Conclusion
Congratulations! You have successfully learned how to draw a horse eye. By following these step-by-step instructions, you can create stunning horse eye drawings that capture their beauty and essence. Remember to take your time, be patient with yourself, and allow your creativity to flourish. Whether you choose to draw in black and white or add colors, your horse eye drawing will evoke the grace and majesty of these incredible animals.